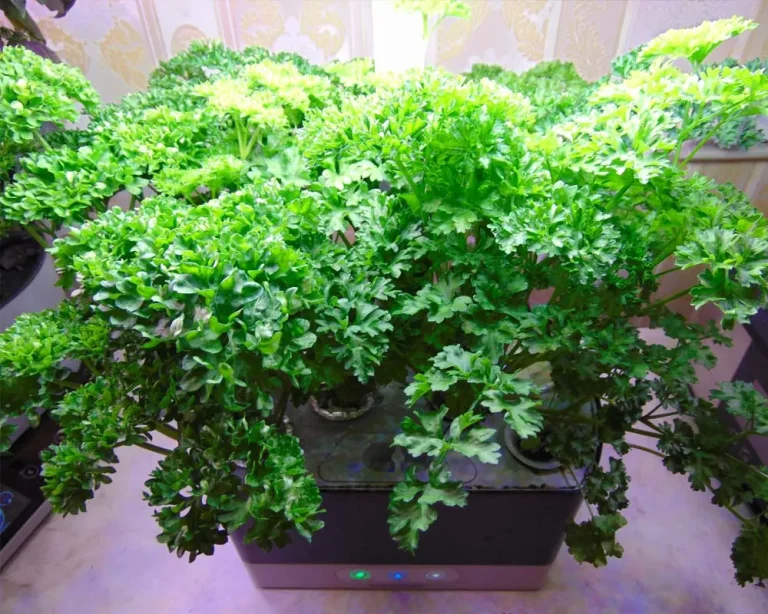
Dill is a staple in my kitchen, and ensuring a perpetual supply is a priority for my culinary needs. I grow dill year-round using the LetPot Max hydroponic system. Below, I have outlined my specific parameters and methods for achieving an efficient, high-yield harvest.
Setup and Sowing
I specifically utilize the LetPot Max for dill due to its superior vertical clearance compared to other desktop systems. The large reservoir is also a significant advantage, reducing the frequency of maintenance.
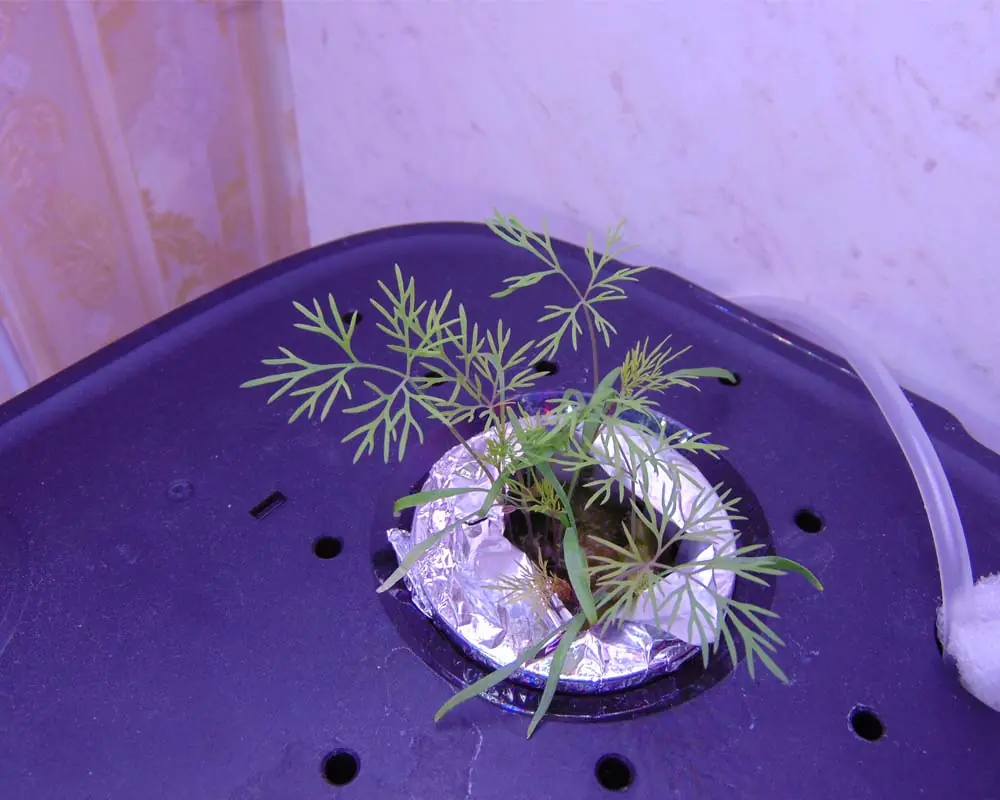
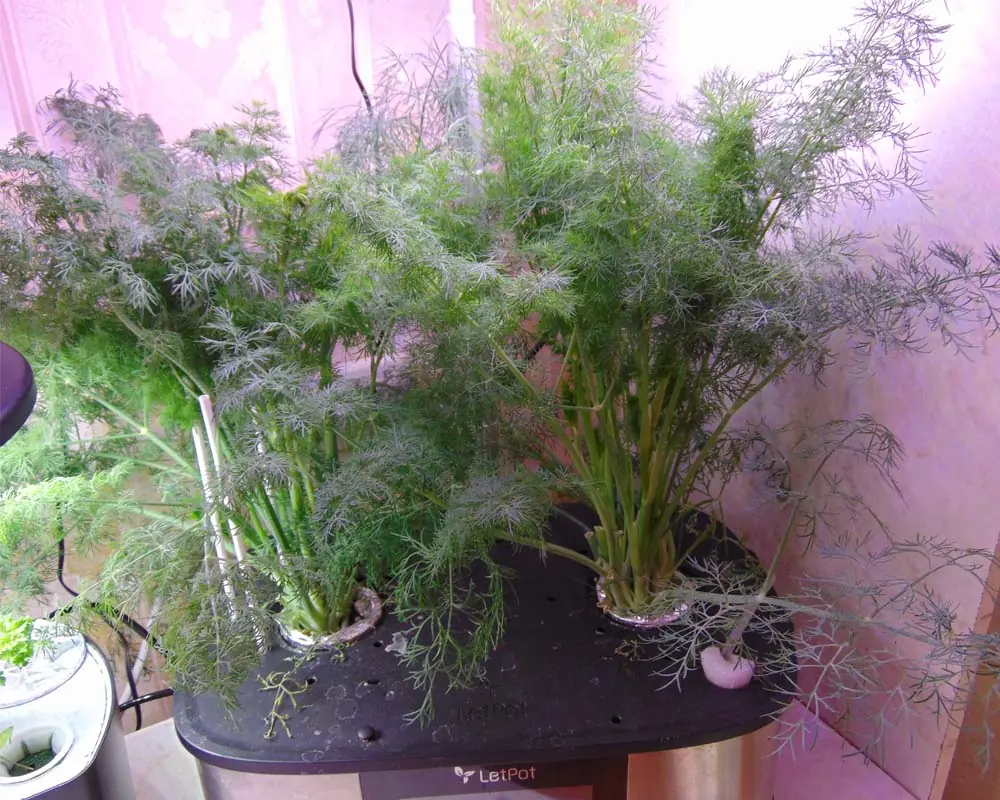
Media & Variety: I use a growing deck configured with two large pots. Rockwool is my preferred medium as it is cost-effective, sterile, and provides excellent capillary action. For the variety, I chose ‘Mammoth’ for its vigor and ability to form substantial, dense bushes.
Sowing Process:
- Preparation: Pre-soak the rockwool in pH-adjusted water from the system reservoir.
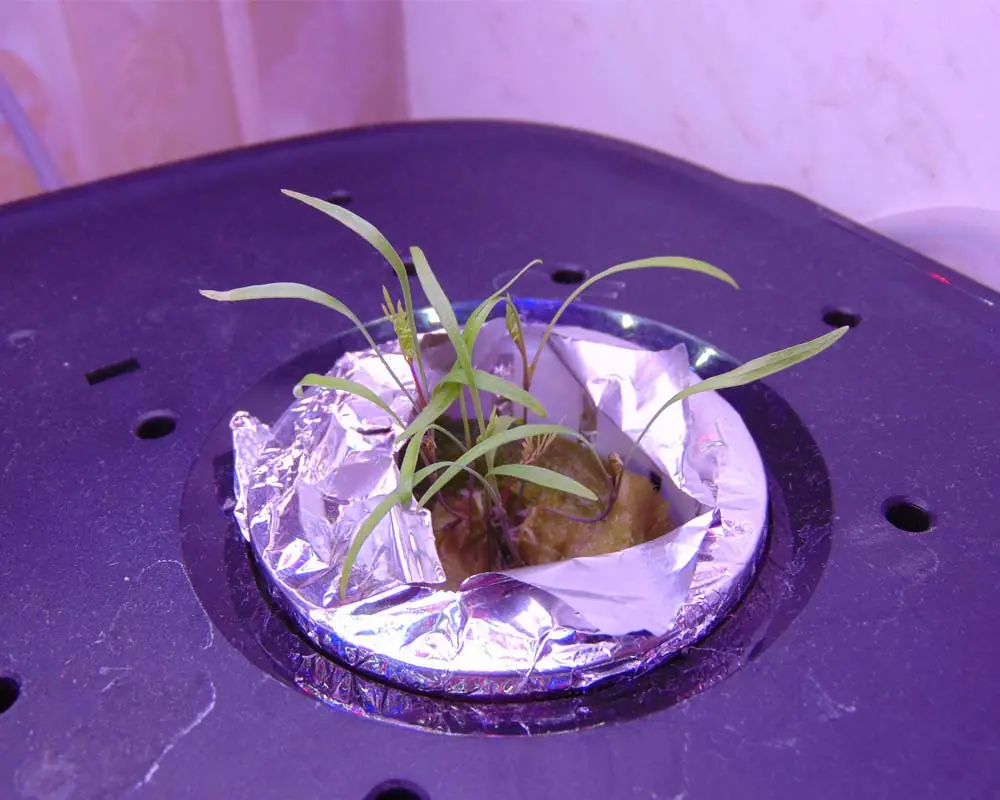
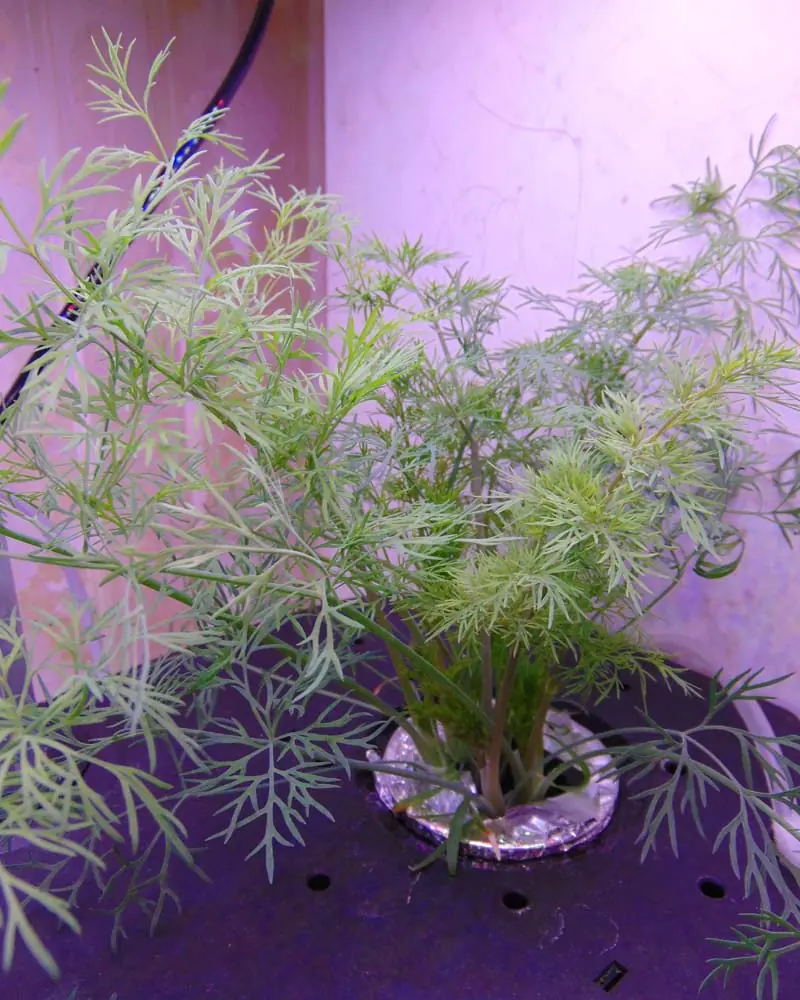
- Planting: Using a thin probe, create small depressions in the rockwool. Place four seeds in each and cover with grow domes to maintain high humidity.
- Germination: Seeds typically sprout within 4 days. By day 10, the first true leaves appear.
- Density: I do not thin the seedlings; leaving all four plants per pod results in a much fuller, more robust bush.
Read also: Water Management In Small Indoor Hydroponics
Lighting and Nutrients
Lighting Strategy: I begin with the LED panel at its lowest position to maximize light intensity and prevent leggy growth. As the canopy rises, I adjust the arm to maintain a consistent 2-inch gap between the light and the crown. My light cycle is set from 7 a.m. to 11 p.m.
Nutrient Protocol: I introduce nutrients once germination is confirmed on day 4. I utilize the General Hydroponics 3-Part Series (Flora Series).
- Initial Dose: 3 ml per gallon of each part, achieving an initial EC of 0.8 mS/cm.
- Maintenance: Two weeks later, I bolster the solution to reach an EC of 1.2 mS/cm.
- The 1.2–2.5 Rule: I monitor the reservoir regularly. If the EC drops below 1.2 mS/cm, I top up the nutrients. If it climbs above 2.5 mS/cm (due to water evaporation), I dilute with fresh water to prevent nutrient burn.
Read also: Best Way to Cool Hydroponic Water (I Tested 6 Popular Methods)
Pruning for Longevity
After approximately 30 days, pruning becomes necessary for both culinary use and plant health.
Pruning Techniques:
Lower Canopy: I prune the lower stems that have begun to lay flat against the deck. This “skirting” improves airflow at the base and stimulates new central growth.
Height Control: I trim the tallest shoots by approximately 50%. This prevents the plant from hitting the LEDs too quickly and encourages lateral branching, leading to a denser canopy.
Frequency: Use sharp, sterilized scissors and remove only 1–2 shoots per session to avoid shocking the plant.
Read also: The Hydroponic ROI: DIY vs. Store-Bought
Harvesting and Seed Collection
While light harvesting begins at day 30, the system reaches full productivity at day 45.
- Fresh Harvest: I snip one large branch daily for immediate use.
- Preservation: For longer-term storage, I harvest 5–6 of the older, lower branches at a time to dry for seasoning.
- Sustainability: I allow some plants to flower at the end of their life cycle. This provides a free supply of seeds for subsequent grow cycles.
Read also: Top 6 Fastest-Growing Hydroponic Plants for Instant Harvests
Common Issues
Root Rot (Pythium)
To prevent root-destroying bacteria from thriving in the reservoir, I installed an air stone connected to an external air pump on a timer. This increased oxygenation is vital for preventing rot and accelerating growth.
Chlorosis (Yellowing)
Yellowing leaves are typically a symptom of a pH imbalance. I ensure the pH remains below 6.0 to keep iron and other micronutrients available to the plant.
Tip Burn
Because dill grows rapidly, top leaves can easily scorch against the LEDs. Aggressive top-pruning is the only effective preventative measure once the system reaches max height.
Fungus
To combat gray fungal spotting on mature leaves, I use a small oscillating fan on a timer. Moving air prevents moisture from settling on the foliage and inhibits fungal development.
Costs vs. Results
| Item | Quantity | Cost |
| Electricity | 25 kWh | $4.20 |
| Rockwool | 2 Pieces | $0.10 |
| Nutrients | 70 ml | $0.70 |
| Total Project Cost | $5.00 |
The Result: For a total investment of $5.00, I produced the equivalent of two large store-bought bushes. The quality, aroma, and convenience of harvesting “live” greens far outweigh the cost of traditional retail options.
Read also: The Definitive Guide to pH Management in Hydroponics
Share This Post