Today, I want to discuss the most critical aspect of hydroponics: water pH. Over the years, I have gained extensive experience in this area and developed reliable techniques for managing this parameter. I would like to share these insights to help you achieve better results in your own systems.
Why pH is the Most Important Variable in Hydroponics
In hydroponics, water is the growing medium; therefore, its chemical properties directly affect your plants. The most vital parameter is pH. If this value is too high or too low, plants become unable to absorb nutrients—a condition known as “nutrient lockout”—and growth will stall.
Through years of cultivation, I have found that it is best to keep the pH below 6.0. While some plants can tolerate slightly higher levels, once the pH exceeds 6.3, most crops—including hardy leafy greens like lettuce—will begin to show signs of nutrient deficiency.
The ideal universal pH range for most systems is 5.5–6.0.
Read also: Water Management In Small Indoor Hydroponics
Essential Tools for Monitoring
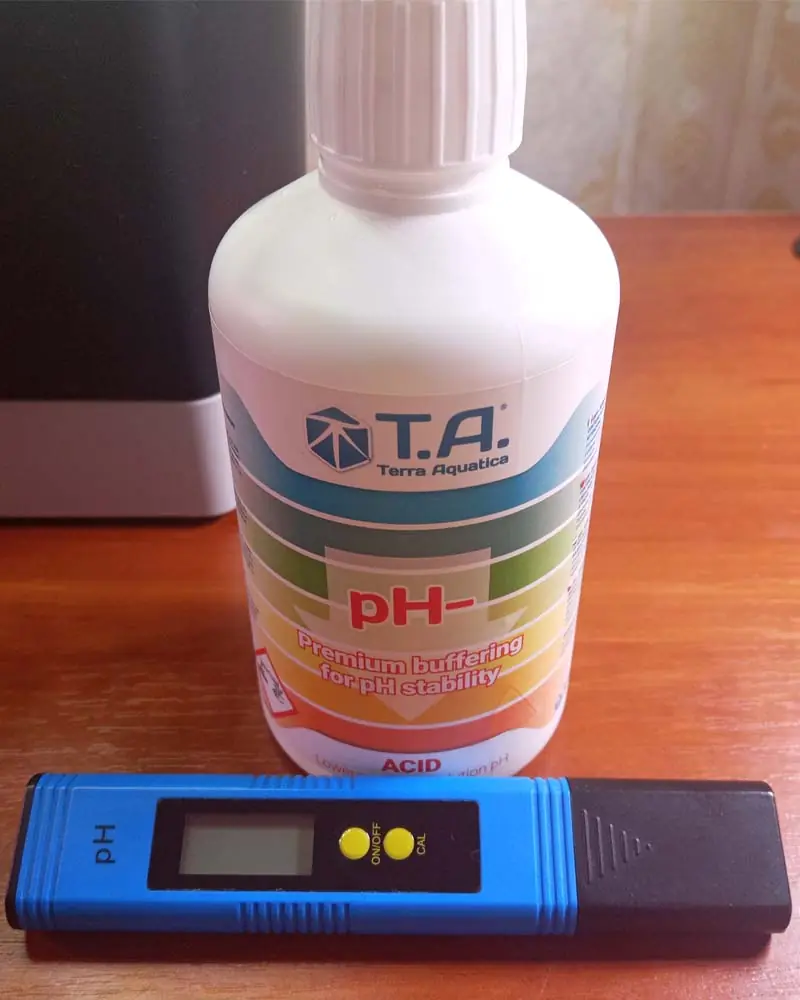
To control pH, you must first be able to measure it accurately. I recommend using two methods simultaneously for verification: an electronic pH meter and pH indicator strips.
Electronic pH Meters
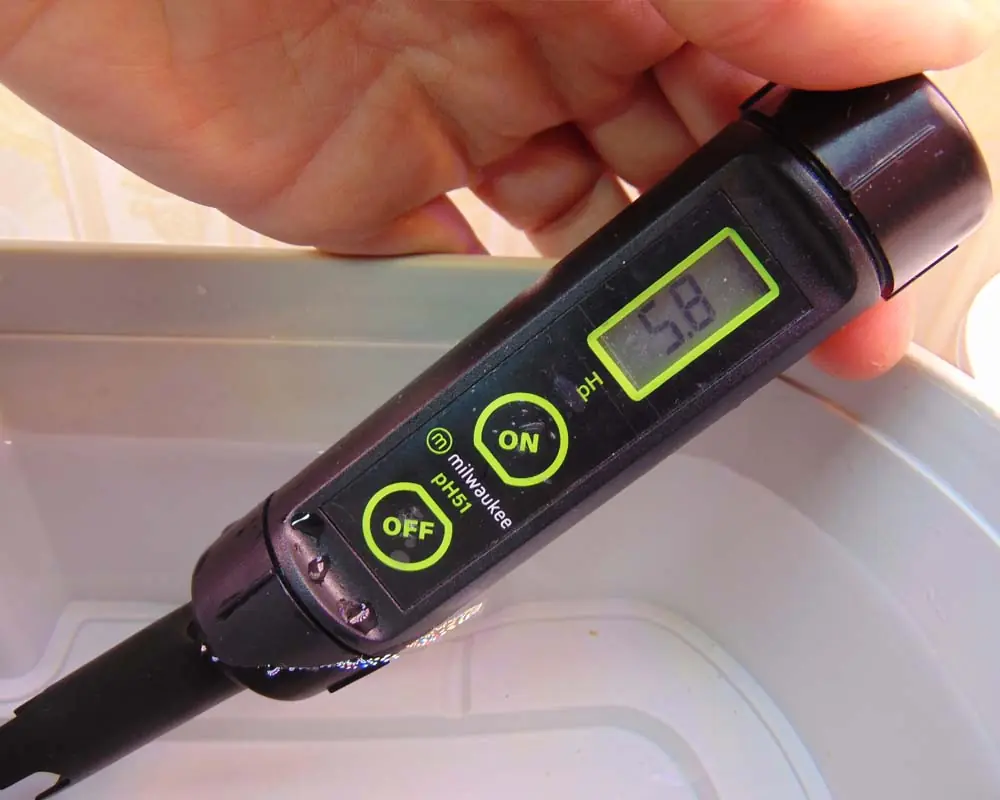
When I first started, I bought the cheapest pH meter available. This was a mistake; my plants suffered because the device was highly inaccurate. I eventually upgraded to a Milwaukee meter, which was more accurate but difficult to calibrate.
Currently, I use the Aqua Master Tools P50 Pro. It is highly accurate, easy to calibrate, and reasonably priced. If you want the industry standard, Bluelab remains the market leader. I urge you to invest in a high-quality meter from a reputable manufacturer; cheap devices often cause more problems than they solve.
Verification Strips
The second part of my kit is verification. I use pH test strips to double-check my electronic readings. They are inexpensive, available everywhere, and don’t require calibration. Using these to verify your meter ensures you never move forward with a faulty reading.
Read also: Best Way to Cool Hydroponic Water
The Chemistry of “pH Down” and “pH Up”
Most source water (especially tap water) has a high pH, typically ranging from 7.0 to 7.8.
- Soft Water (7.0): Lowering the pH is easy because the water has low carbonate levels.
- Hard Water (7.5 – 8.0+): This requires more effort and more product. My tap water falls into this category, requiring significant adjustment.
While Reverse Osmosis (RO) systems or distilled water can provide a neutral baseline, they involve additional costs. I prefer to manage my source water directly.
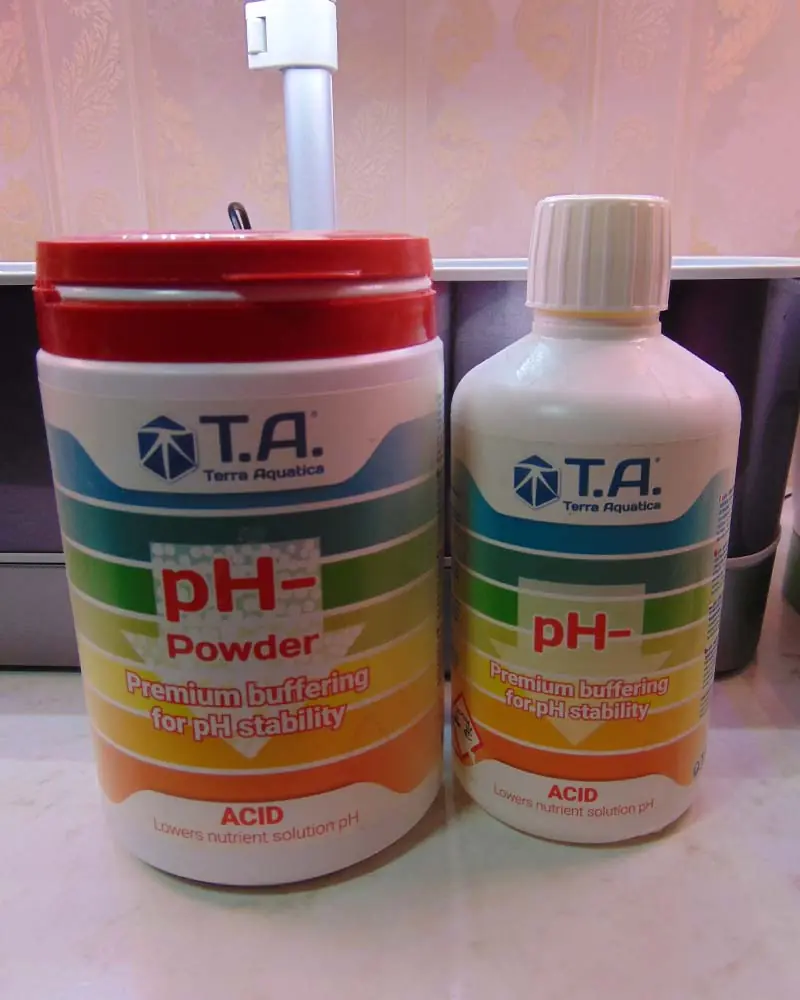
Important Safety Note: I recommend using dedicated products like General Hydroponics pH Down (liquid for quick adjustments and dry powder for system startups).
Avoid using raw industrial acids if you are a beginner, as they can be dangerous to handle. Furthermore, avoid organic substitutes like vinegar or citric acid; they are unstable, cause pH “swings,” and can encourage bacterial growth that may lead to root rot.
Read also: The Most Forgiving Hydroponic Crops for Beginners
Step-by-Step Reservoir Adjustment
Step 1 – Calibration
Calibrate your pH meter at least once a week using 4.0 and 7.0 calibration solutions. To protect the delicate electrode, never let it dry out. Always store it with potassium chloride (storage solution) in the cap to ensure accuracy and longevity.
Step 2 – Adding Fertilizer
Always add your fertilizers to the water before adjusting the pH. Most hydroponic nutrients are acidic salts; adding them will naturally lower the pH of your water by 0.1–0.2 units. By mixing your nutrients first, you get a true reading of where your pH stands before you start fine-tuning.
Step 3 – Adjusting with pH Down
If using tap water, let it sit for 24 hours to dechlorinate before starting.
- Add 0.3 oz of pH Down powder per gallon of water and mix it.
- Run your pump for 10 minutes to ensure the solution is fully homogenized.
- Check the pH with your meter and verify with a test strip.
- Repeat in small increments until you reach your target (5.5–6.0).
Read also: Top Reasons Why Hydroponic Leaves Wilt and How to Fix Them
Factors That Cause pH Fluctuations
pH is not a “set it and forget it” parameter. It will fluctuate throughout the growing cycle for several reasons:
- Plant Uptake: As plants drink water, the concentration of pH Down and nutrients changes. If the water level drops significantly, the pH will often drop as well. Refilling the tank with fresh water usually stabilizes the level.
- Algae: Algae growth consumes CO2, which raises the pH. To prevent this, ensure your reservoir is light-proof.
- General Biology: Roots are living organs that breathe and exchange ions, which naturally shifts the chemistry of the water.
Pro Tip: Check the pH level at least once a week and adjust it as needed using liquid pH Down.
Read also: 5 Simple DIY Hacks To Prevent Algae in AeroGarden
Recognizing a “pH Crash”
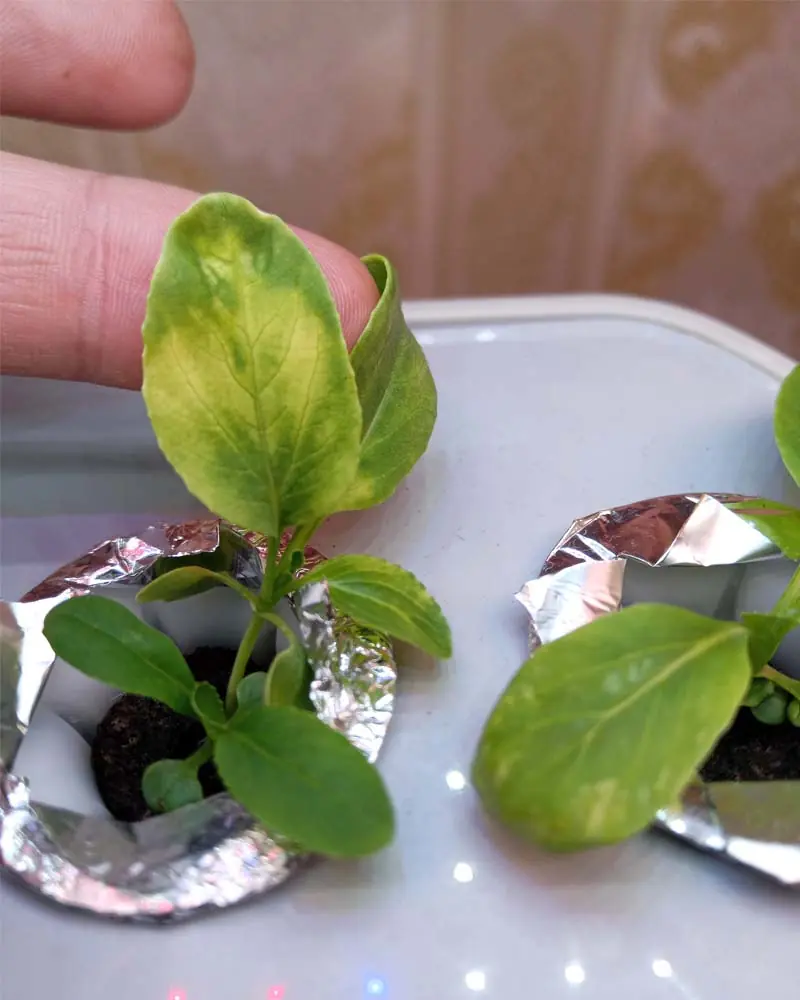
The first sign of improper pH is usually a nutrient deficiency.
- Chlorosis: Yellowing leaves with distinct green veins (often a sign of iron or magnesium lockout).
- Calcium Deficiency: Black spots on leaf tips or “tip burn” on young growth.
Adding more nutrients will not fix these issues. If the pH is wrong, the roots cannot physically absorb the food. In severe cases where plants are badly stunted, it is often more efficient to drain the system, clean it, and start fresh with a correctly balanced solution.
Read also: 5 Steps to Diagnose and Fix Yellowing Hydroponic Leaves
Share This Post