I’ve wanted to test the Vivosun NFT system for a long time to see how it stacks up against my homemade DIY setups. I recently pulled the trigger and purchased this commercial system, and today I’m sharing my honest, real-world results with you.
Phase 1: Germination and Sprouting (Days 1–14)
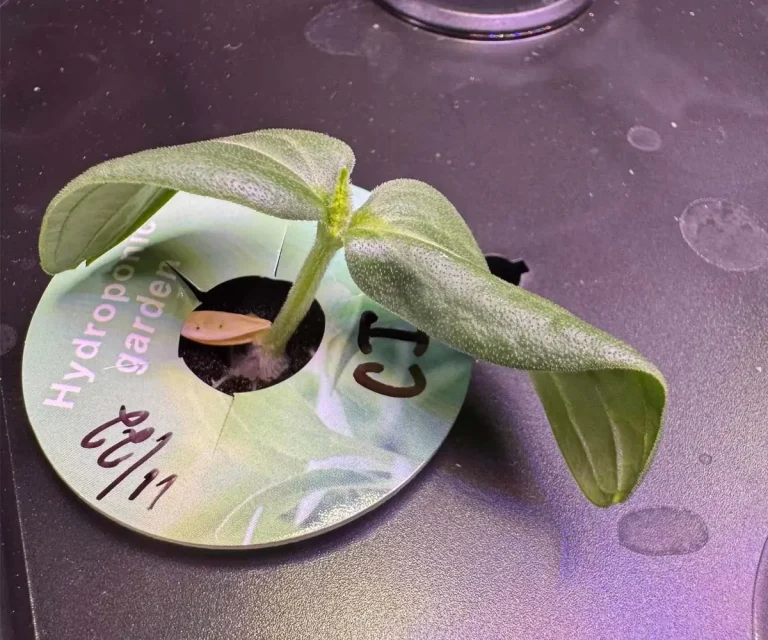
To kick things off, I germinated my lettuce seeds using two mini-seedling trays, filling the bottom of each tray about halfway with distilled water.
For the growing medium, I opted for standard hydroponic rockwool sheets, cutting them down into individual 1.5-inch cubes. In total, I prepped 80 cubes—40 for each seedling tray. I poked a half-inch-deep hole into each cube and placed three seeds inside. After covering the trays with clear humidity domes, I moved them under my LED nursery lights.
Within 3 to 4 days, the first sprouts emerged, and I promptly removed the humidity domes. During the first week, I thinned out the seedlings, leaving only the single strongest plant per rockwool cube.
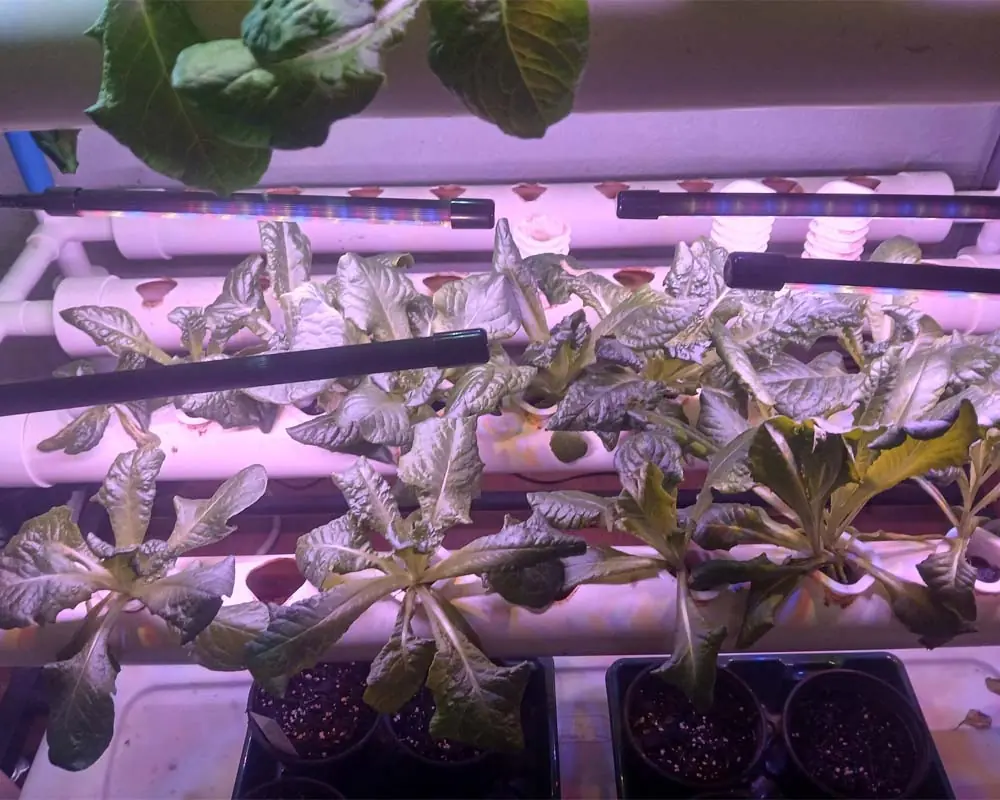
By day 14, the Tom Thumb lettuce had developed several true leaves—a clear signal that they were ready for the main Vivosun NFT system.
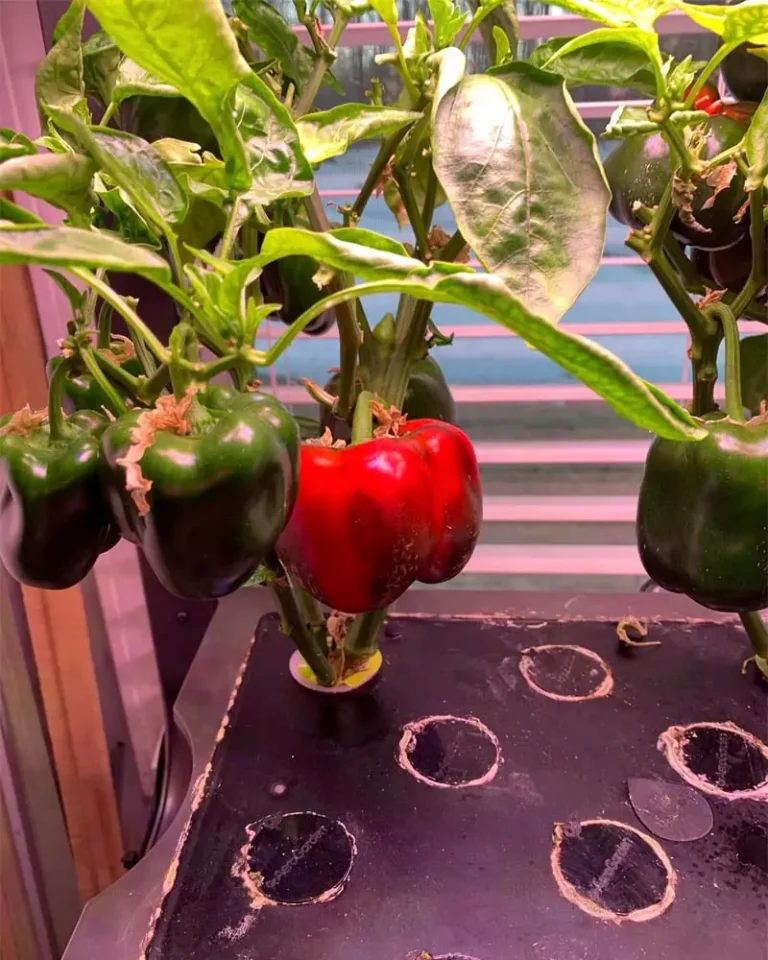
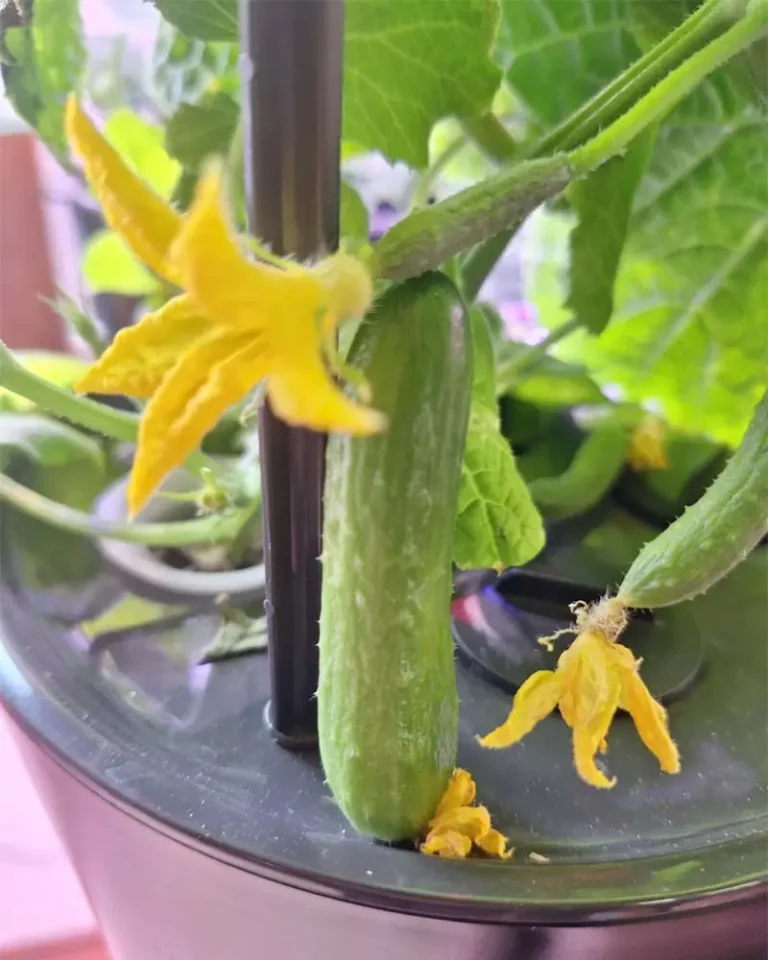
Read also: Growing Quick Snack Cucumbers in My AeroGarden Bounty
Phase 2: System Setup & Transplanting (Day 14)
The Hardware Setup
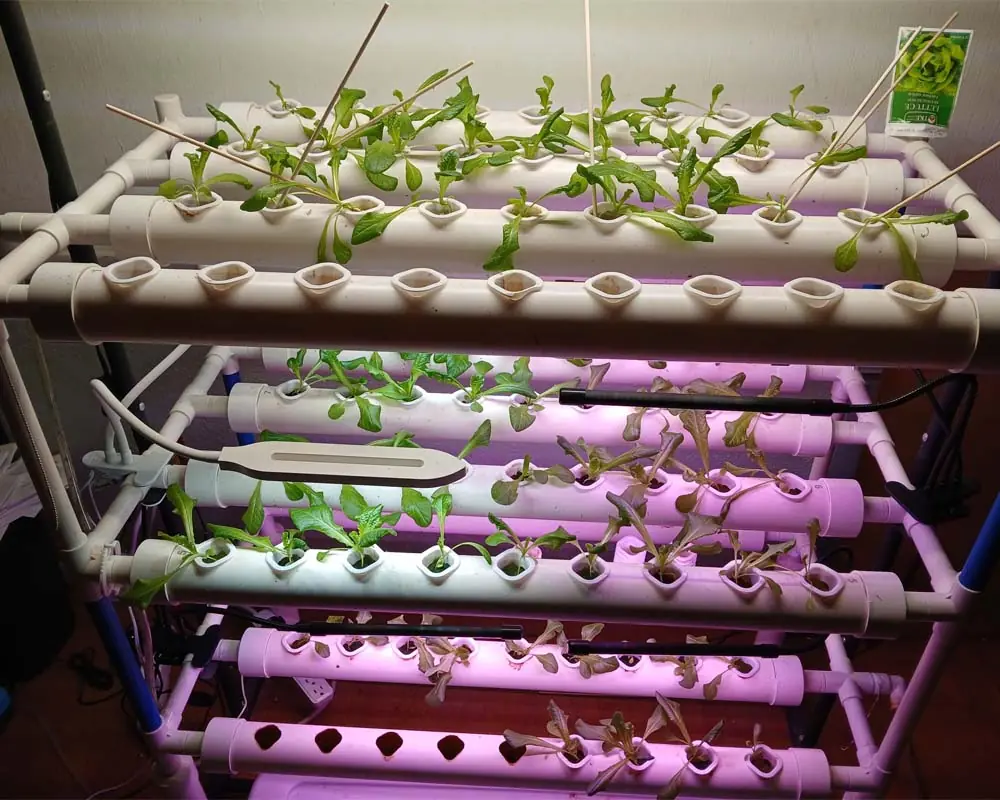
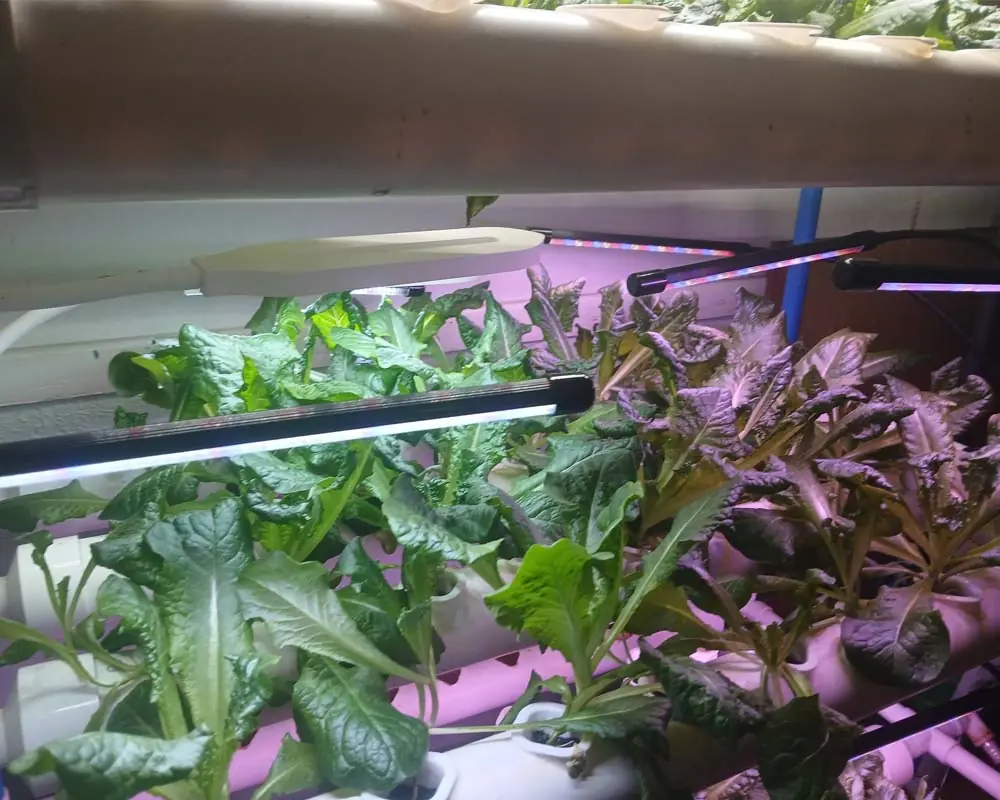
I chose the Vivosun NFT hydroponic system featuring three tiers and four tubes per tier, offering a total of 108 planting spots. While I usually build my own hydroponic rigs, I wanted to see how a mass-produced, factory-made system performed.
The package includes a submersible water pump, timer, net pots, and growing sponges (which I swapped out for my preferred rockwool cubes). Notably, the system does not come with a reservoir tank, so you will need to source a separate tote or bucket.
While assembly was straightforward, the PVC frame construction feels a bit wobbly. Still, at a price point of $115, it’s a highly accessible entry point.
Lighting Configuration
Because this kit is technically designed for outdoor or greenhouse use, it doesn’t include integrated lights. Since I set mine up in my garage, I added my own LED grow lights:
- Top Tier: One 4-foot Boostgro Essential Grow Basic light (20 watts), which spans the entire length of the system. Cost: $49.99.
- Lower Tiers: Four flexible gooseneck grow lights per tier to ensure even coverage across the lower shelves. Cost: $88.00 total.
I hooked the entire lighting array to a digital timer set to a standard leafy-green schedule of 16 hours on and 8 hours off.
Water & Nutrient Tuning
The day before transplanting, I filled my reservoir with standard tap water. The baseline pH read a high 7.8, so I gradually added pH Down until the reservoir stabilized at a crisp 5.7.
For nutrients, I ran the classic General Hydroponics Flora Series, mixing 90 milliliters of fertilizer into the tank. This brought my initial electrical conductivity (EC) to 1.2 mS/cm—the sweet spot for young lettuce clones.
💡 A Note on Aeration: I chose not to install an air pump or airstones. Because the water constantly cascades down through the multi-tiered pipes back into the reservoir, the system creates excellent natural aeration on its own.
Moving In
With the reservoir set, I transplanted my 80 lettuce starters into the 108 available slots, spacing them evenly across the grid to maximize airflow. On the top tier, I briefly tried using small wooden sticks to keep the seedlings perfectly upright, but I quickly realized it wasn’t necessary and abandoned the idea.
The lettuce experienced minor transplant shock and wilted slightly on day one, but within 48 hours, the root systems adjusted, locked in, and began growing rapidly.
Read also: Growing Crisp Butterhead Lettuce with the Kratky Method
Phase 3: Maintenance and Troubleshooting
Because NFT systems work by constantly washing a thin, highly oxygenated film of nutrient solution over the bare root tips rather than submerging them entirely, root health was phenomenal. I didn’t experience a single case of root rot during the entire 45-day cycle—even without forced air injection.
Maintenance was incredibly low-effort:
- I never did a full reservoir dump or water change; I simply topped off the tank with fresh water and nutrients when the volume ran low.
- I monitored pH and EC daily, making minor adjustments only when the parameters drifted out of range.
- To prevent tip-burn, stagnant air pockets, and fungal issues, I positioned an oscillating fan facing the system, programming it to run for 15 minutes every hour.
Read also: Hydroponic Mistakes That Cost Me My Harvest
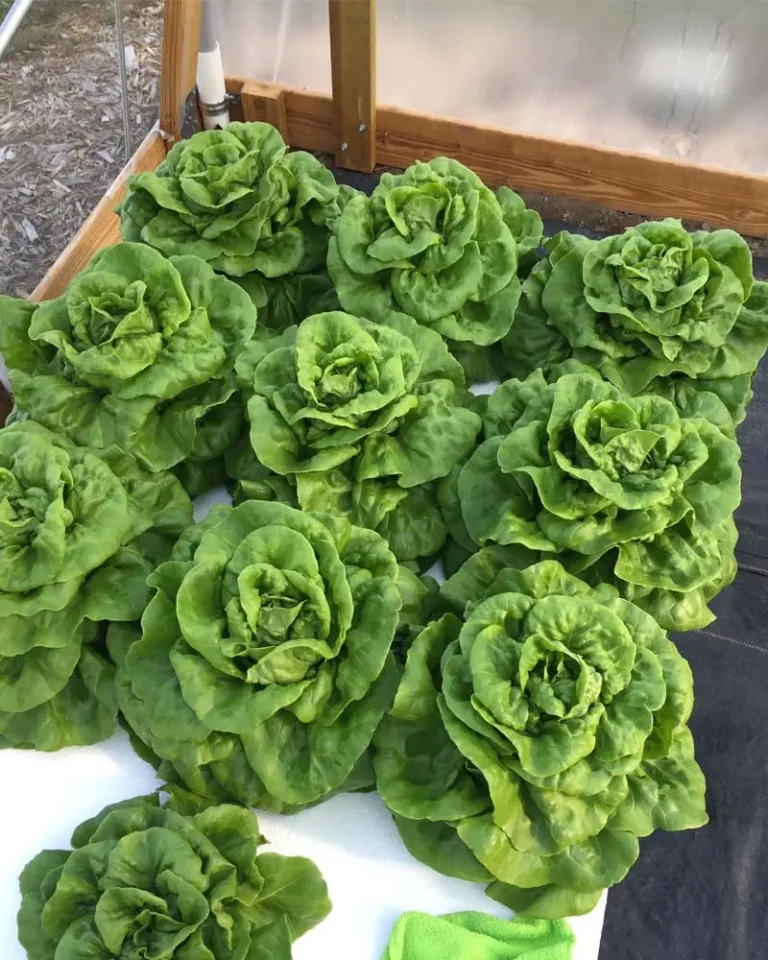
Phase 4: Harvest Time (Days 35–45)
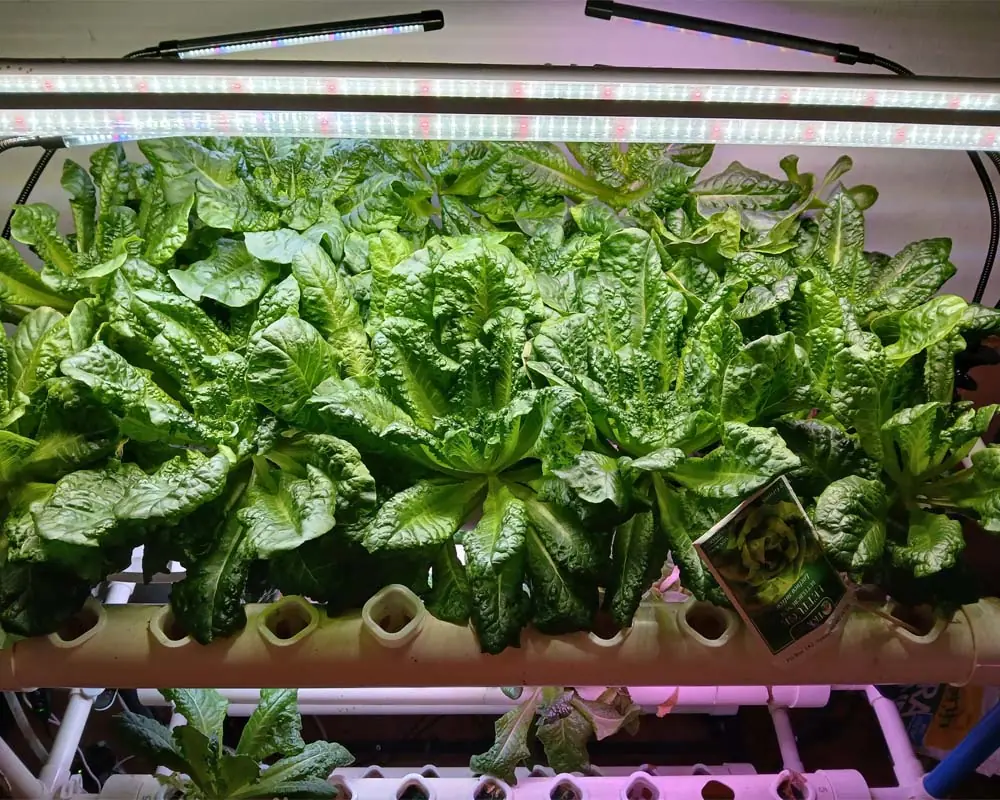
By day 35, the heads were fully mature. Instead of harvesting all 80 heads at once, I used a staggered approach, picking one fresh head every day right before lunch. For quick snacks, I would simply harvest the outer leaves using a “cut-and-come-again” method, allowing the core of the plant to keep producing.
Over the cycle, I pulled 80 beautifully formed heads of Tom Thumb lettuce. In terms of density and quality, they easily rivaled the premium living lettuce heads you find at upscale supermarkets.
Costs vs. Results
|
Item |
Quantity |
Cost |
|---|---|---|
|
Electricity |
73.8 kWh |
$12.50 |
|
Rockwool |
80 Pieces |
$4.00 |
|
Nutrients |
360 ml |
$3.60 |
|
Water, pH Down, etc. |
Misc. |
$1.00 |
|
Total Cost |
$21.10 |
Breaking that down, each organic, homegrown head of gourmet butterhead lettuce cost just $0.26 to produce.
Given the low running costs and the high quality of the yield, I consider this garage experiment an absolute win.
What do you think of this setup? Would you try a commercial multi-tier NFT system, or stick to DIY? Let me know in the comments below!
Share This Post