In this article, I want to share my firsthand experience growing basil in an AeroGarden Bounty hydroponic system. I’ve detailed every aspect of the process here so you can easily follow along, avoid my mistakes, and maximize your own indoor harvest.
Setting Up Your Bounty for Basil
I began the growing process by preparing the nutrient solution. I used standard tap water that had sat out for 24 hours to allow any chlorine to dissipate. After calibrating my pH meter, I found the baseline water pH was 7.8. I used a standard pH-Down solution to bring that number down to an optimal 5.9.
Next came the nutrients. My baseline water had an initial EC of 0.4 mS/cm. I opted for the General Hydroponics FloraSeries trio, adding 15 mL total (5 mL from each bottle: FloraGro, FloraBloom, and FloraMicro). As expected, this brought the reservoir’s EC straight to a target 1.2 mS/cm.
[Baseline Water: 0.4 mS/cm] + [15mL FloraSeries] = [Target 1.2 mS/cm]
For the planting layout, I wanted to run a small substrate experiment. I planted 3 seeds per pod across 4 pods total:
- Pods 1 & 2: Standard AeroGarden peat sponges
- Pods 3 & 4: Rockwool plugs
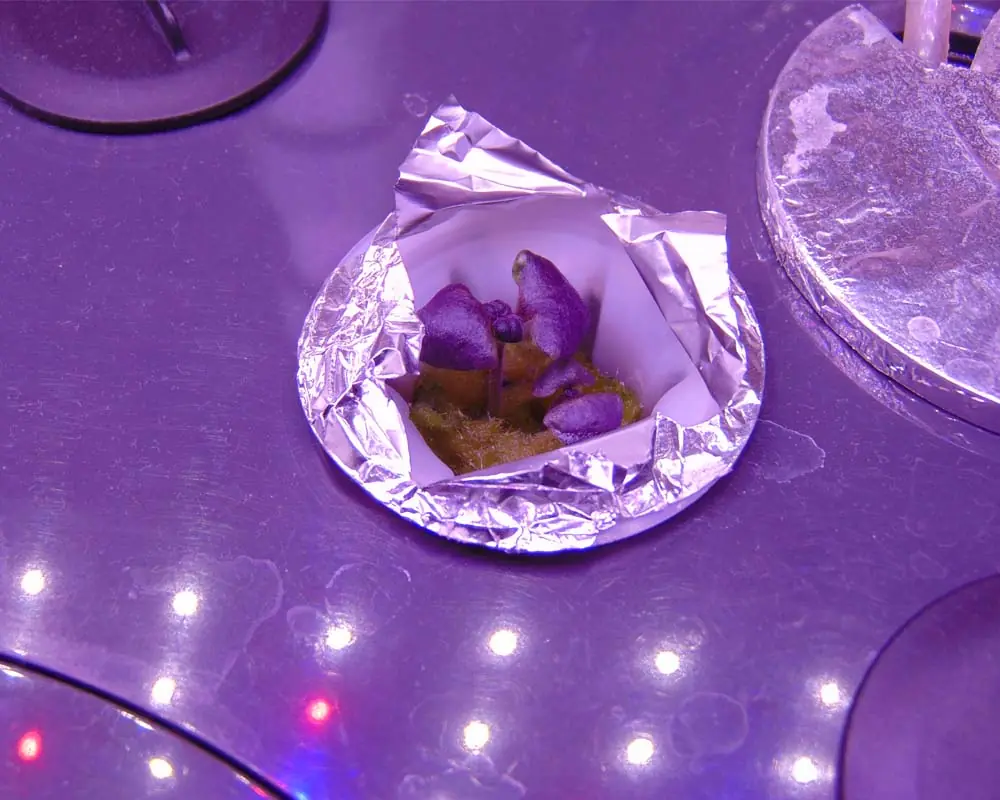
To prevent early algae development on the damp substrates, I crafted custom protective covers out of aluminum foil to block light from hitting the top of the plugs. Finally, I popped on the clear plastic grow domes, dropped the LED light hood to its lowest position, set the built-in timer to a 16-hour light cycle, and dropped an auxiliary air stone connected to an external air pump into the tank to maximize dissolved oxygen.
Read also:
The Germination Phase (Days 1–14)
By day 4, the first tiny sprouts broke through the surface. Within three days after that, true young plants were well on their way, prompting me to remove the plastic grow domes.
The germination rate was flawless—100% success across both sponges and the rockwool plugs. During the second week, I thinned the pods by using small tweezers to snip away the weaker seedlings, leaving just the single strongest plant per pod.
During this second week, I also administered a scheduled top-up of fertilizer, pushing the EC up to 1.8 mS/cm. The basil started out quite slow in those first couple of weeks, though growth noticeably accelerated right after that second feeding. As the canopy crept upward, I adjusted the Bounty’s light panel dynamically, maintaining a consistent 2-inch gap between the top leaves and the LEDs.
Read also: How to Grow Tom Thumb Lettuce in a Vivosun NFT Hydroponic System

Pruning and Training
Unlike standard guides, I chose not to aggressively prune or “top” my basil early on. Because I had multiple plants growing in a relatively confined footprint, I didn’t want them branching out horizontally too wide and choking each other out. Thanks to the sheer number of stalks, I still managed to develop an incredibly dense volume of foliage.
The only essential pruning happened around the two-month mark when the plants began throwing up flower spikes. I immediately pinched these flower clusters off to prevent the leaves from turning bitter and to redirect energy back into structural vegetative growth, which triggered a quick growth spurt.
⚠️ My Biggest Mistake: I had planned to install a trellis system to support the massive stalks but kept putting it off. By the time the basil reached its peak height, the canopy was far too dense to safely retro-fit a grid. Without support, the heavy stems began leaning and falling over under their own weight.
Furthermore, a few late-sprouting seeds that escaped my initial thinning ended up surviving. Two of my four pods actually contained two fully grown plants, meaning I had 6 total plants competing for space in a 4-pod footprint. The basil ran out of physical room rapidly; it was simply too crowded for an AeroGarden Bounty.
Read also: Growing Oregon Spring Tomatoes in the AeroGarden Farm 12XL
System Maintenance
For the majority of the cycle, maintenance was incredibly straightforward:
- Water Top-offs: Six mature basil plants drink an immense amount of water. I found myself topping off the reservoir every single day or two using pH-adjusted water.
- Water Changes: Interestingly, I never performed a full reservoir flush or system cleaning during the entire cycle. The auxiliary air stone kept the water highly oxygenated, clear, and odor-free.
- Parameter Monitoring: I checked the pH and EC daily. About once every two weeks, I supplemented with minor nutrient top-offs based on the current EC readings, successfully holding the environment stable between 1.2 and 1.8 mS/cm.
Read also: Growing Quick Snack Cucumbers in My AeroGarden Bounty
Troubleshooting Common Issues
Algae and Mold
While my DIY aluminum foil stickers kept algae completely at bay on both types of media, the dense, humid microclimate under the crowded canopy eventually invited a small amount of surface mold onto the pods. Early on, I wiped it away with a dry paper towel, but eventually ignored it once it became clear it wasn’t impacting the health of the stalks.
Root Rot
My main hurdle arrived during month two when the plants suddenly stalled out. A quick root inspection revealed a disheartening sight: the root mass had turned dull and brown. Root rot had set in.
Despite the heavy aeration from the air stone, the crowded root mass had choked itself out. To fix this, I dosed the reservoir with 5 mL of a beneficial bacterial solution (Bacillus amyloliquefaciens). The results were almost magical: within a single week, the root rot cleared up, vibrant white root tips exploded out of the mass, and the basil resumed rapid upward growth.
Air Circulation
To prevent future stagnant air pockets and fungal leaf spotting, I set up a small oscillating fan on a digital timer to blow a gentle breeze over the canopy a few times a day.
Read also: Hydroponic Mistakes That Cost Me My Harvest
The Harvest (Day 55)
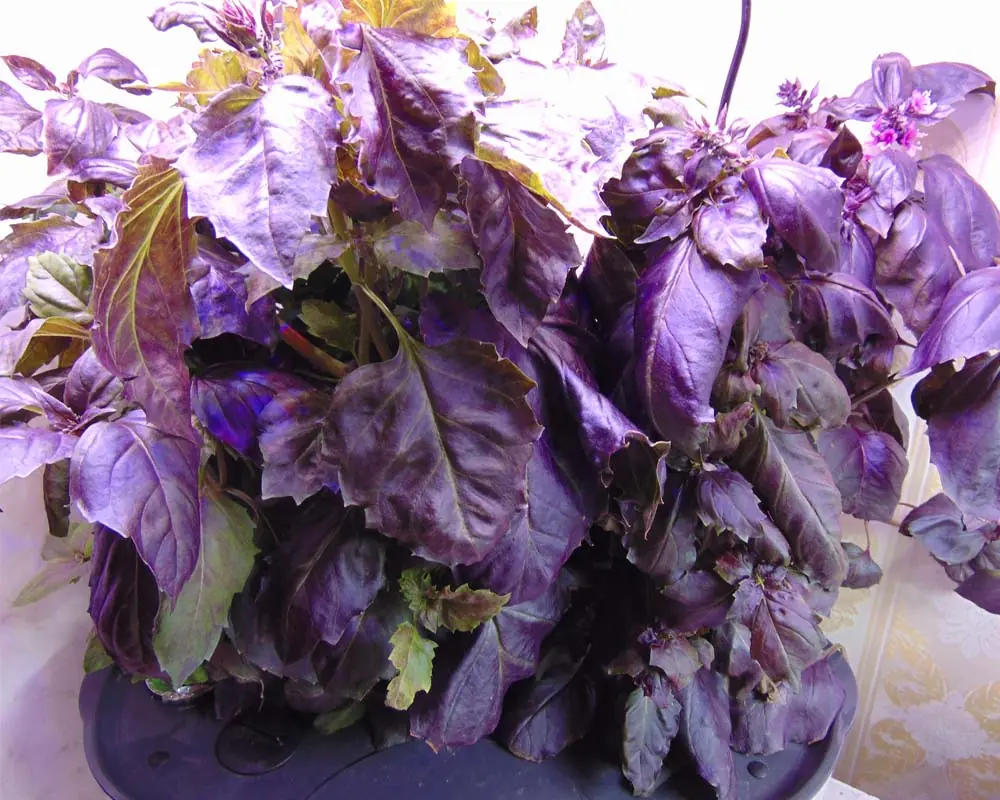
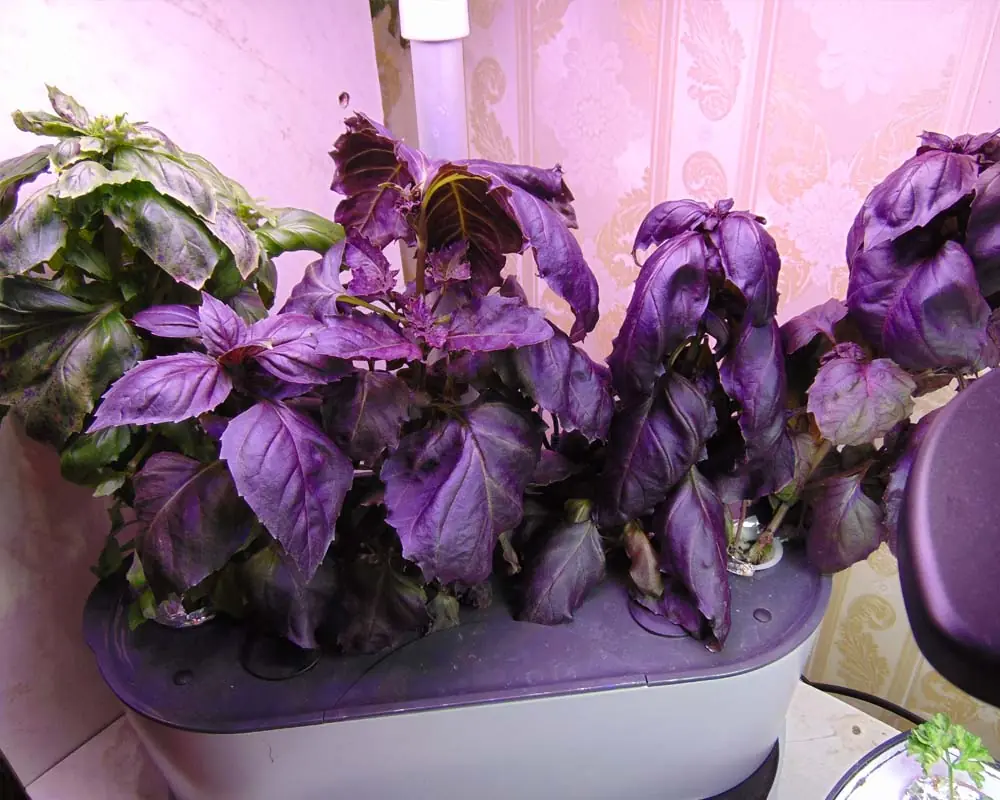
By day 55, the canopy was an absolute jungle. While I could have easily picked individual leaves weeks prior, I intentionally waited until the system was completely maxed out to perform a massive harvest.
I chose a staggered harvesting strategy, taking portions of the plants over an extended period rather than cutting everything down to stumps at once. In total, the cumulative yield across the cycle matched what you would expect from six full-sized, soil-grown grocery store plants.
Costs vs. Results
Here is the exact financial breakdown of this indoor hydroponic run:
|
Item |
Quantity |
Cost |
|---|---|---|
|
Electricity |
35.2 kWh |
$5.90 |
|
Substrates |
2 Sponges + 2 Rockwool Plugs |
$0.50 |
|
Nutrients |
60 mL total (FloraSeries) |
$0.60 |
|
Water & Additives |
Tap water, pH-Down, Bacillus |
$0.50 |
|
Total Cost |
$7.50 |
At a grand total of $7.50 for 6 massive plants, the production cost came out to a mere $1.25 per plant—a fraction of the price of store-bought fresh herbs, with vastly superior flavor and shelf-life
Share This Post