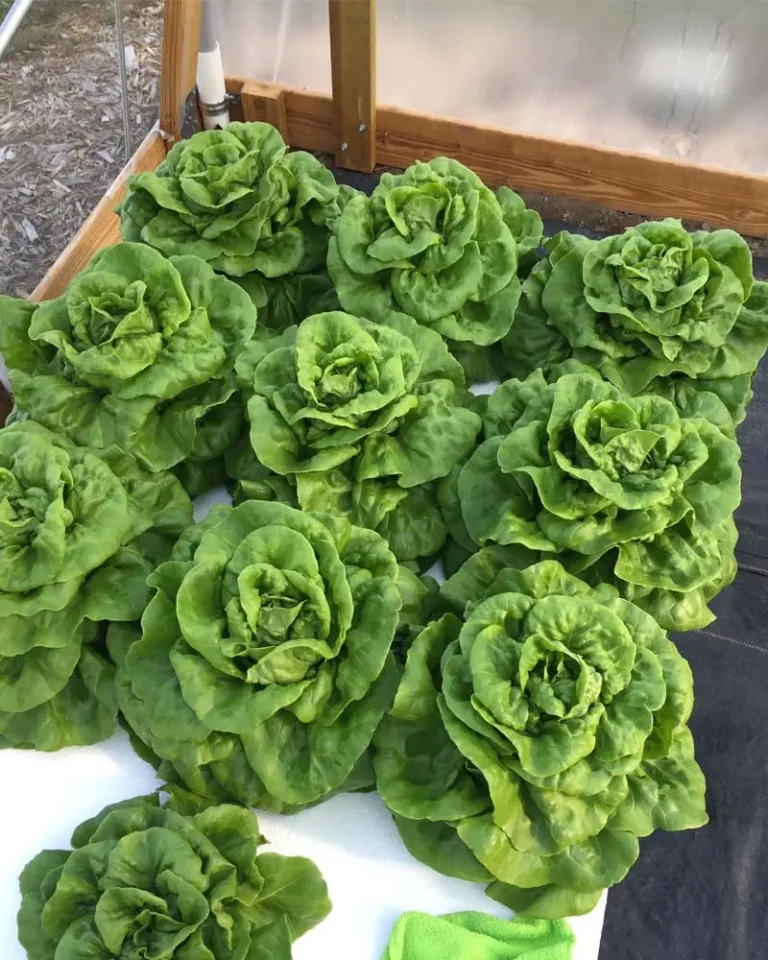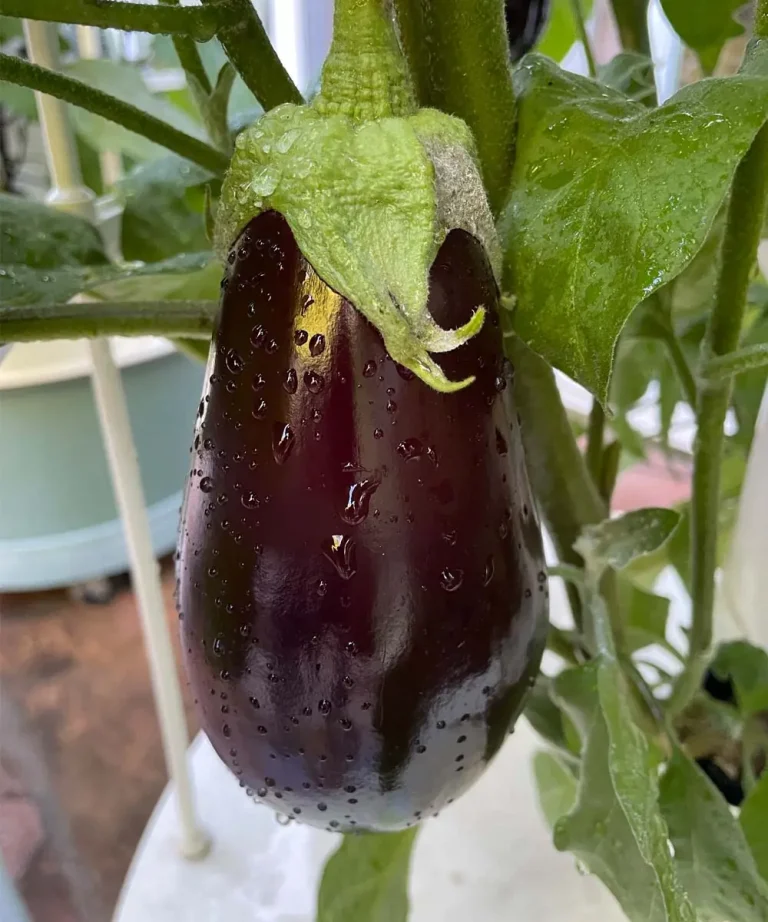

A few years ago, I bought an iDOO 12-pod hydroponic system and immediately put it to the test. Today, I can confidently say it is one of the most affordable and effective indoor setups for growing lettuce. Over multiple runs, I’ve identified a few of the system’s shortcomings and found simple ways to fix them.
In this guide, I’ll show you exactly how to achieve a fast, bountiful lettuce harvest in just over a month.
Getting Started
Water Quality & Preparation
I always start the growing process by properly prepping my water. I filled the reservoir with tap water and let it sit uncovered for 24 hours to dissipate any chlorine.
Next, I measured the pH with my Aqua Master Tools P50 Pro, which read 7.8. Because that is too alkaline for lettuce, I adjusted the pH down using General Hydroponics pH-Down. After a few hours, the pH stabilized at 5.8—the sweet spot for preventing lettuce leaves from turning yellow later on.
Plant Food & Nutrients
For nutrients, I went with the General Hydroponics Flora Series (a reliable 3-part liquid fertilizer). While it isn’t the absolute cheapest option on the market, its reliability is top-tier.
Before adding nutrients, I checked my starting water’s EC with an Aqua Master Tools E60 Pro, which read 0.4 mS/cm. This indicates my tap water naturally contains some dissolved minerals.
⚠️ Mixing Note: To get my starting EC to 1.0 mS/cm (ideal for young hydroponic greens), I added 4 ml from each of the three bottles to my 1-gallon reservoir. Keep an eye on your EC as you mix, as starting tap water purity varies!
Throughout the growth cycle, I topped off and adjusted nutrients according to the schedule detailed in the feed chart below.
Lighting & System Setup
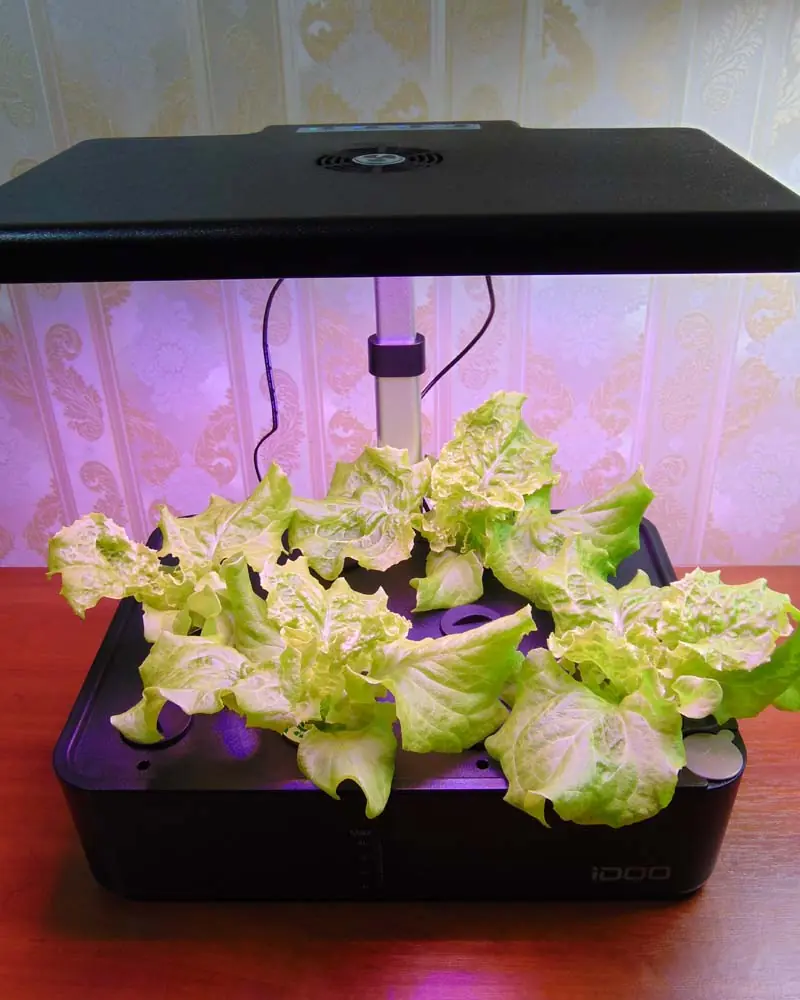
I lowered the iDOO light panel to its lowest position and turned it on. By default, the iDOO light runs on a rigid 16-hour on / 8-hour off cycle that cannot be customized. It also features two spectrum modes: Vegetables and Flowers. Naturally, I selected Vegetables.
As the canopy grew, I gradually raised the light panel, always maintaining a strict 2-inch gap between the topmost leaves and the LEDs to maximize light intensity without burning the plants.
Seeds, Spacing & Germination
I chose the Grand Rapids loose-leaf variety for this run. Here is how it stacks up against other popular hydroponic lettuce varieties:
|
Variety |
Growth Speed |
Compact Size |
Heat Tolerance |
Yield in Small Systems |
Best Feature |
|---|---|---|---|---|---|
|
Grand Rapids |
5/5 |
5/5 |
4/5 |
5/5 |
Fast growth and compact habit |
|
Buttercrunch |
4/5 |
4/5 |
4/5 |
4/5 |
Excellent flavor and texture |
|
Black Seeded Simpson |
5/5 |
3/5 |
3/5 |
3/5 |
Very fast growth |
|
Romaine |
3/5 |
2/5 |
4/5 |
2/5 |
Large crunchy leaves |
Even though the iDOO tray has 12 holes, I only grew 4 lettuce plants. The iDOO reservoir is quite compact, and attempting to fill all 12 pods will quickly crowd out your crop. Four plants is the absolute sweet spot for optimal airflow and light distribution.
- Pre-soak: I soaked the original iDOO sponges in a weak nutrient solution.
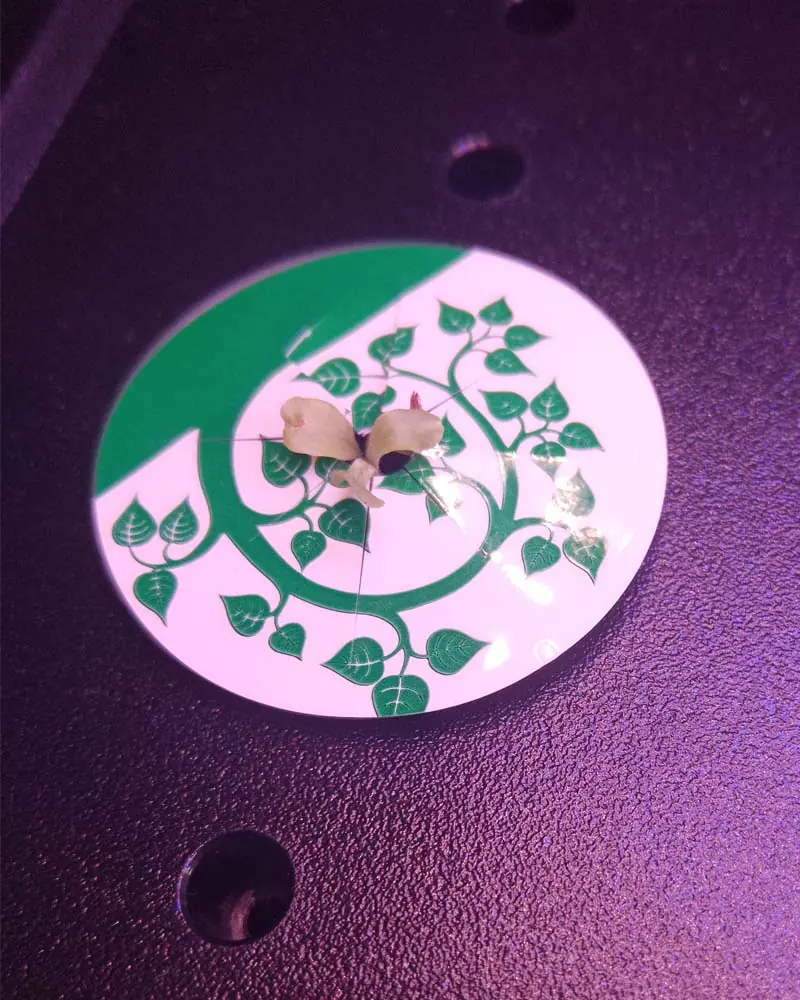
- Sow: I placed 3 seeds into each sponge.
- Position: I loaded the sponges into the mesh plastic pots and placed them in the far four corners of the tray to maximize physical distance between the plants.
- Cover: I covered the pods with the included clear plastic humidity domes.
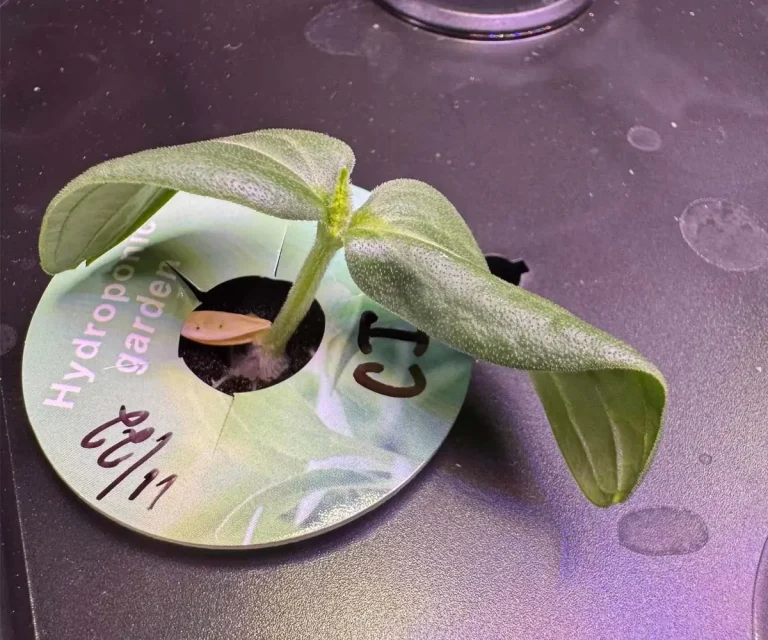
By Day 5, the first sprouts emerged, and I promptly removed the domes. Once the seedlings hit Day 6, I thinned them out, leaving only the single strongest, healthiest seedling in each pod.
The Growth Phase
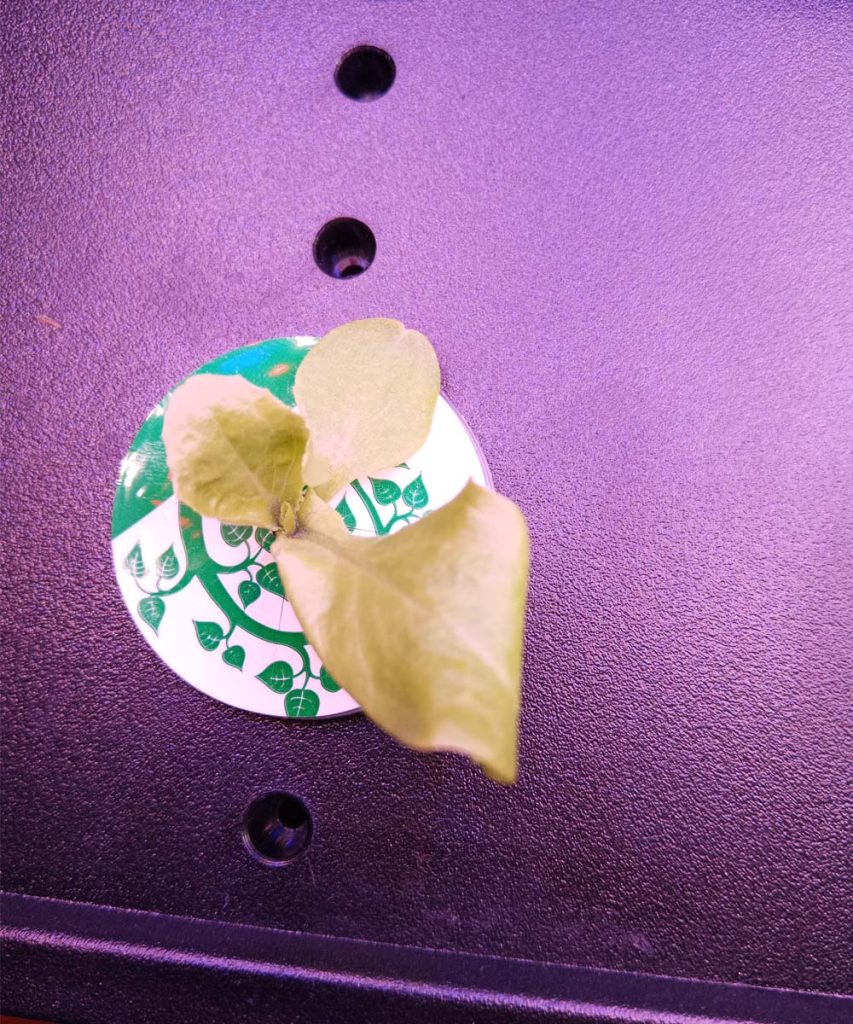
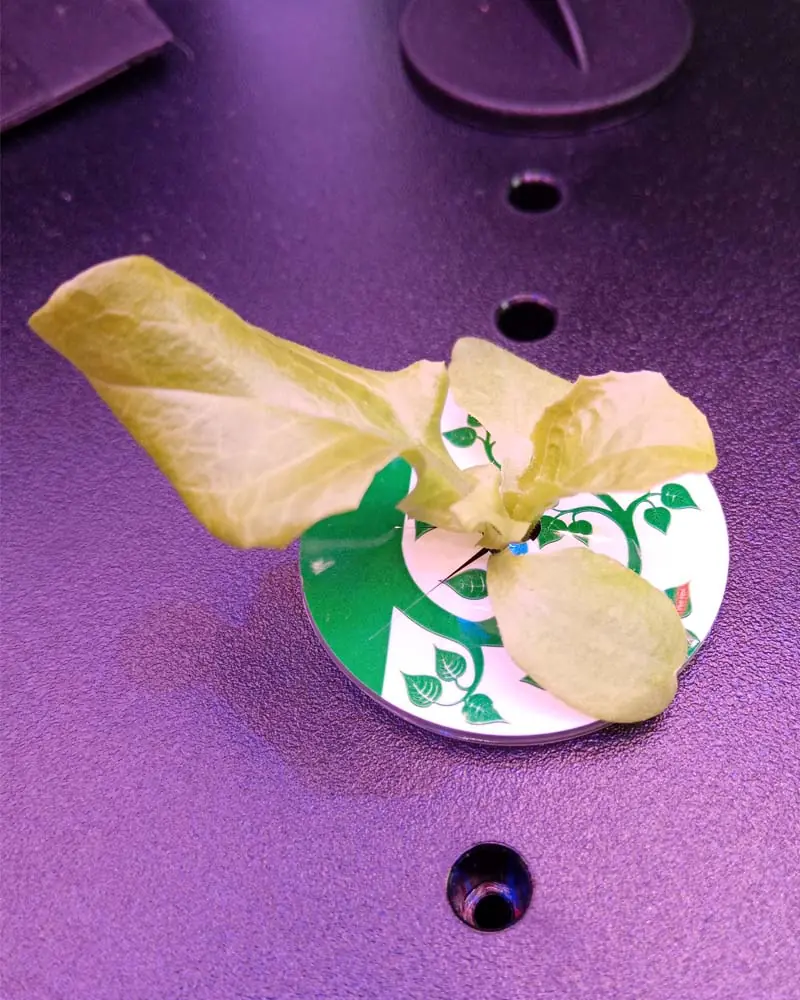
By Day 7, each plant had established at least two true leaves, and growth kicked into high gear. Bright white roots began breaking through the bottom of the sponges.
Thanks to the light-blocking pod stickers, the sponges remained completely free of algae.
Daily Maintenance Tips
- I constantly monitored the pH and EC levels, adjusting with pH-Down, fresh distilled water, or nutrient top-offs whenever they drifted out of range.
- I never let the water reservoir drop below the halfway mark. During the final, rapid growth stage, the thirsty plants required water top-offs every other day.
I missed a water top-off once, causing the leaves to wilt dramatically. Fortunately, lettuce is incredibly resilient—after a quick reservoir fill, they perked right back up within hours with no lasting damage.
On Day 14, I bumped the nutrient levels up to an EC of 1.4 to support the rapid development of vegetative mass.
Below is a table showing the fertilization schedule that allowed me to increase my lettuce yield.
Flora Series Hydroponic Lettuce Feed Chart
|
Growth Stage |
Plant Age |
FloraMicro |
FloraGro |
FloraBloom |
Target EC (mS/cm) |
|---|---|---|---|---|---|
|
Germination/Seedling |
Days 1–14 |
4 ml/gal |
4 ml/gal |
4 ml/gal |
1.0 |
|
Early Growth |
Days 15–21 |
4 ml/gal |
4 ml/gal |
4 ml/gal |
1.4 |
|
Rapid Growth |
Days 22–28 |
8 ml/gal |
8 ml/gal |
4 ml/gal |
1.6 |
|
Harvest Stage |
Days 29–35+ |
8 ml/gal |
8 ml/gal |
4 ml/gal |
1.8 |
Troubleshooting Common Issues
Tip Burn (Calcium Deficiency)
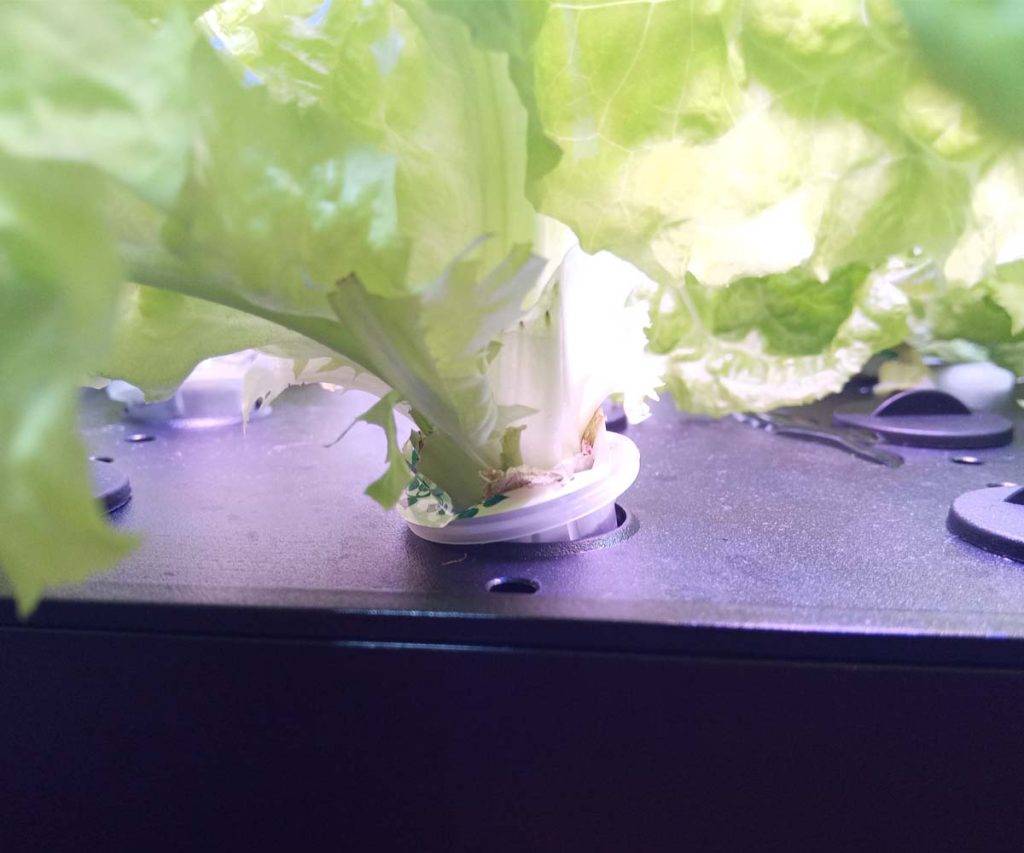
During week three, I noticed the tips of a few young leaves turning black and crispy. This is classic tip burn, caused by a calcium deficiency. In indoor setups, this is usually due to poor transpiration (the plant’s inability to evaporate water from its leaves and pull calcium up from the roots).
The Fix Part 1: I added a Cal-Mag supplement at 3 ml per gallon to ensure plenty of calcium was available in the reservoir.
The Fix Part 2: I aimed a small, clip-on fan at the unit, set to run for 15 minutes every hour. This gentle breeze broke up the humid microclimate around the leaves, improved transpiration, and completely halted the tip burn.
Bolting & Bitterness (Heat Stress)
Lettuce thrives in cool temperatures (66–71°F / 19–22°C). If your room temperature climbs past 75°F (24°C), the lettuce will bolt (go to seed) and produce a bitter, milky white sap that ruins the flavor of your harvest.
To prevent this, I kept the system in a cool room and used various methods to cool the water.
Preventing Root Rot
Root rot is a notorious crop killer in small hydroponic systems. Symptoms include sluggish plant growth and slimy, brown roots.
To proactively fight root rot, I added an external aquarium air stone to the iDOO reservoir, powered by a small air pump set to run for 15 minutes every hour. The massive boost in dissolved oxygen kept the root zone pristine and eliminated the need to constantly flush and clean the reservoir and pump.
Harvest Time
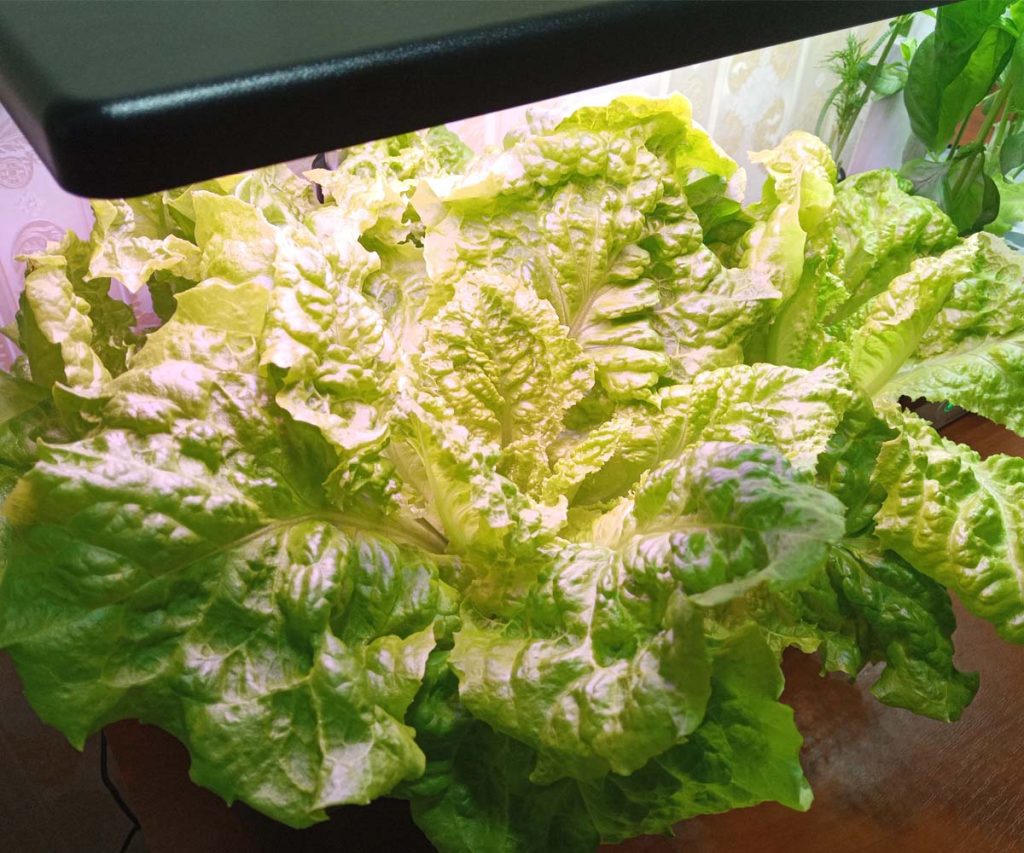
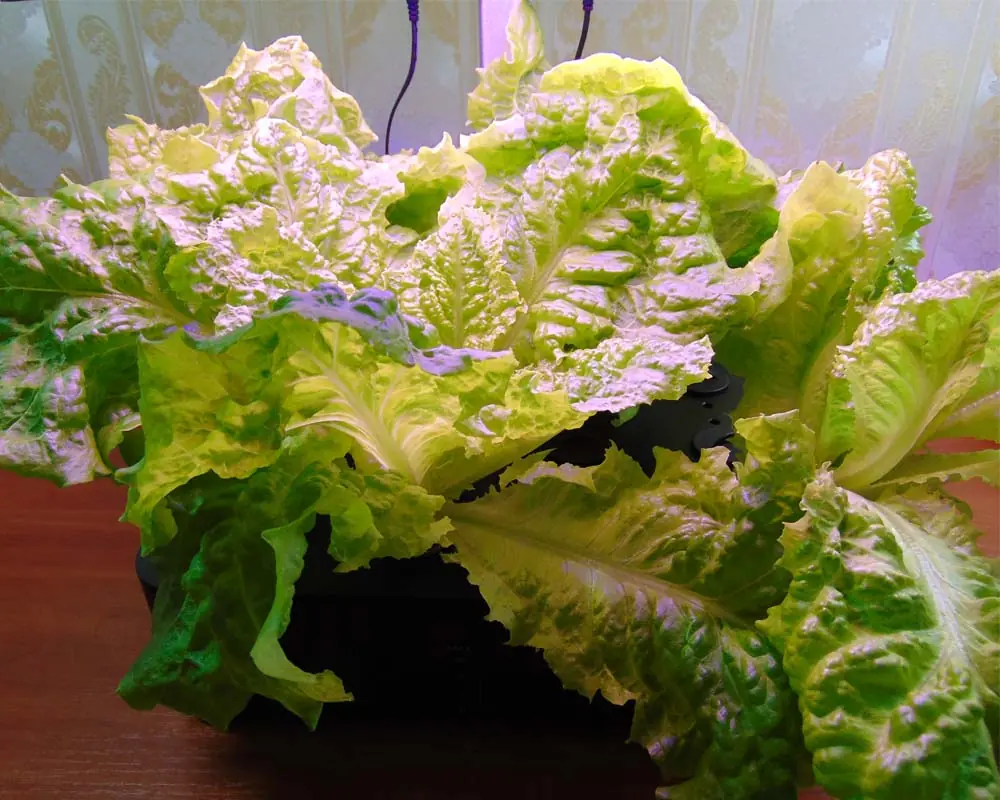
By Day 30, the lettuce was nearly full size. I waited until Day 35 to begin a rolling harvest.
Instead of chopping the entire head, I used the “cut-and-come-again” method:
- I harvested only the outer 2–3 mature leaves from each plant weekly.
- Around Day 42, after stripping the outer leaves, I harvested the central top, leaving a few base leaves intact.
- This triggered a second growth spurt, yielding a fresh flush of tender greens from the center of the plant.
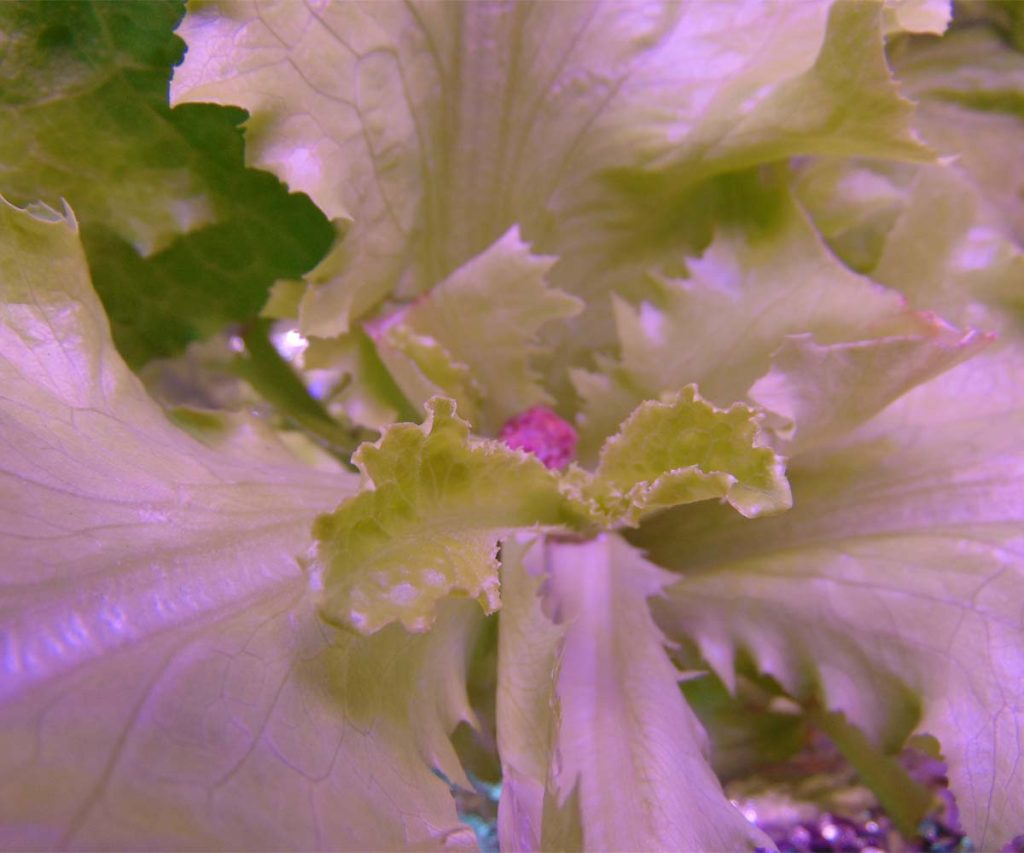
Ultimately, over a two-month period, these 4 plants yielded the equivalent of 6 full heads of pristine, organic lettuce.
Costs vs. Results
Is growing your own greens in an iDOO actually cost-effective? Let’s break down the numbers:
|
Item |
Quantity |
Cost |
|---|---|---|
|
Electricity |
24 kWh |
$4.08 |
|
Nutrients |
64 ml total (Flora Series) |
$0.64 |
|
Water & Additives |
Tap water, pH-Down, Sponges, Cal-Mag |
$1.00 |
|
Total Cost |
$5.72 |
With a total yield of 6 heads of premium lettuce, the final cost comes out to just $0.95 per head.
Given the freshness, zero pesticide use, and the convenience of harvesting directly from the kitchen counter, I consider this a massive win.
What do you think? Is growing your own lettuce at this price point worth the effort? Let me know your thoughts and questions in the comments below!
Share This Post