Root rot is a frustratingly common problem in hydroponics that every indoor grower faces sooner or later. Because desktop systems like the AeroGarden Bounty hold a relatively small volume of water, a tiny environmental spike can quickly turn your reservoir into a breeding ground for pathogens.
Below, I want to share a real-world case study of how my sweet basil developed a severe case of root rot, and the exact step-by-step recovery process I used to save the harvest.
⚡QUICK ANSWER: To eliminate root rot, I trimmed away the damaged root mass (about two-thirds of the total volume), soaked the remaining roots in a diluted 3% hydrogen peroxide bath for 30 minutes, and completely sterilized the reservoir. I then reset the system with a fresh nutrient solution inoculated with beneficial bacteria and installed an external air stone for maximum aeration.
| Feature | Healthy Roots | Slimy Roots (Root Rot) |
| Color | Bright White / Cream | Brown / Dark Grey |
| Texture | Firm, springy | Mushy, slimy, falls apart |
| Smell | Fresh, like earth or rain | Rotten, swampy, sulfur |
| Plant Signs | Fast growth, perky leaves | Sudden wilting, yellowing leaves |
1. Sterile Root Pruning
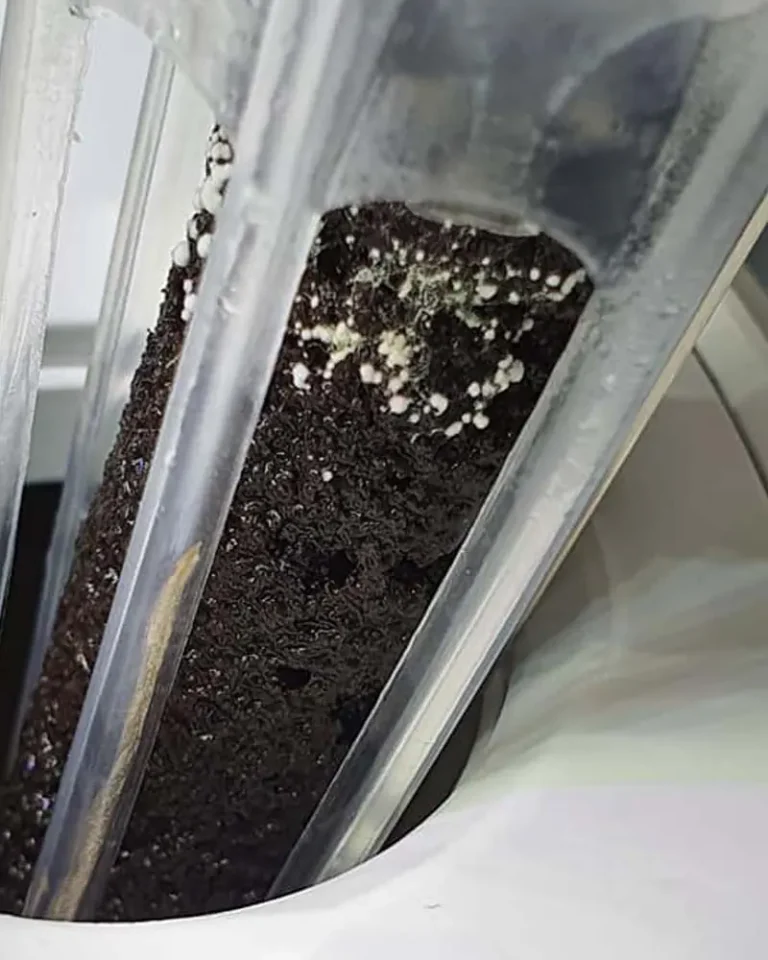
The moment I noticed my basil roots turning brown and slimy, I knew I had to act fast.
The Clean
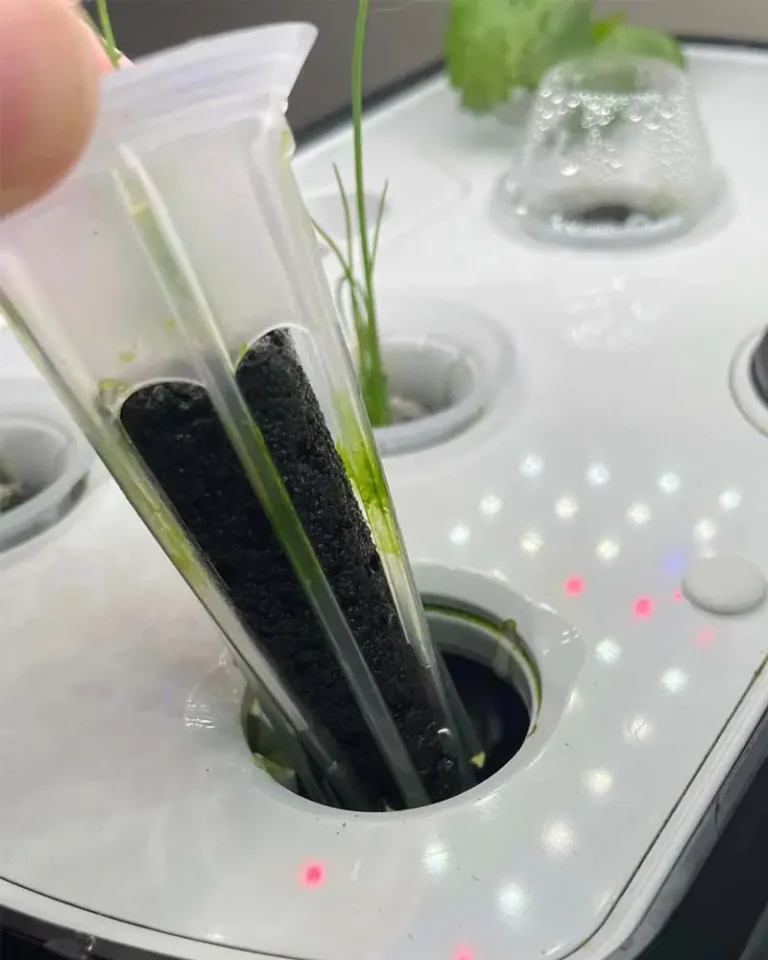
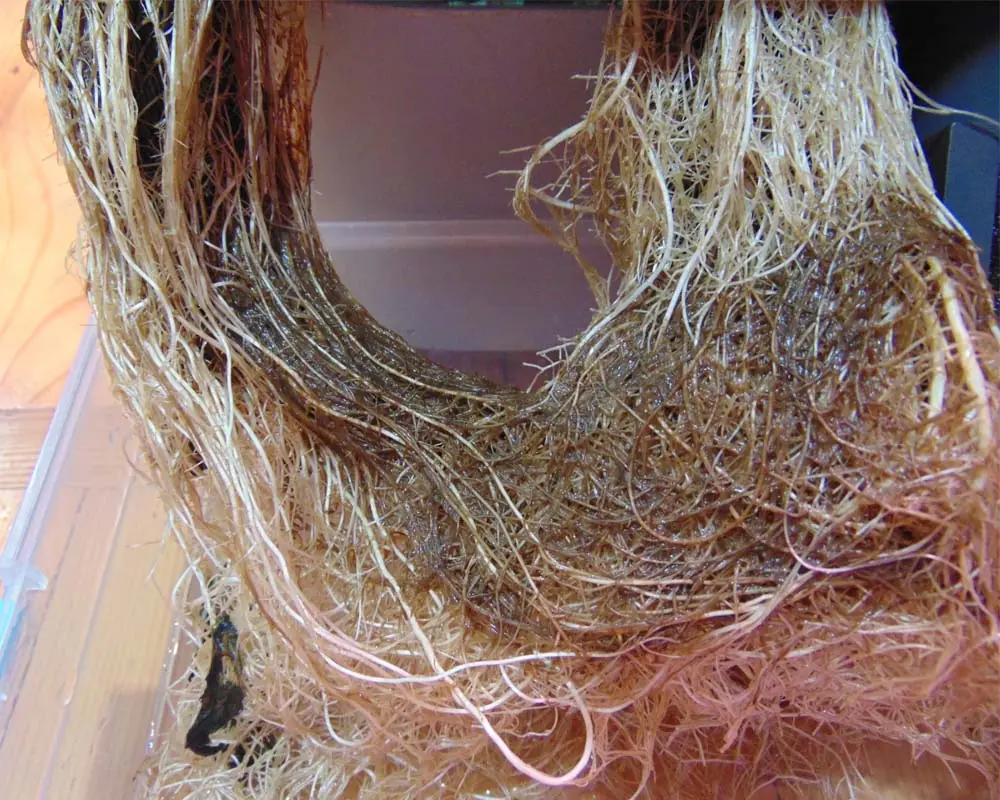
Some stubborn slimy strands remained close to the net pots. I took the individual plant pods out of the deck and gently rinsed the remaining roots under cool running tap water, carefully teasing away the last of the dead tissue.
Setup
I carefully lifted the growing deck out of the AeroGarden Bounty reservoir and placed the entire panel over a clean plastic tray to prevent spreading the pathogen.
The Trim
Using sharp, sterilized scissors, I cut the root mass back by roughly two-thirds. Because the healthy and diseased roots were completely tangled together, I ended up sacrificing some white root tissue along with the rot. Don’t panic if you have to do this—pruning actually stimulates the plant to push out vigorous new root structures.
2. Treat the Roots with Hydrogen Peroxide

Pruning removes the visible decay, but you must treat the remaining roots to destroy microscopic spores.
I prepared a quick disinfectant bath in a small clean basin.
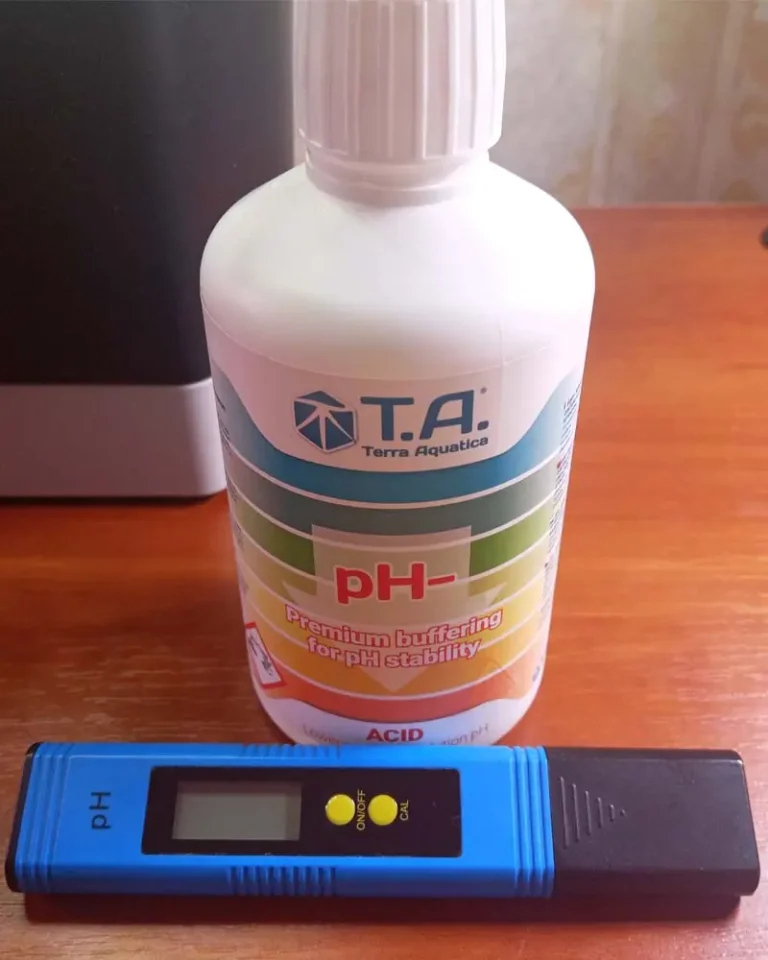
The Formula: I filled the basin halfway with water and added standard 3% hydrogen peroxide at a ratio of 1 tablespoon per 1 gallon of water.
I placed the basil pods directly into the solution (leaving the plants right inside their plastic net baskets) and let them soak for 30 minutes. You will see some fizzing—that is the peroxide oxidizing the organic pathogens.
After 30 minutes, I gave the roots a final rinse under cool running water.
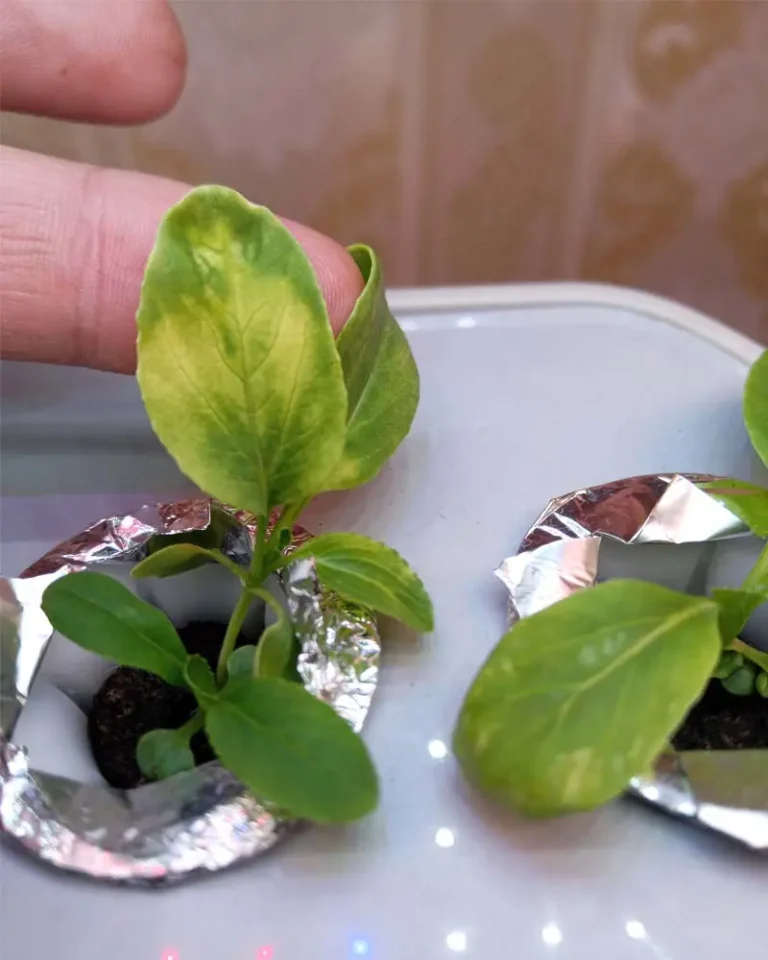
While the plants were soaking, I also took a moment to prune away any yellowing or dried leaves from the top growth to reduce the structural load on the wounded root system.
3. Deep Clean and Sterilize the Reservoir
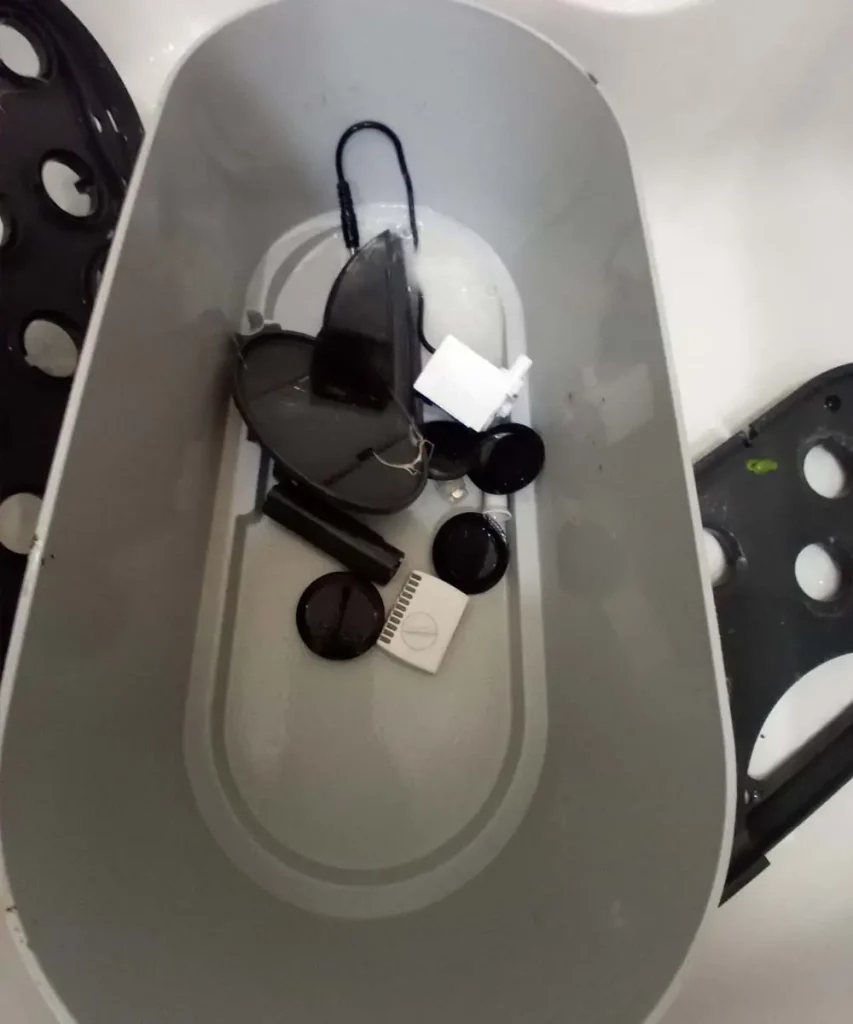
While my basil roots were sanitizing, I stripped down the AeroGarden Bounty bowl. You cannot just rinse the tank; Pythium forms a stubborn biofilm that hides inside mechanical components.
- I completely disassembled the system, removing the water pump cover and separating the two halves of the growing deck.
- I sprayed all plastic parts with white vinegar and let them sit for a few minutes. Vinegar effortlessly dissolves the stubborn limescale and nutrient crust that builds up over time.
- Using an old toothbrush, I scrubbed out the tight corners, the internal pump housing, and the water channels under the grow deck, rinsing everything thoroughly under hot water.
- I reassembled the empty unit, filled it with plain water, added 1 tablespoon of 3% hydrogen peroxide, and ran the built-in pump cycle for 30 minutes. This flushes out any remaining bacteria lurking deep inside the internal lines. Finally, I drained the tank and gave it a final rinse.
4. Lower the Water Temperature to Slow Down Pathogens
Heat is the ultimate catalyst for root rot. If your nutrient solution climbs above 75°F (24°C), dissolved oxygen drops, and root rot pathogens multiply exponentially.
My breakout happened during the summer because I made the classic mistake of placing my AeroGarden right next to a window where it received direct, scorching sunlight.
To fix this environmental issue, I made three immediate changes:
- Relocation: I moved the Bounty further into the room, completely out of direct sunlight.
- Climate Control: I set my home thermostat a couple of degrees lower to keep ambient temperatures stable.
- Evaporative Cooling: I set up a small desk fan pointing directly at the system on a digital timer. The constant airflow not only cools down the water tank and the plant canopy, but it also clears excess humidity from the leaves, preventing fungal leaf spots.
5. Install an External Air Stone for Maximum Dissolved Oxygen
The built-in water pump that comes with compact desktop systems is designed to circulate water, but it doesn’t provide enough active aeration to fight off aggressive pathogens in warm weather.
To fix this permanently, I installed an inexpensive aquarium air pump and dropped a small air stone directly into the Bounty’s reservoir.
I plugged the air pump into a timer set to run on an intermittent cycle: 5 minutes ON, 15 minutes OFF.
This entire upgrade cost me less than $20, but the peace of mind is priceless. High dissolved oxygen levels make it nearly impossible for anaerobic root rot to take hold.
I now make sure to check the built-in pump filter regularly. As the basil roots explode with new growth, they can migrate into the pump intake and choke the water flow.
6. Inoculate Your System with Beneficial Bacteria
The final layer of defense is biological warfare. I filled the freshly cleaned reservoir with a light nutrient solution and inoculated it with Bacillus amyloliquefaciens.
These beneficial bacteria rapidly colonize the root zone. They act as a living shield, outcompeting harmful fungi for space and actively destroying the pathogens responsible for rot.
I added 4 milliliters of biofungicide per 1 gallon of water. Some of the most reliable, easily accessible brands containing this specific strain include:
- Botanicare Hydroguard
- Southern Ag Garden Friendly Fungicide
- Monterey Complete Disease Control
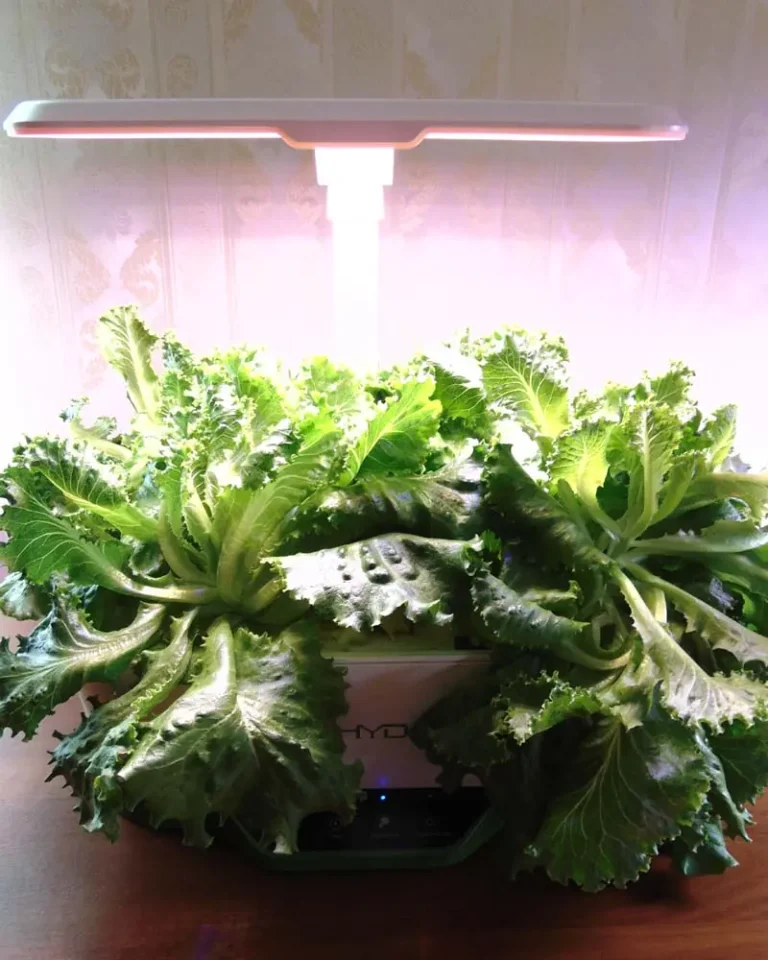
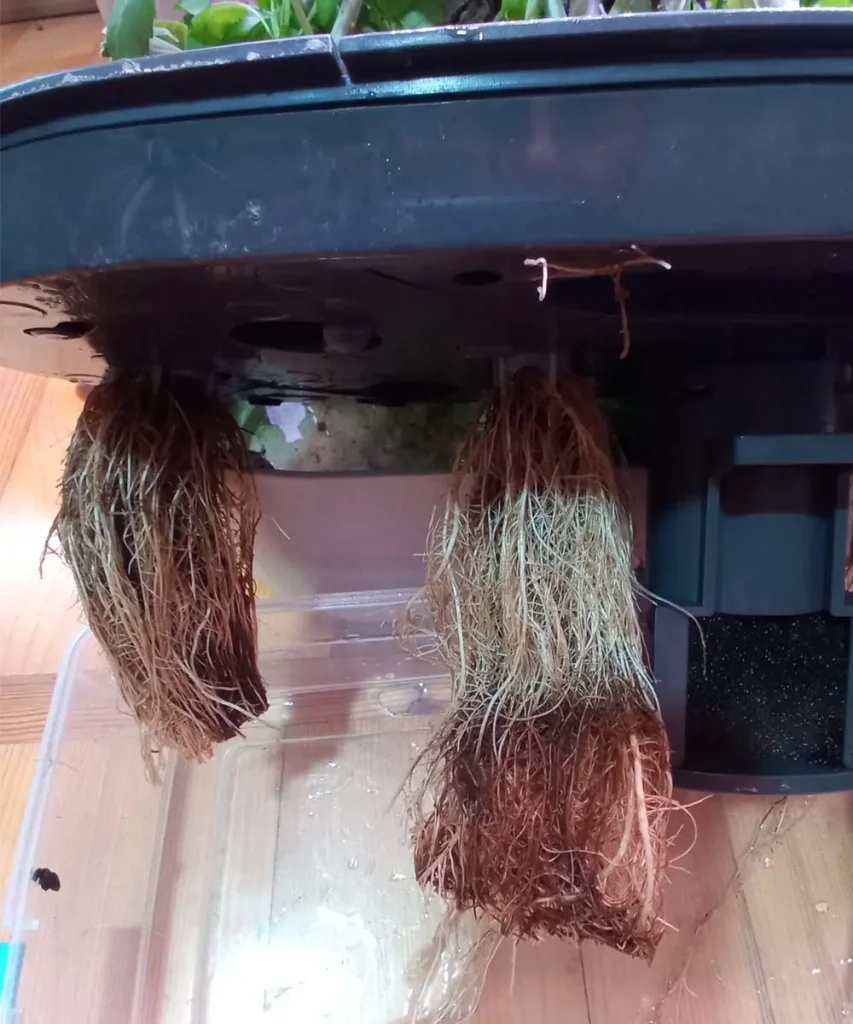
If I had introduced beneficial microbes and supplemental aeration right from day one, my basil never would have suffered a root rot breakout. However, using this exact 6-step rescue protocol, the plants made a stunning recovery, pushing out crisp white roots and fresh green canopy leaves within a week.
Share This Post