Small hydroponic systems are highly sensitive to water quality. Because they hold a limited volume of nutrient solution, any fluctuations in chemistry immediately affect plant health. To achieve a successful harvest, proper water preparation from the very start is essential.
⚡QUICK ANSWER: Use settled tap water with a pH adjusted to 5.5–6.5. Top off the reservoir as needed, maintaining the correct pH. Ensure the water is well-aerated and perform a full change every two weeks.
Water Quality
For my indoor gardening, I rely on regular tap water. The main advantages are that it is cost-effective and always available. Additionally, municipal water is treated to remove harmful bacteria, which simplifies the process.
However, there are drawbacks. In my area, the tap water is hard and has a high pH. While I have to adjust these parameters, it remains more practical and cheaper than other options.
I have experimented with distilled water, but the cost adds up, and its lack of initial electrical conductivity (EC) makes it harder to stabilize. I also avoid rainwater, as it often carries bacteria and pathogens that require complex disinfection.
Read also: Finding the Best Hydroponic Grow Media for Your System
Balancing pH and EC
The first step in preparing tap water is letting it sit for at least 24 hours to allow chlorine to evaporate. This also helps the mineral composition to stabilize.
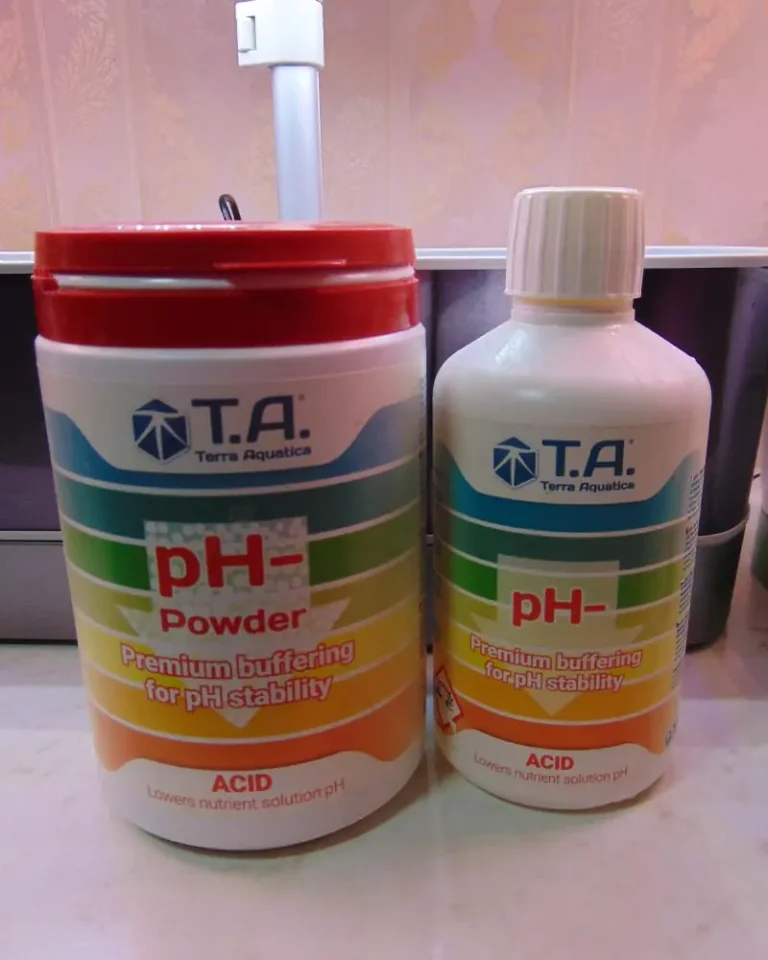
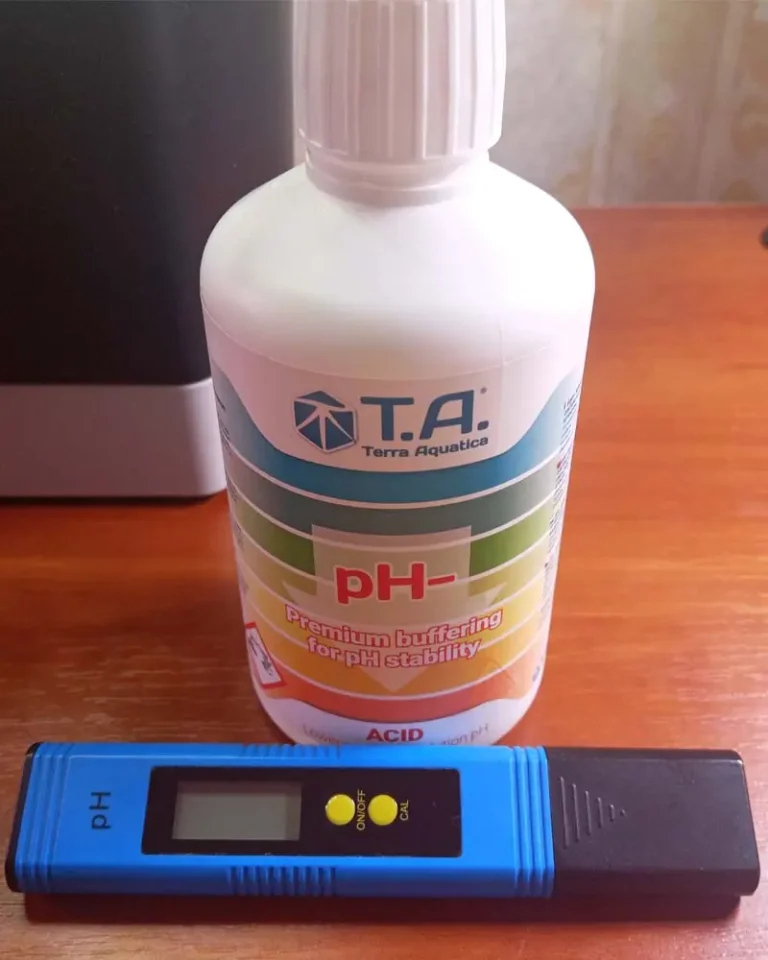
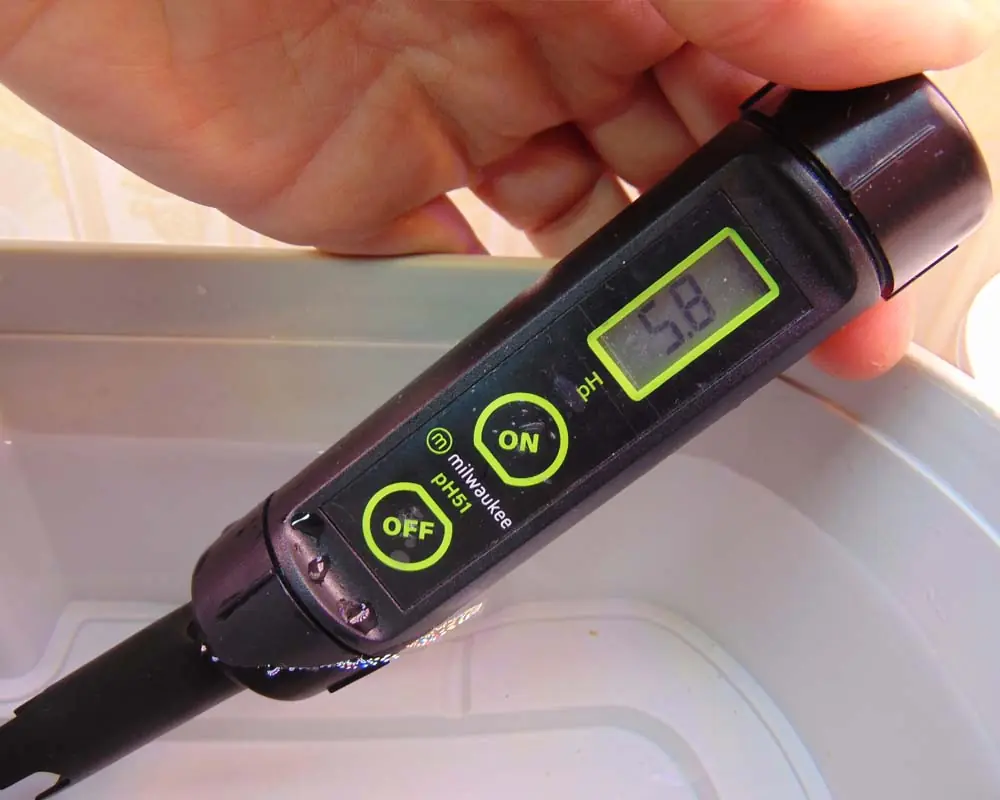
Next, I test the water using a pH meter. My tap water typically tests at 7.5, which is too alkaline for hydroponics. I use pH-lowering products (available in both liquid and powder form). Usually, just a few milliliters per gallon are enough to bring the level down to the ideal 6.5.

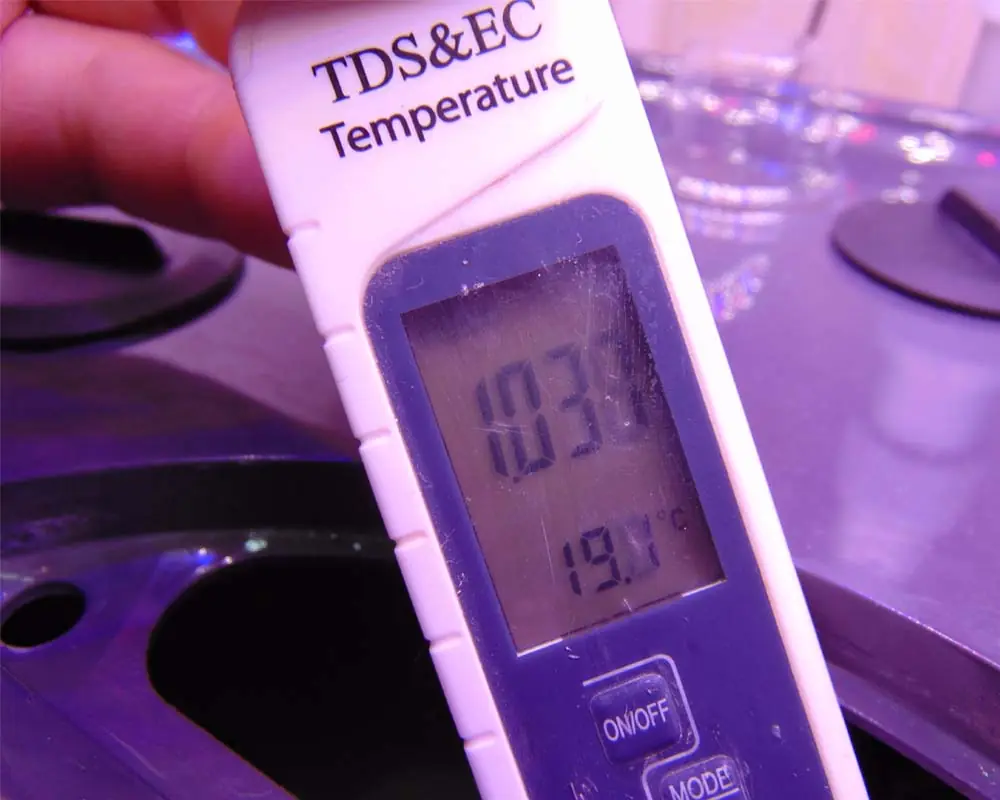
The baseline electrical conductivity (EC) of my tap water is 0.4 mS/cm. While this is low, it provides a good foundation. After adding fertilizers, the EC rises to about 1.0 mS/cm, which is the “sweet spot” for most small systems.
This baseline is actually an advantage over distilled water; in distilled water, the EC is near zero, making it harder to reach a stable nutrient balance without additional chemical buffers.
Read also: The Definitive Guide to pH Management in Hydroponics
Plant food (Nutrients)
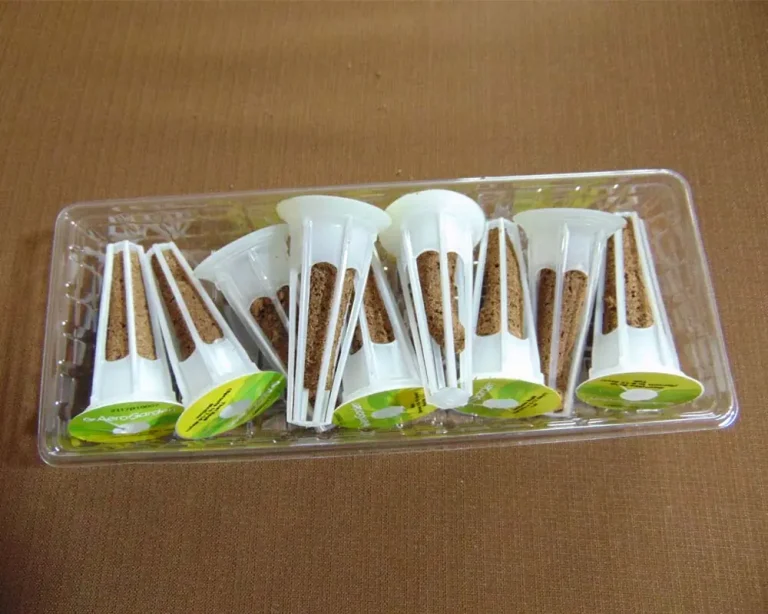
I add nutrients only after the seeds have germinated. This approach reduces fertilizer waste and prevents early algae blooms.
I generally avoid the generic “plant food” provided by manufacturers of desktop systems (like AeroGarden or iDOO), as I’ve found they often lead to nutrient deficiencies. Instead, I use a professional three-part nutrient series from General Hydroponics, though any reputable hydroponic brand will work.
I re-apply fertilizers every two weeks and always provide a fresh nutrient dose during a full water change.
Read also: Hydroponic Mistakes That Cost Me My Harvest
Maintenance Schedule
Topping Off: Add water as soon as the level drops slightly below the “Max” mark. Always adjust the pH of the top-off water beforehand. If using tap water, ensure it has settled for 24 hours. You don’t need to add extra fertilizer during daily top-offs.
Full Change: I replace the entire nutrient solution every two weeks. This is also the best time to clean and disinfect the reservoir to prevent salt buildup and pathogens.
Read also: Building Your Own DIY NFT Hydroponic Tower
Oxygenation and Aeration
Through years of experience, I’ve learned that well-aerated water is non-negotiable.
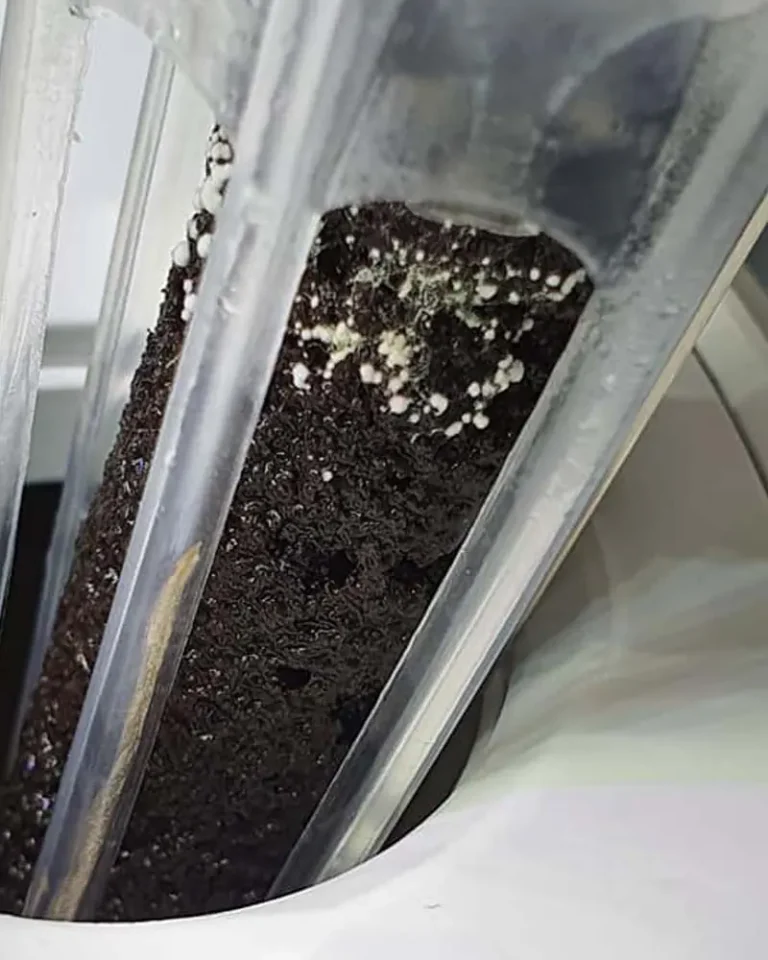
- Root Health: High oxygen levels are the best defense against root rot.
- Growth Speed: Plants grow significantly faster when their roots have access to ample dissolved oxygen.
Aeration is critical for “static” systems like Kratky or DWC (Deep Water Culture). For my tabletop systems, I use a dedicated air pump and an air stone for each unit. I run the pump on a timer for 12 hours a day.
Read also: 6 Steps to Stop Root Rot in AeroGarden & iDOO
Temperature Control
Water temperature is a silent deal-breaker. Pumps and LED lights can heat the water, stressing the plants and inviting root rot.
The ideal range is 65–72°F (18–22°C). To maintain this:
- I use a fan connected to a timer to cool the system.
- I keep the room air-conditioned.
Pro Tip: Never place your system near a radiator or on a sunny windowsill, as the small water volume will overheat rapidly.
Read also: Best Way to Cool Hydroponic Water
Share This Post