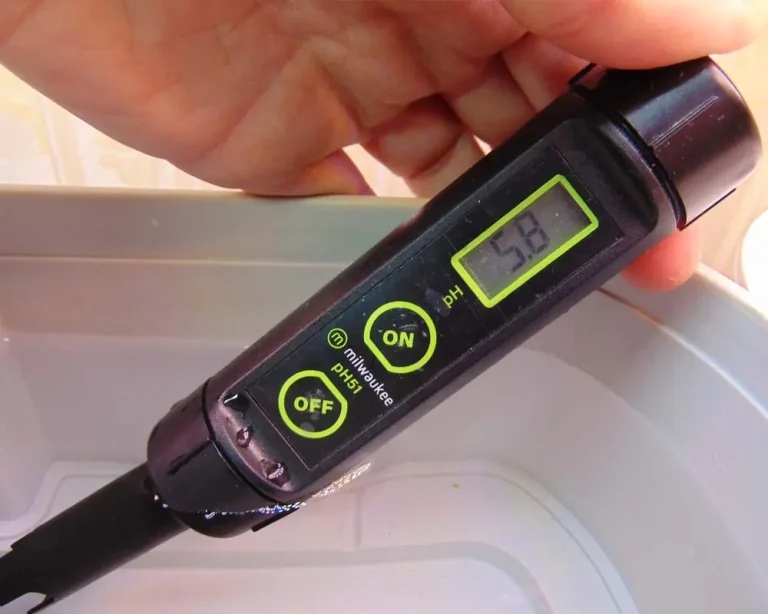

In this article, I’ll walk you through an experiment I conducted on cooling water for hydroponics. I took four 5-gallon buckets for a Deep Water Culture (DWC) system, filled them with water, and placed them side by side in a sunny spot on a 77°F day.
I left the first bucket untreated as a control group; the second was insulated with Extruded Polystyrene (XPS) foam boards; the third was wrapped in reflective insulation; and the fourth was painted white. All four buckets were topped with XPS lids.
⚡QUICK ANSWER: The single most effective way to keep hydroponic water cool without electricity is to insulate the reservoir with XPS foam boards (lowers temperatures by ~8.7°F) or bury the tank underground (lowers temperatures by ~10°F).
|
Method / Treatment |
Water Temperature |
Temp Drop vs. Control |
|---|---|---|
|
Control Bucket (Untreated) |
77.8°F (25.4°C) |
0.0°F (Baseline) |
|
Burying Underground |
67.8°F (19.9°C) |
10.0°F |
|
XPS Foam Board Insulation |
69.1°F (20.6°C) |
8.7°F |
|
Reflective Insulation Wrap |
70.6°F (21.4°C) |
7.2°F |
|
Painting Reservoir White |
74.8°F (23.8°C) |
3.0°F |
|
Aerating with Cool Air |
74.8°F (23.8°C) |
3.0°F |
|
Dedicated Water Chiller |
Target Temp (User-controlled) |
Variable (High capacity) |
|
Frozen Ice Bottles |
Unstable (Rapid drop) |
Variable (Temporary) |
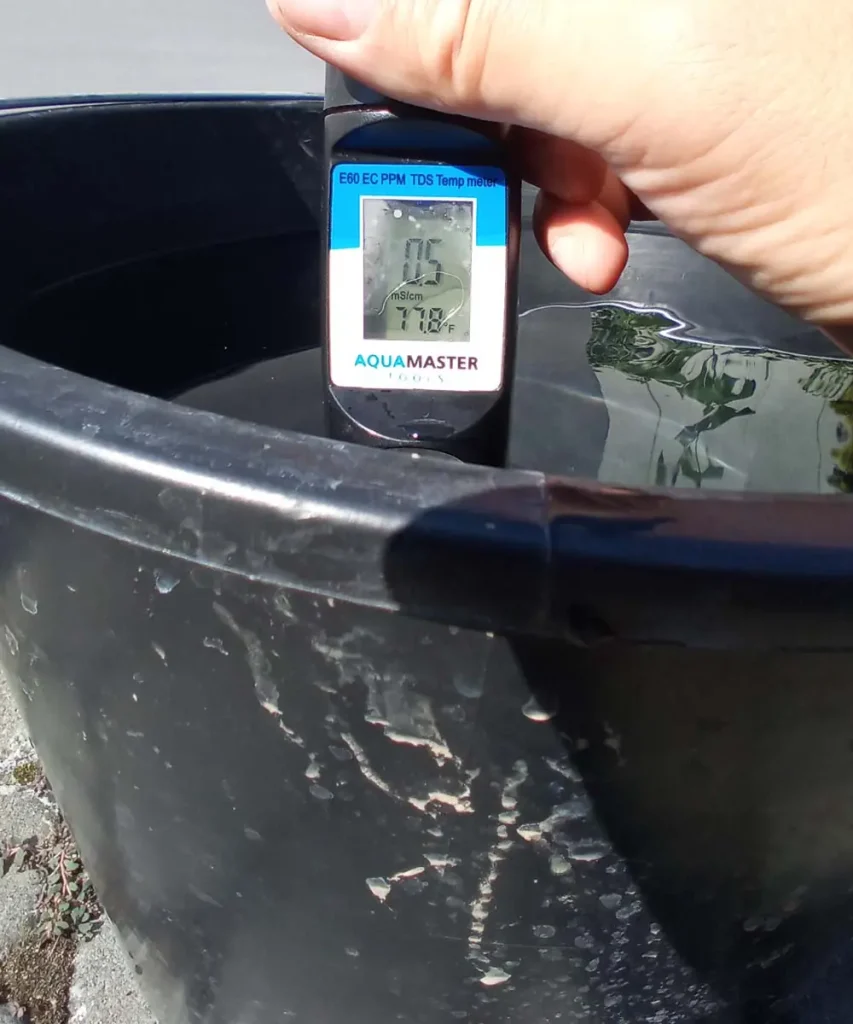
1. XPS Foam Board Insulation
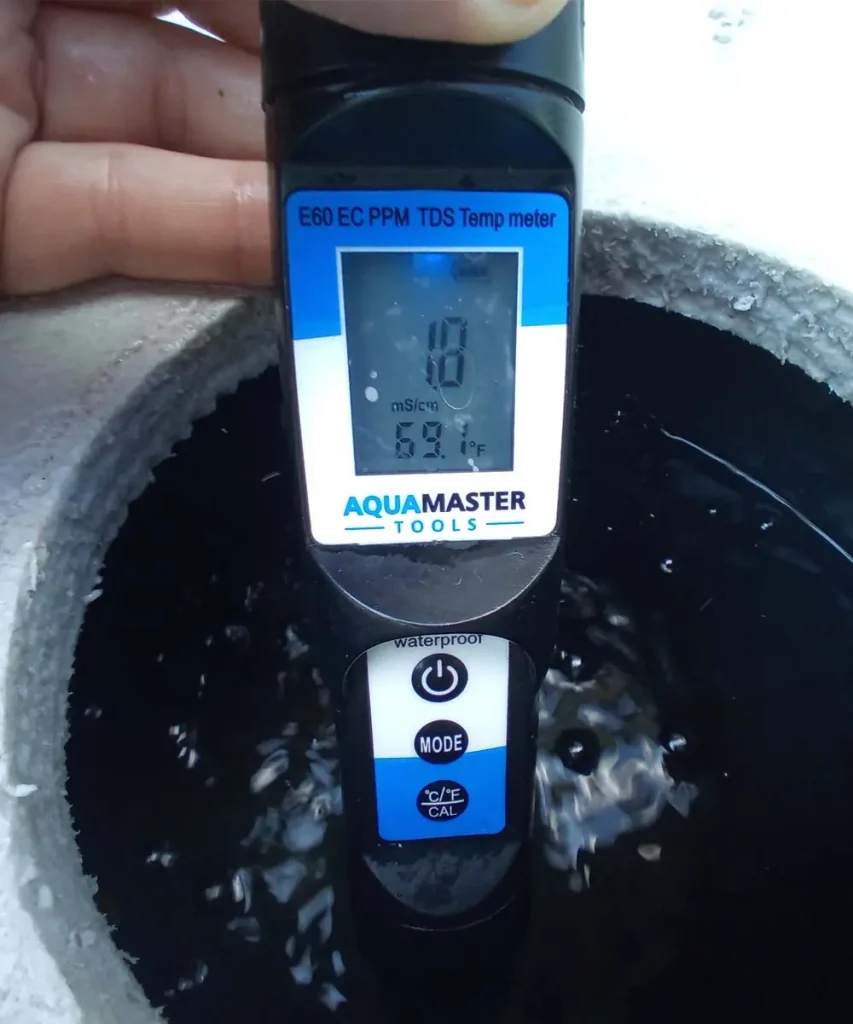
In the tank insulated with XPS foam boards, the water temperature stayed at 69.1°F (20.6°C)—a full 8°F lower than the uninsulated control tank.
From this, I concluded that insulating your reservoir with XPS foam boards is the single most effective passive way to prevent hydroponic water from heating up.
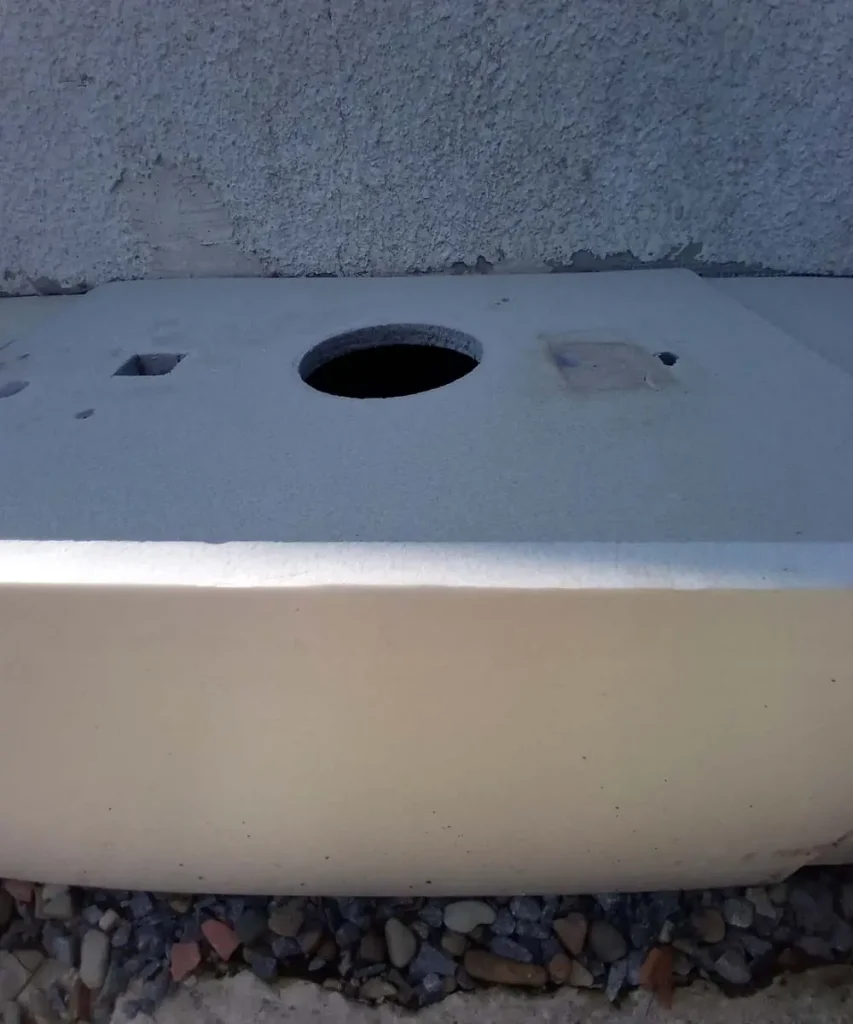
Setting up the insulation was remarkably straightforward. I placed XPS boards around all sides of the tanks to shield them from direct sunlight, propping the boards up vertically with paving stones so they didn’t touch the outer walls directly.
Finally, since this was a DWC system, I crafted a custom lid with a hole for the net pot out of the same XPS material to block heat from the top.
2. Reflective Insulation Wrap
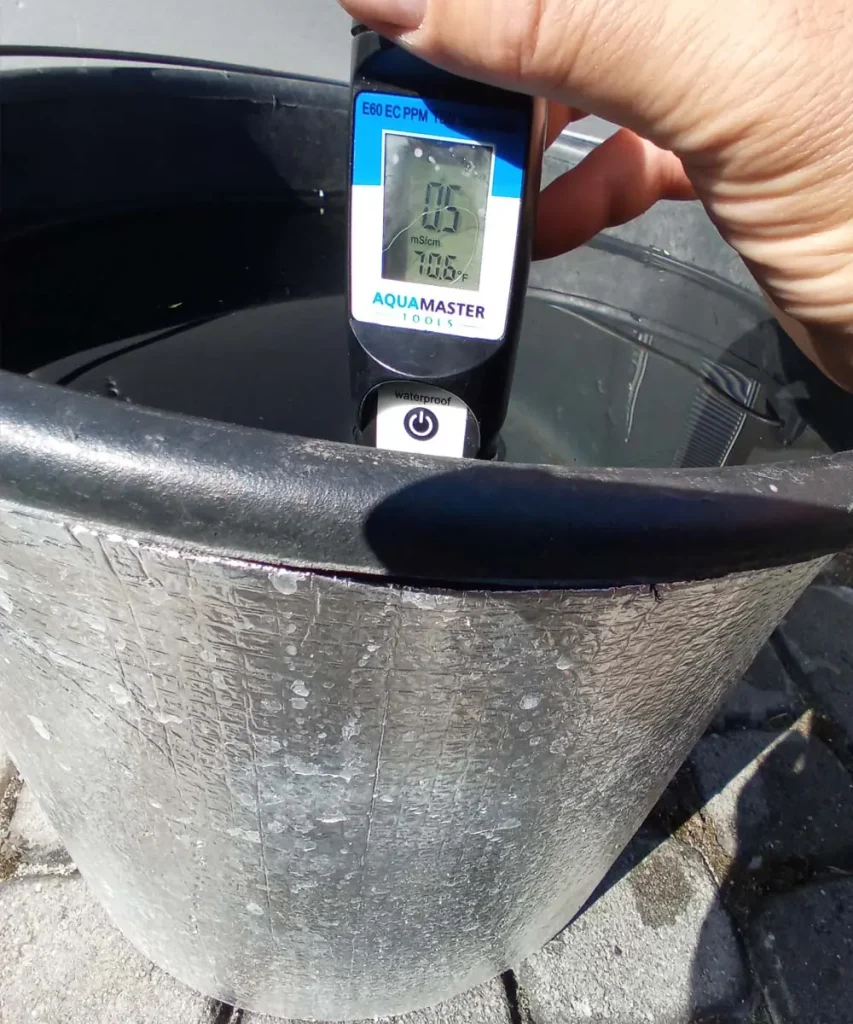
The water in the tank wrapped with reflective insulation reached 70.6°F—7°F cooler than the uninsulated tank and only 1°F warmer than the XPS board setup. Reflective thermal insulation proved to be the second-most effective cooling method, with performance nearly matching XPS cladding.
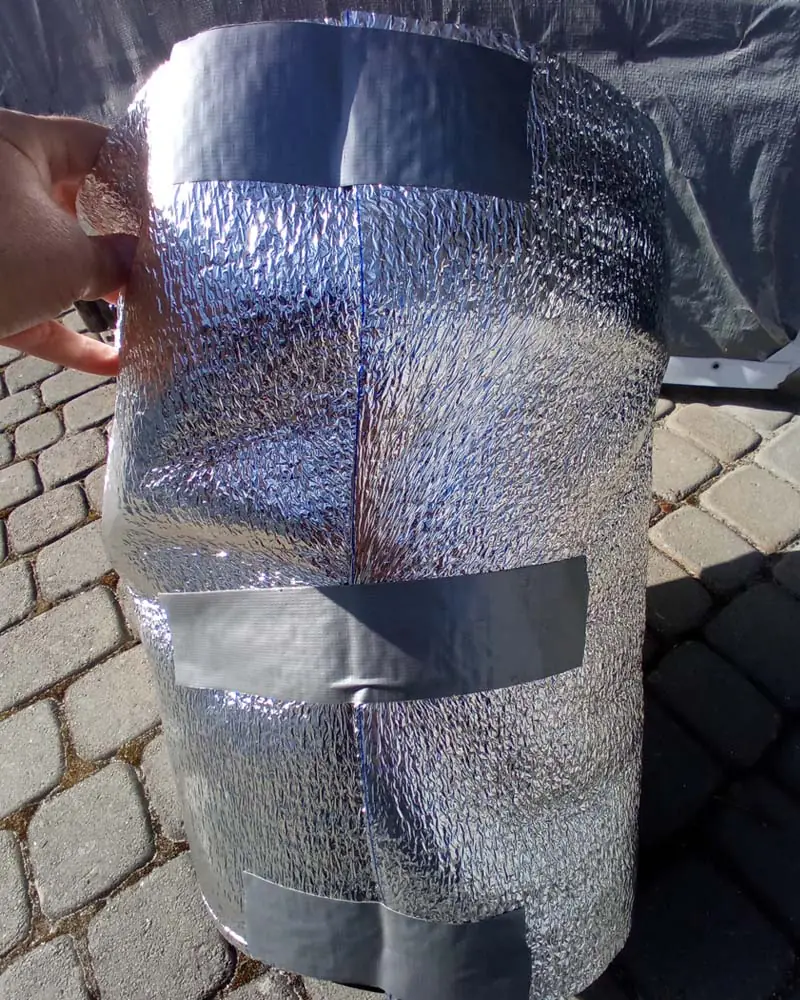
This method is even simpler and more budget-friendly than rigid foam boards. Reflective wrap is thinner and far more flexible than XPS board, meaning you need less storage space and fewer tools to work with it. I simply cut a piece to size, wrapped it around the bucket, and sealed the seams with waterproof tape.
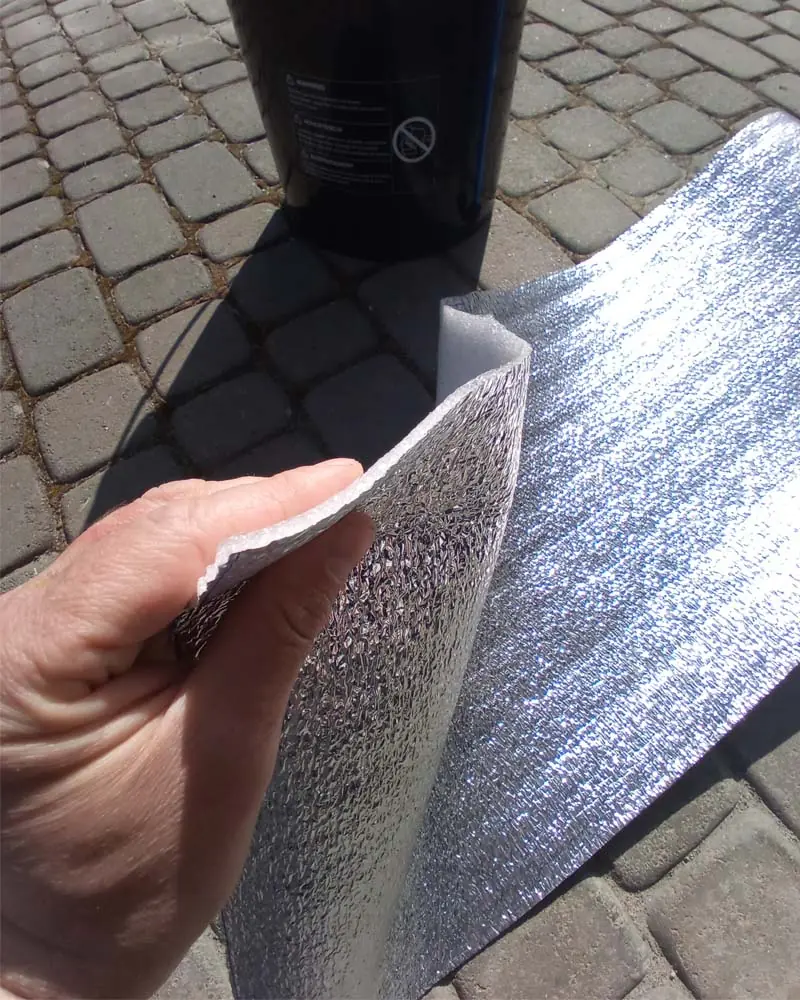
Pro Tip: Adhesive aluminum tape works best for long-term durability when securing reflective insulation outdoors.
I first tested this method on a homemade aeroponic tower, where it successfully kept the reservoir cool and prevented algae blooms from clogging the system.
3. Painting the Reservoir White
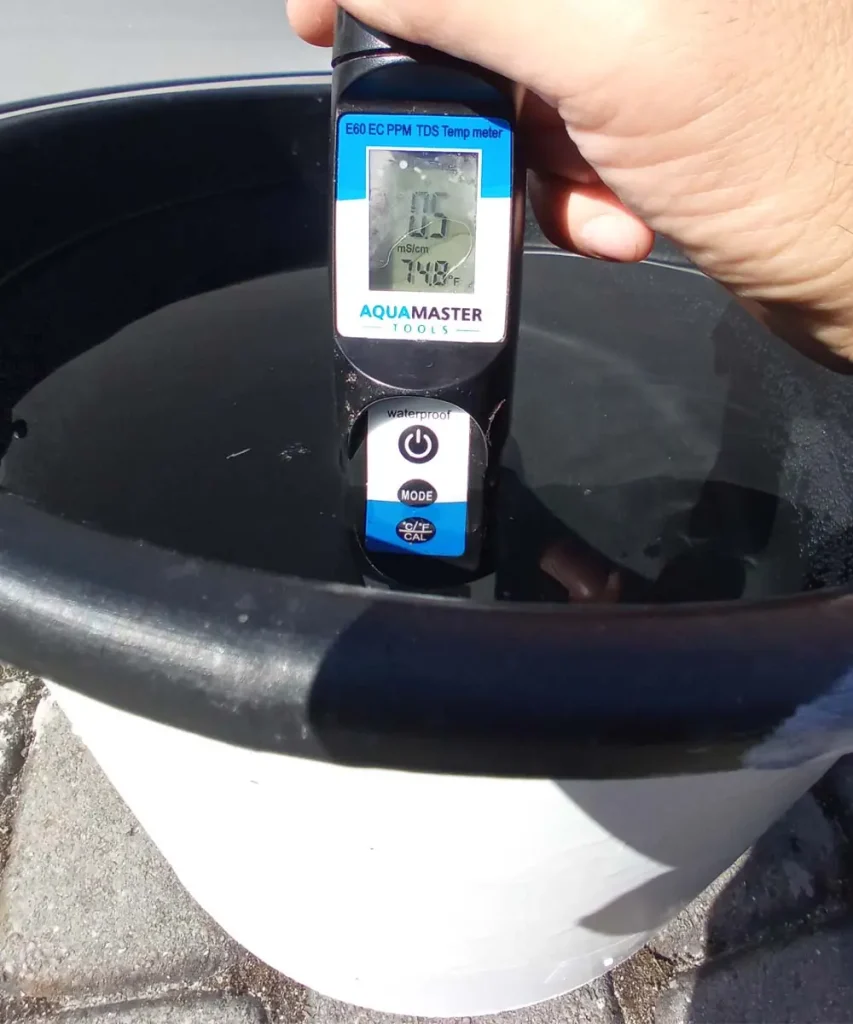
Another passive option is painting the tank white. The water in the painted bucket stayed at 74.8°F, compared to 77.8°F in the plain unpainted bucket. While a 3°F drop shows that reflective paint works, it is noticeably less effective than insulation wraps or boards.
I simply coated the bucket with standard exterior white paint and placed it in the sun. The light color reflected a portion of solar radiation, slowing down heat absorption. This is the cheapest method tested, making it suitable for growers on a tight budget.
However, keep your crop selection in mind: heat-tolerant plants like tomatoes or peppers can handle a mild temperature bump, but heat-sensitive crops like lettuce will quickly bolt and turn bitter at these higher temperatures.
4. Dedicated Water Chillers
For complete temperature control, an aquarium water chiller is exceptionally effective. It allows you to dial in and maintain your target water temperature with precision.
However, active chillers come with trade-offs:
- Outdoor Weathering: When I connected a chiller to my outdoor aeroponic tower, I had to build a protective shelter to shield the electronics from rain.
- Cost: Quality chillers are expensive, with entry-level models starting around $200.
Active water chillers make the most sense for indoor hydroponic setups or growers with generous budgets. If you are investing in a premium turn-key system, equipping it with a chiller is worth the investment. By the way, I have an excellent comparison of store-bought and DIY hydroponic systems.
5. Burying the Reservoir Underground
Burying your hydroponic reservoir underground utilizes the natural insulating properties of the earth to lower water temperatures significantly. In my tests, a buried reservoir stayed up to 10°F cooler than an above-ground tank exposed to direct sunlight.
This technique works seamlessly for DWC and Kratky systems, where the reservoir serves as the growing vessel itself. However, for aeroponic towers or complex setups, burying the tank can make routine pump maintenance and cleaning much more difficult.
Commercial growers frequently rely on this tactic. A colleague who runs a large-scale NFT farm buried all of his main nutrient tanks underground. This design allows him to maintain optimal water temperatures even during peak summer heat waves while saving a substantial amount on electricity costs. As a result, his hydroponic systems remain highly efficient.
Key Takeaway: Burying reservoirs is strictly an outdoor strategy, but it is one of the most cost-effective solution for large outdoor NFT or drip setups.
6. Aerating with Cool Air
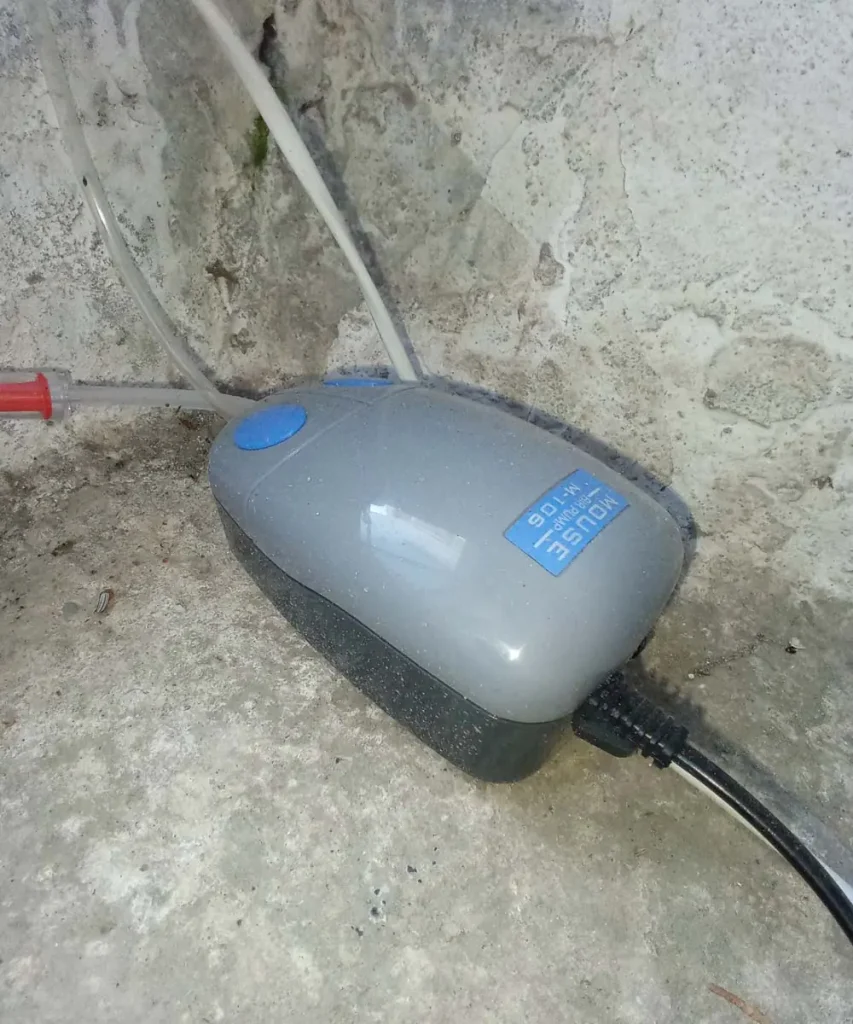
An innovative DIY method I tested for outdoor systems is pumping cold air into the water using a remote air pump.
Here is how I set it up:
- I placed a standard aquarium air pump on the cool concrete floor of my basement, where ambient temperatures were significantly lower than outdoors.
- I ran a long airline hose from the basement pump to an air stone inside the outdoor DWC tank.
- I ran the pump on a timer for 15 minutes every hour.
Pumping cool basement air directly into the warm solution lowered the water temperature by 3°F. If you don’t have a basement, placing the air pump on the ground in deep shade will still yield beneficial results.
As an added bonus, increased aeration boosts dissolved oxygen levels and keeps the water moving, which actively wards off root rot and anaerobic pathogens.
7. Using Frozen Ice Bottles (Proceed with Caution)
Early in my hydroponics journey, I tried dropping frozen water bottles directly into my nutrient tank to fight the heat. And that’s where I messed up.
While ice drops water temperatures rapidly, it creates a severe risk: temperature shock. When I dropped ice into my system, the sudden temperature drop shocked my cucumber plants, causing the leaves to wilt almost immediately. Once I removed the ice, the plant took over a week to recover its normal growth rate.
Furthermore, ice is only a temporary fix. It causes drastic temperature fluctuations—dropping the temperature rapidly at first, only for the water to heat back up a few hours after the ice melts. Use this method only as an absolute emergency measure, and monitor your plants closely.
Share This Post