Today, I want to share how I built my own NFT (Nutrient Film Technique) hydroponic tower. My goal was to create the most efficient system possible without taking up much space. Since I live in the city, I aim for the highest possible yield per square foot, which is why most of my systems are vertical. I hope this guide helps you get started!
Understanding the Science
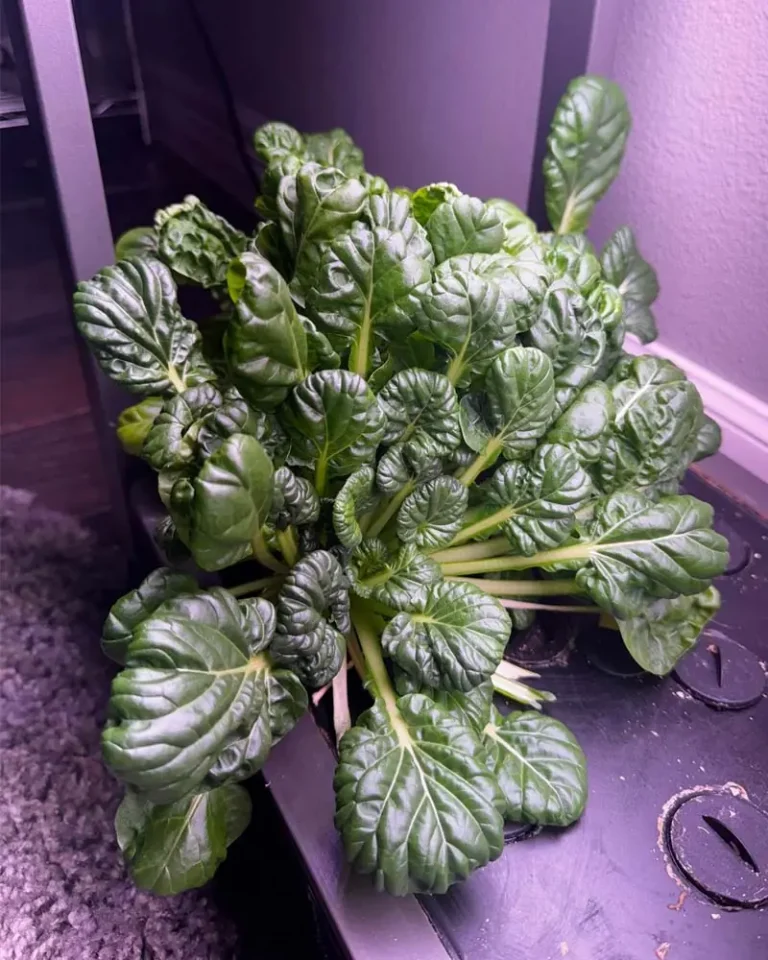
I designed this system specifically for growing leafy greens. Because they are compact, a tower system is ideal; it allows you to grow dozens of plants in a tiny footprint.
In an NFT tower, the nutrient solution is pumped from the reservoir to the top of the tower. From there, the solution is divided into many small streams using a sprayer, ensuring uniform irrigation for the roots as the water flows from top to bottom.
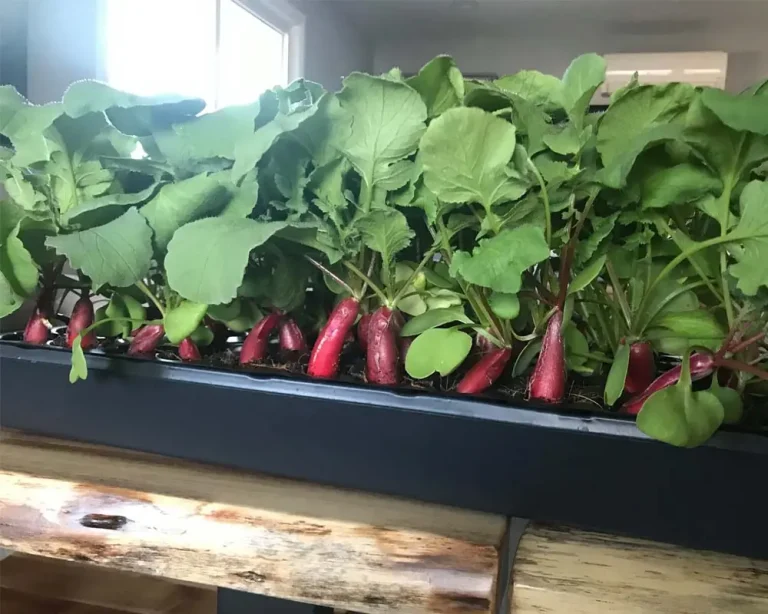
You can plant three times as many leafy greens in a tower as you can in a DWC (Deep Water Culture) or Kratky system of the same area. The only downside is that towers are inconvenient for tall or heavy plants, such as tomatoes or cucumbers.
Read also: The Best Hydroponic Method for Tomatoes
Materials List
- 12-gallon plastic basin: $5
- 7-foot PVC pipe (1.6-inch diameter): $20
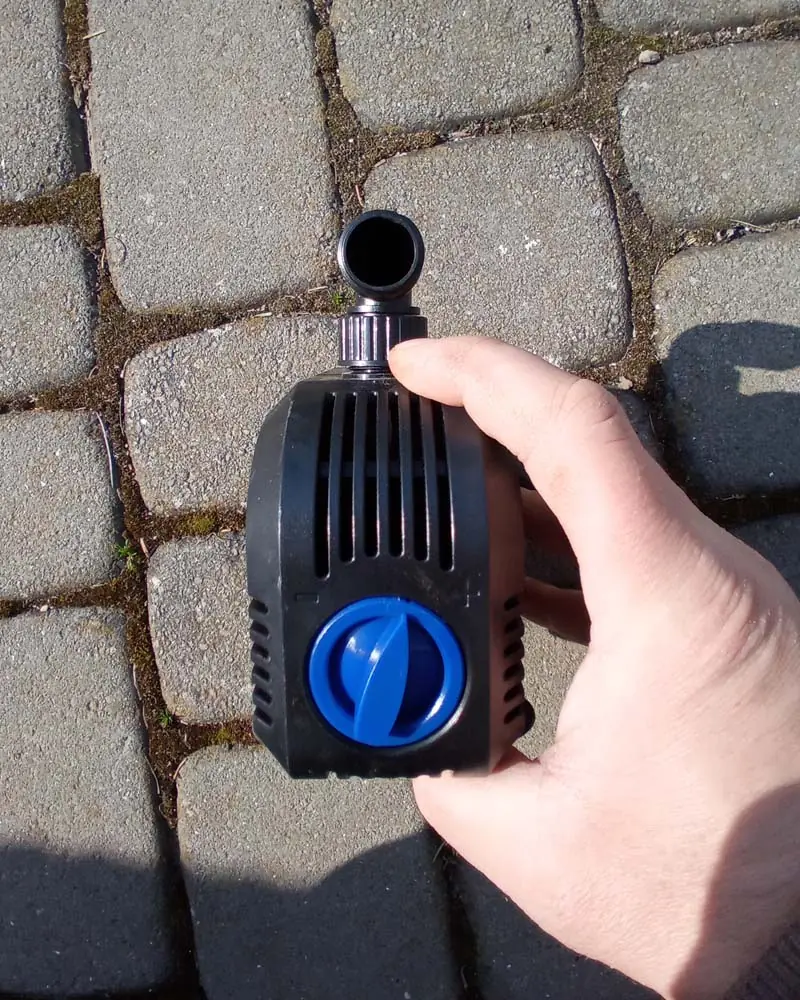
- Water pump: $25
- Pump hose: $2.50
- Pipe clamps: $9
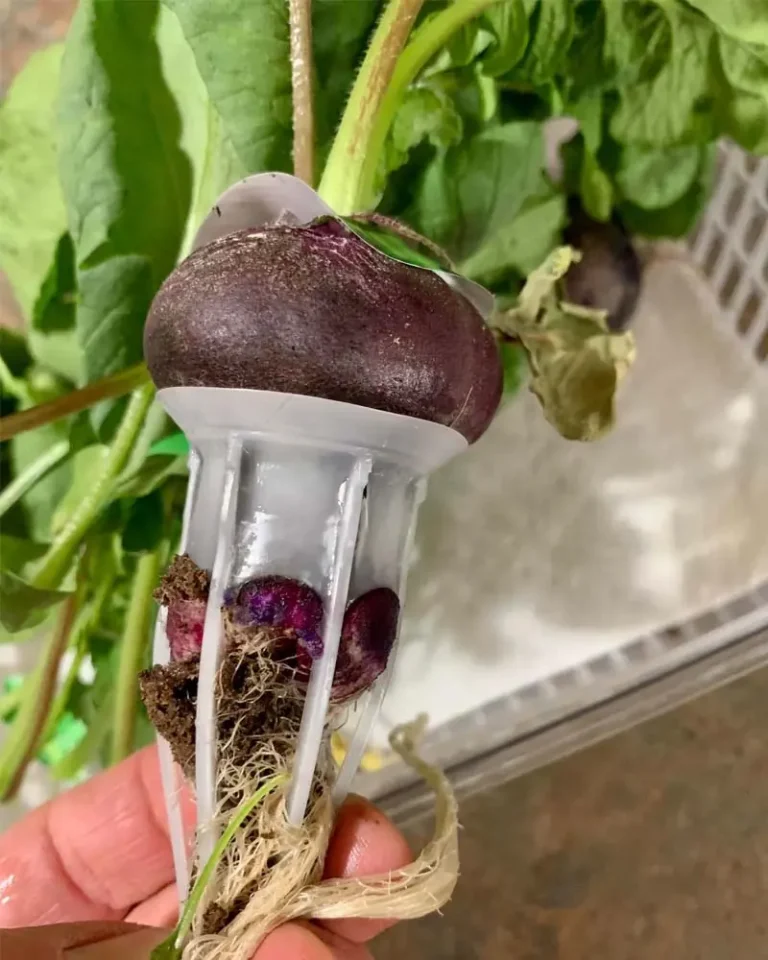
- 2-inch net pots: $3.70
- Cyclic timer: $10
- Bucket lid: $2
- Total Cost: $77.20
Read also: The Hydroponic Efficiency Matrix
Tools
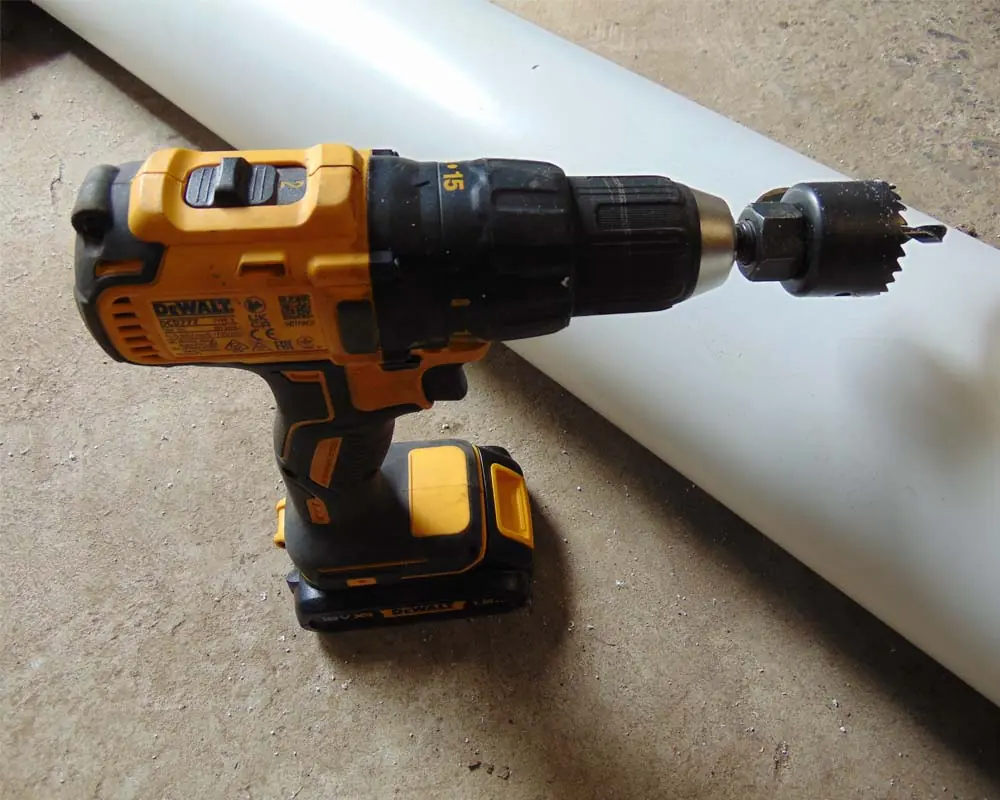
- Drill with a hole saw bit
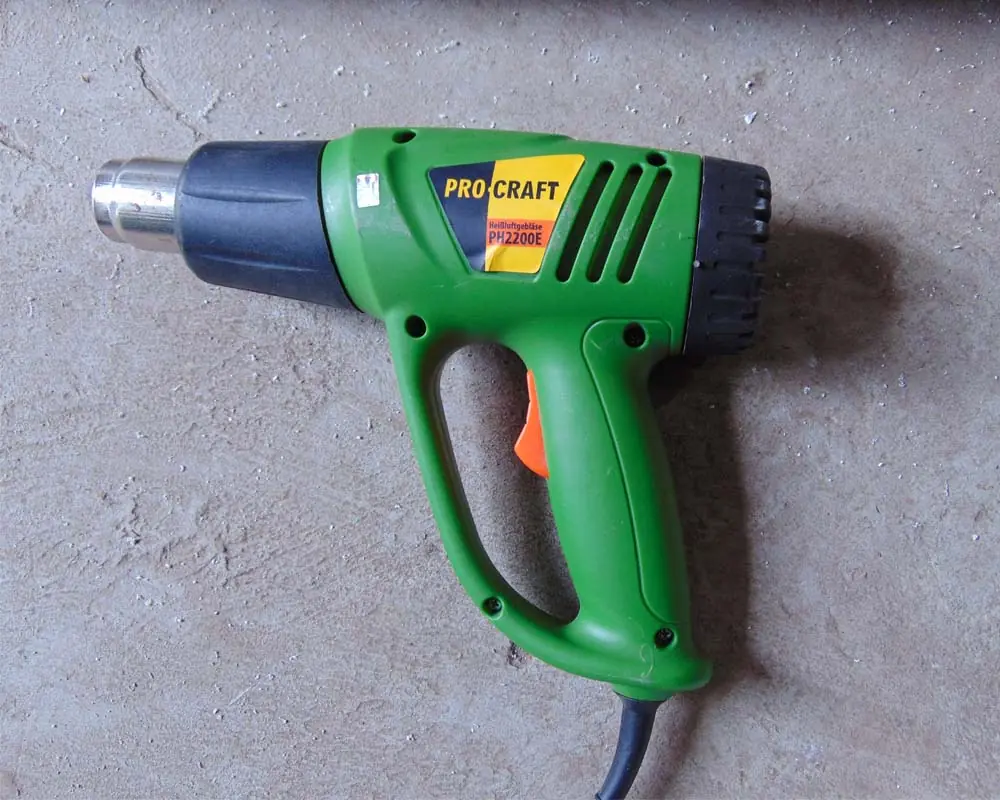
- Heat gun
- Set of drill bits and attachments
- Utility knife
- Pliers and Screwdriver
Read also: Why the NFT Tower is the Most Efficient Hydroponic Method for Lettuce
Step-by-Step Construction Guide
Phase 1: Preparing the Tower
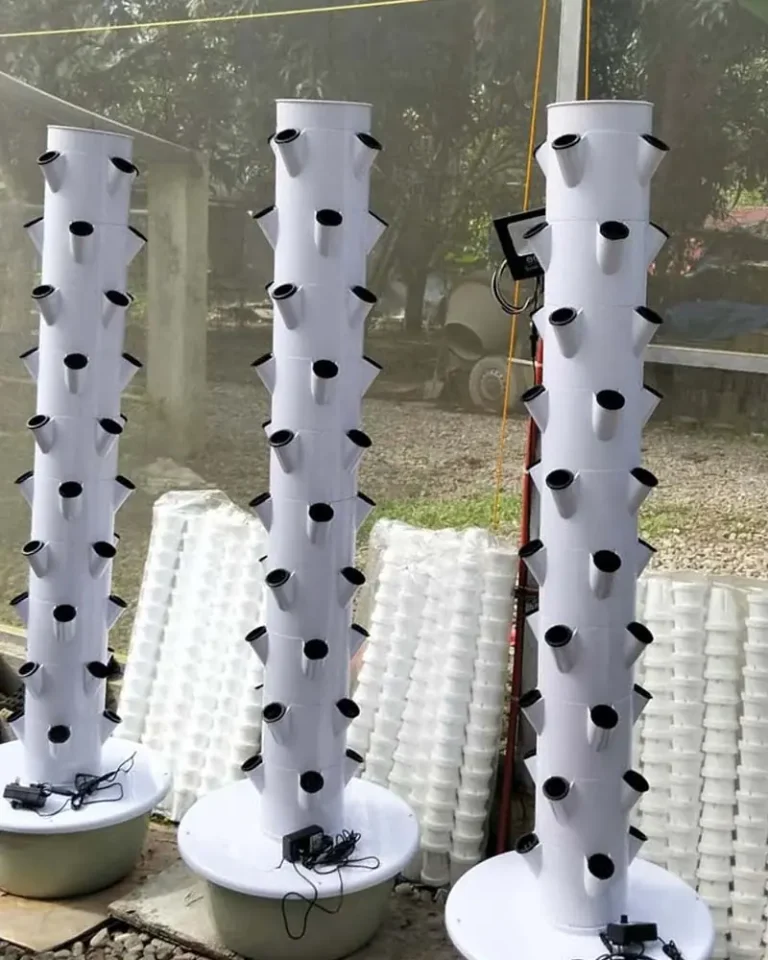
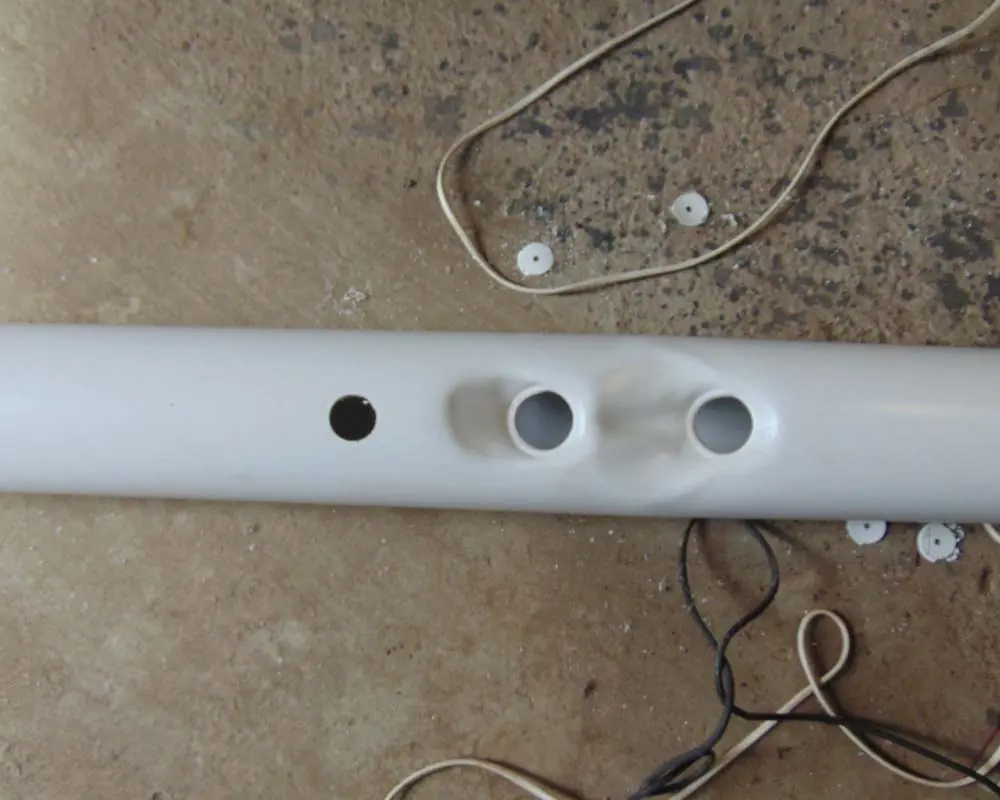
The first step is drilling the holes for the plants. I marked the pipe so that each pot is roughly 6 inches higher than the one below it. I ended up with 3 rows of 10–11 pots each, totaling 31 planting spots.
The rows are positioned at 90-degree angles to each other. I oriented them so the first row faces south, and the others face east and west. I didn’t drill holes on the north side to ensure all plants receive adequate sunlight.
After drilling holes to match the diameter of the net pots, I used a heat gun to shape the mounting points. To ensure the pots sit at a 45-degree angle (rather than parallel to the ground), I heated the PVC near the hole, inserted a pot, and bent the plastic upward until it reached the desired angle.
Read also: How To Save Money When Growing Food In AeroGarde
Phase 2: The Reservoir & Plumbing
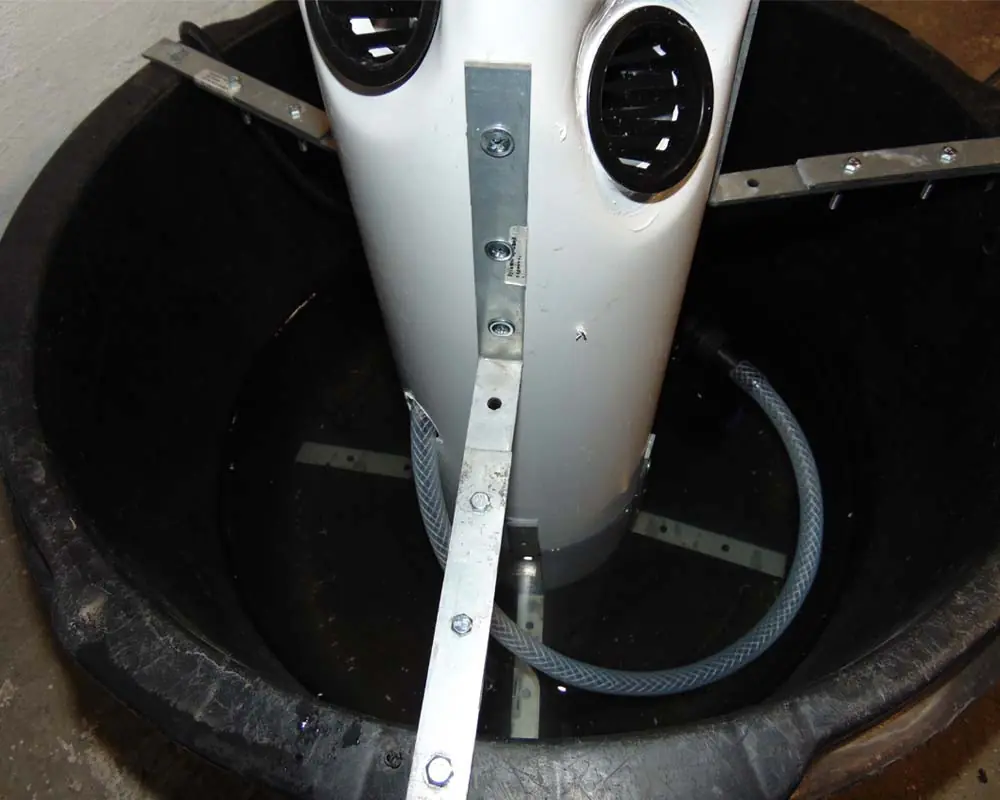
I installed the pump at the bottom of the tank next to the pipe. Most pumps have suction cups, which keep them firmly in place. I attached the hose to the pump and ran it up through a hole I drilled in the main PVC pipe.
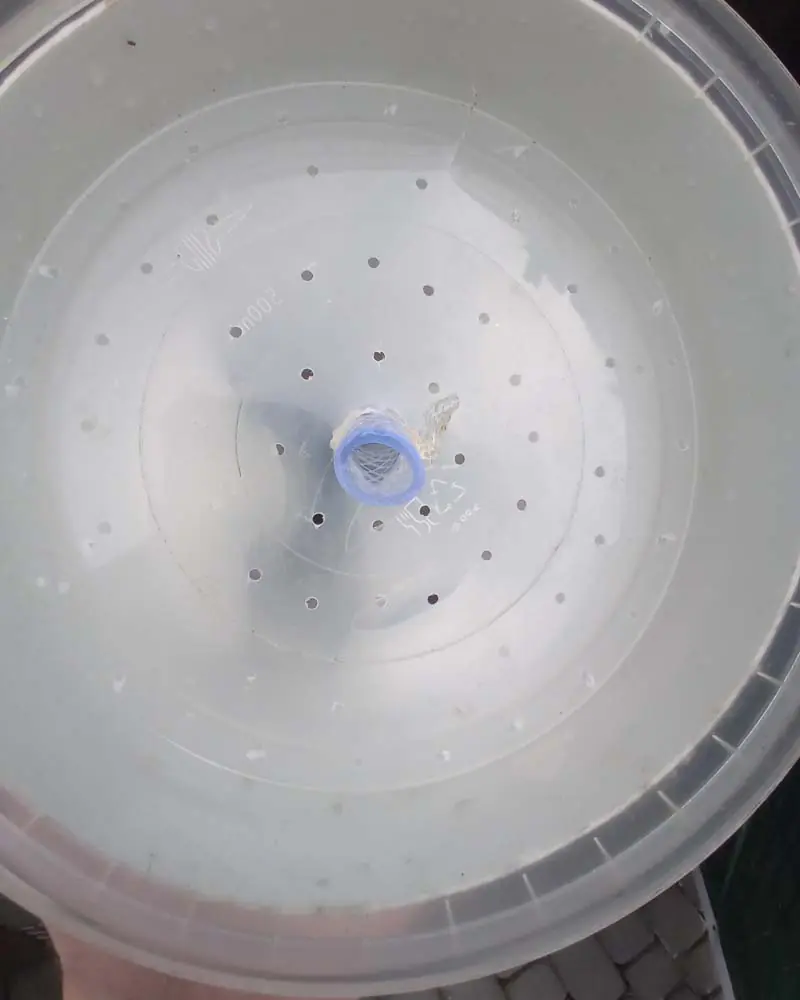
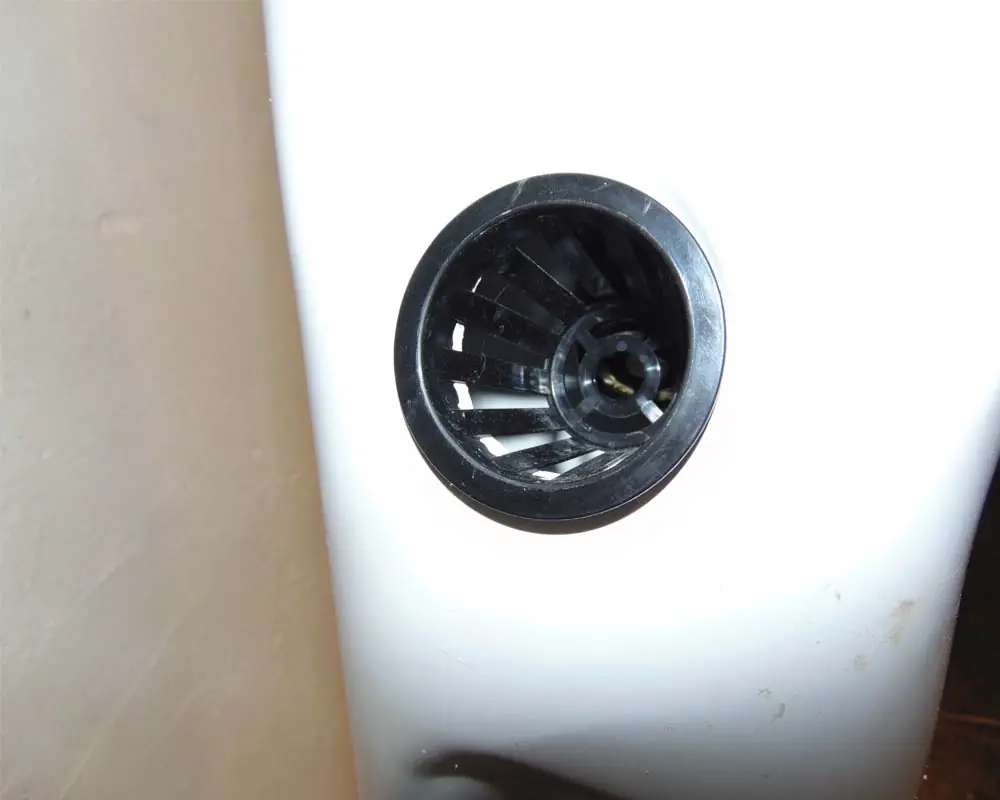
For the distribution system, I used a small round plastic container that matched the diameter of my pipe. I drilled several small holes in the bottom to create a “shower sprayer” effect. I made a center hole for the supply hose to feed into. This container fits perfectly into the top of the pipe without extra fasteners. I also painted the lid black to prevent algae growth.
Read also: How to Clean, Fix, and Replace Your Desktop Hydroponic Pump
Phase 3: Securing the Tower
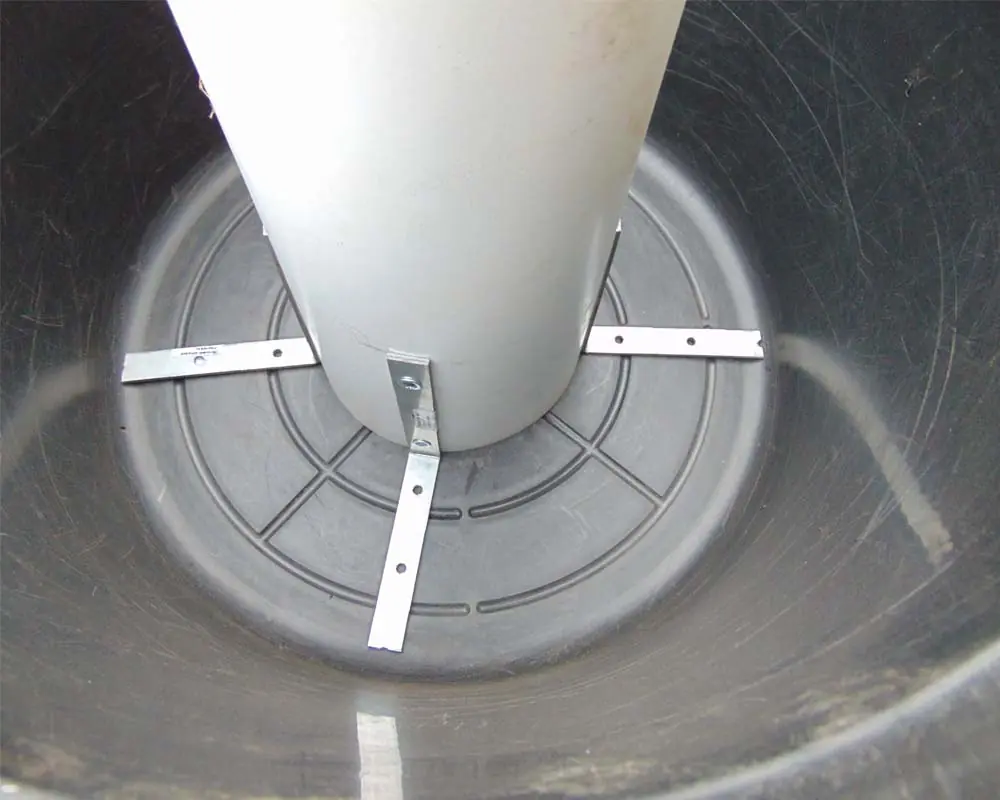
To stabilize the pipe, I used metal brackets. I attached four brackets to the bottom of the pipe with self-tapping screws to serve as supports (these rest on the bottom of the basin).
At the top, I used three elongated brackets secured to the pipe and bolted directly to the wide, sturdy rim of the basin. The structure is very stable and can withstand strong winds as long as the reservoir is filled with water.
Read also: Building a Resilient Indoor Hydroponic Garden with LiFePO4 Backup
Phase 4: Assembly & Testing
After inserting the net pots, I turned on the pump to verify the flow. I checked to ensure every pot was receiving a steady stream of water and looked for any external leaks.
Once the circulation was confirmed, I created a lid using one-inch-thick expanded polyethylene. I cut it into a circle matching the basin’s diameter, added a center hole for the pipe, and made a single slit from the edge to the center so I could slide it into place. I secured the lid to the basin rim with self-tapping screws to keep light out of the reservoir.
That’s it! The system is ready. All that’s left is to move the tower to a sunny spot and add your seedlings. This entire setup cost me less than $80 and provides a massive amount of growing space.
How many towers are you planning to build for your project?
Read also: Best Way to Cool Hydroponic Water
Share This Post