When I first started out in hydroponics, I made quite a few mistakes that cost me my harvest and wasted a significant amount of electricity. To help you avoid the same pitfalls, I’ve compiled the most important lessons I learned the hard way.
Neglecting pH Levels
Years ago, when I was a beginner, I was influenced by advertisements claiming hydroponics was as simple as pouring water into a tank, adding fertilizer, and walking away.
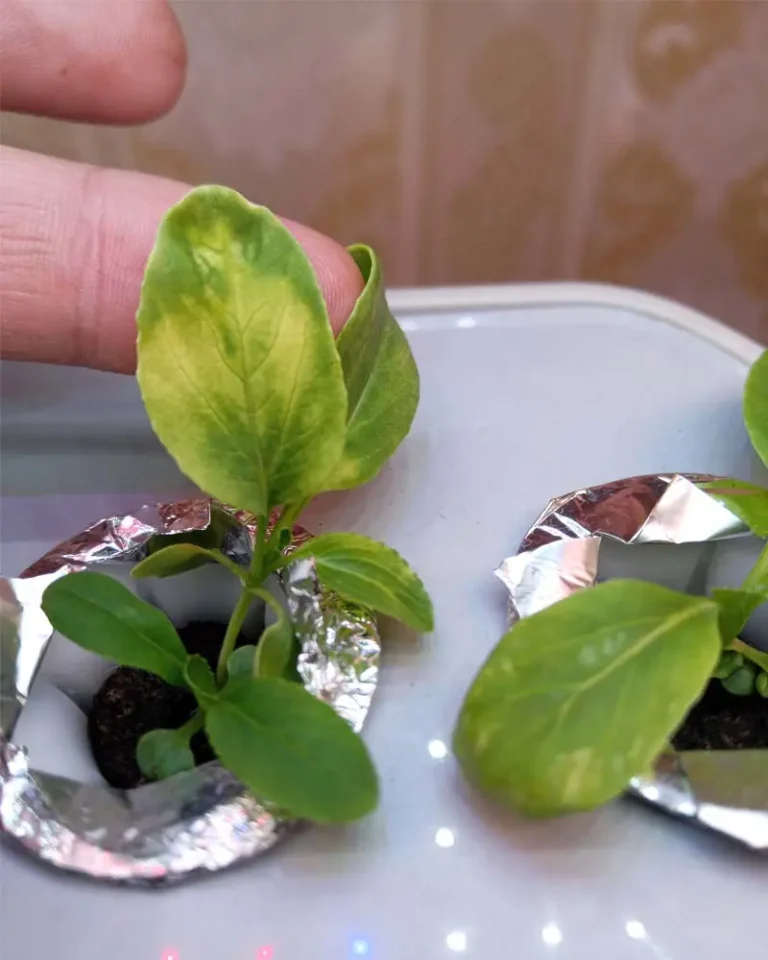
After just a month, instead of a lush lettuce harvest, I ended up with sickly, yellow leaves. I realized the culprit was the pH level. That led to my second mistake: buying a cheap, uncalibrated pH meter. I adjusted the pH to 6.3 and expected a turnaround, but the plants continued to struggle because the reading was inaccurate.
How I solved it:
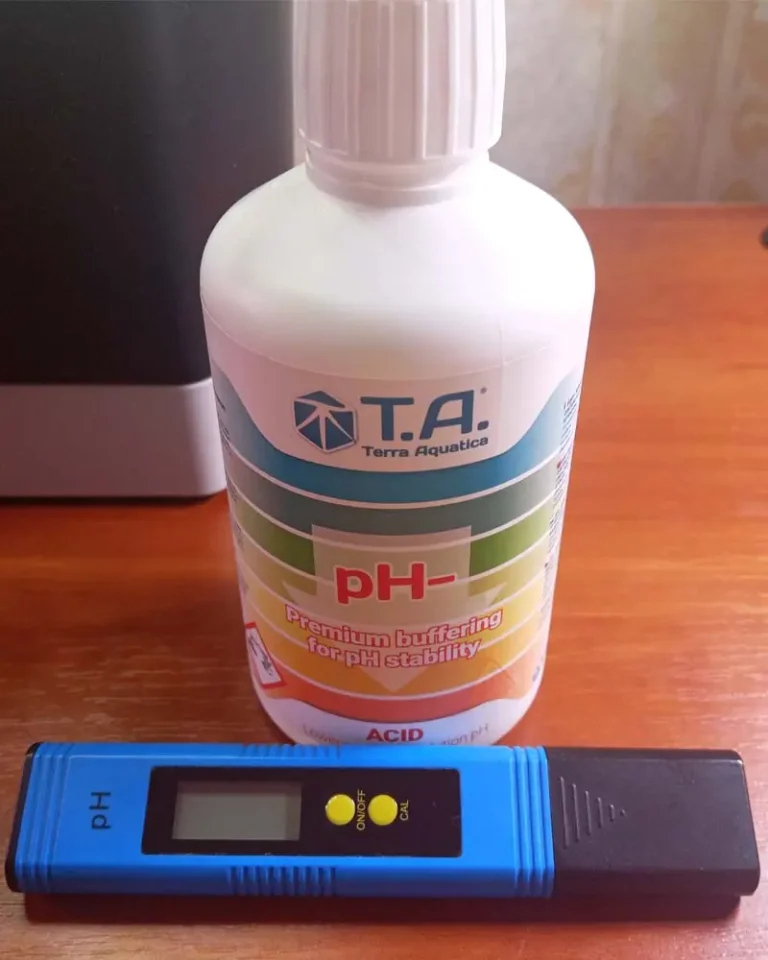
- Invested in Quality: I now use a high-quality Aqua Master Tools P50 Pro pH meter.
- Regular Calibration: I calibrate the meter every week to ensure accuracy.
- Double Checks: I perform a secondary check using pH test strips.
- Consistent Monitoring: I set the pH below 6.0 at the start and check it daily, adjusting as necessary throughout the cycle.
Read also: The Definitive Guide to pH Management in Hydroponics
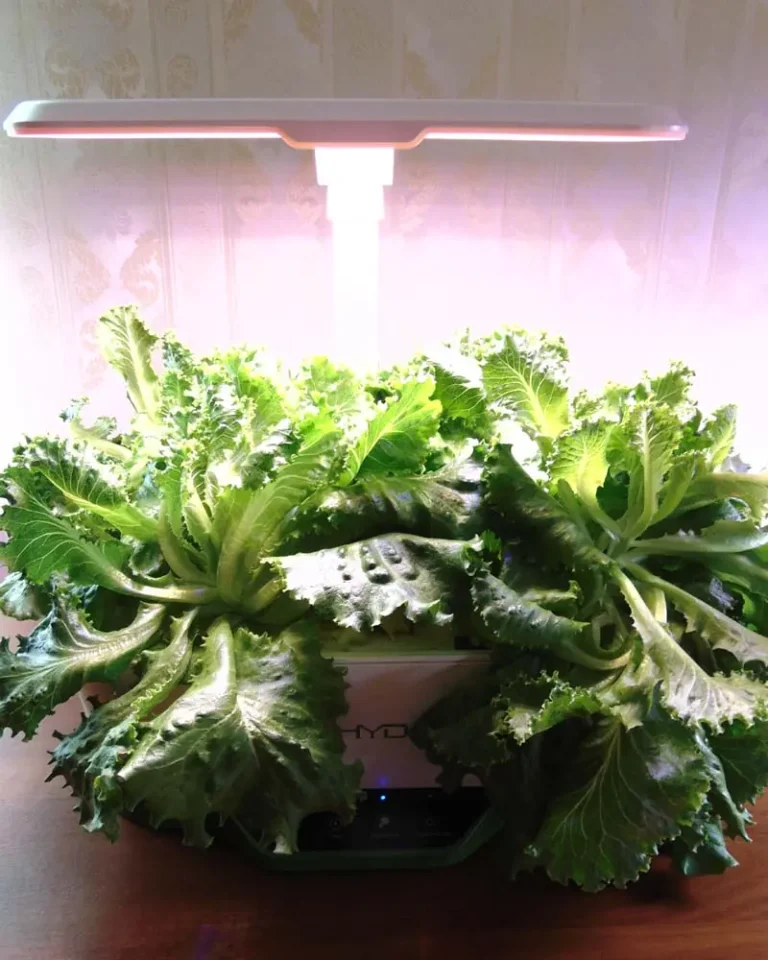
Using the Wrong Lighting
When I first tried growing tomatoes indoors, I built a DIY Kratky system. To save money, I used eight standard household LED bulbs.
The result? The tomato plants became “leggy” (stretched and weak) and grew incredibly slowly. There was no sign of flowering or fruit. I had wasted a month and a half of growth and a lot of electricity on inadequate light.
How I solved it:
- Proper Spacing: I maintain a distance of at least 2 inches between the LEDs and the canopy.
- Pro Gear: I switched to a professional Quantum Board with a full red and blue spectrum.
- Adjustable Wattage: I use a light output ranging from 60 to 240 watts, depending on the plant’s needs.
Read also: The Best Hydroponic Method for Tomatoes
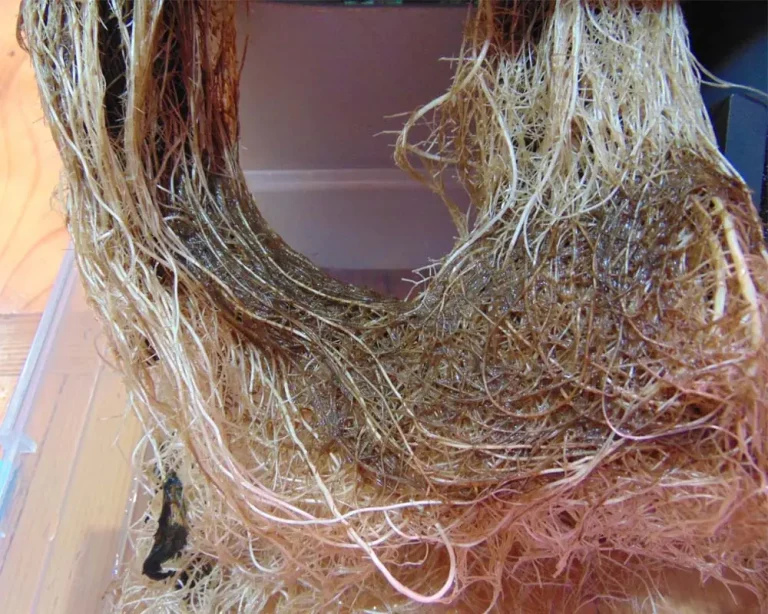
Poor Water Temperature Control
I set up one of my first Deep Water Culture (DWC) systems in a sunny spot to maximize light for my tomatoes. Everything looked great until a heatwave hit.
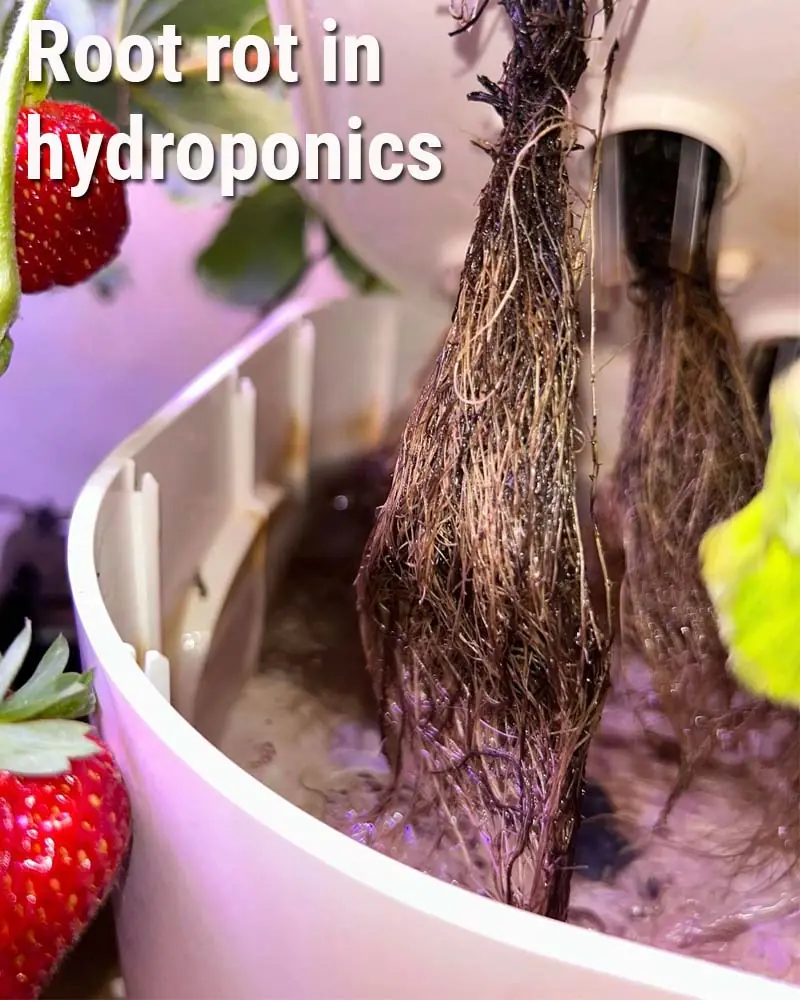
The plants stopped growing, and the leaves turned yellow. When I checked the roots, they were brown and slimy. The sun had heated the water so much that it couldn’t hold enough dissolved oxygen, leading to root rot.
How I solved it:
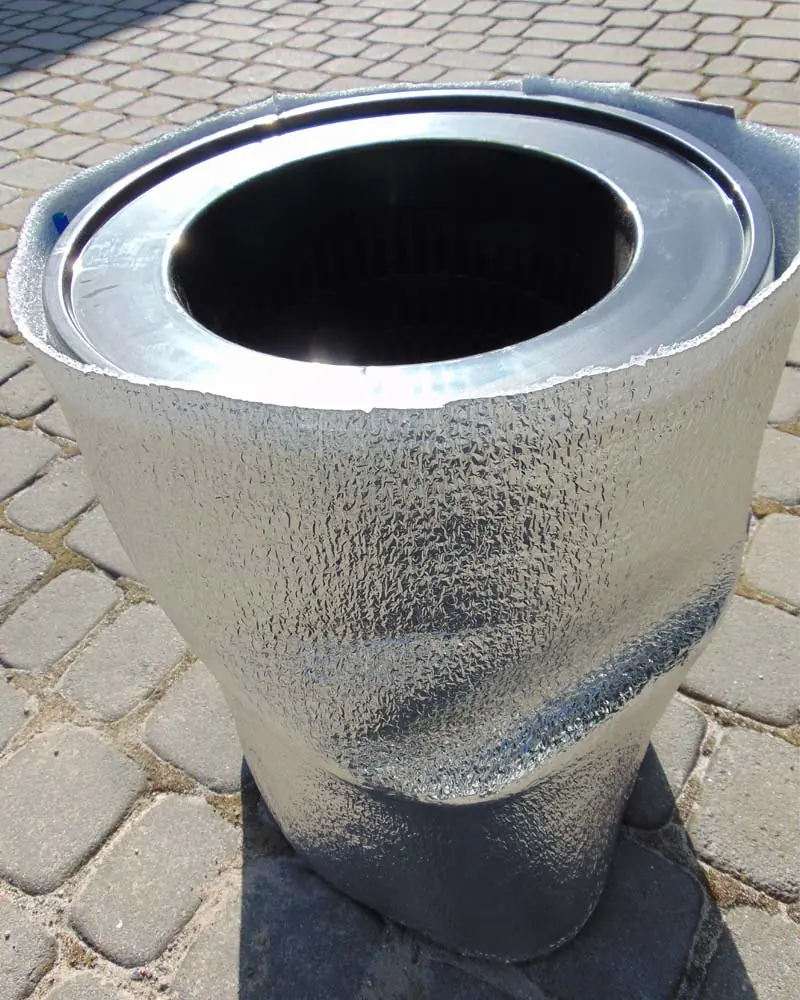
- Insulation: I wrap my outdoor tanks in thermal insulation material.
- Heat Dissipation: I place tanks directly on the ground to help move excess heat away from the reservoir.
- Cooling Air: For DWC systems, I cool the air before it is pumped into the tank.
Read also: Best Way to Cool Hydroponic Water
Overcomplicating Nutrient Ratios
In an attempt to keep costs low, I tried using fertilizers intended for soil. The results were disastrous: the plants suffered immediate root burn and died before reaching maturity. I then tried “budget” hydroponic brands, which resulted in chlorosis (yellowing due to lack of chlorophyll) and zero yield.
How I solved it:
- Reliable Nutrients: I stick to a trusted 3-part fertilizer (like General Hydroponics).
- Following Instructions: I follow the manufacturer’s schedule strictly and avoid the temptation to “over-feed.”
- EC Testing: I always check the Electrical Conductivity (EC) before adding any nutrients.
Read also: Water Management In Small Indoor Hydroponics
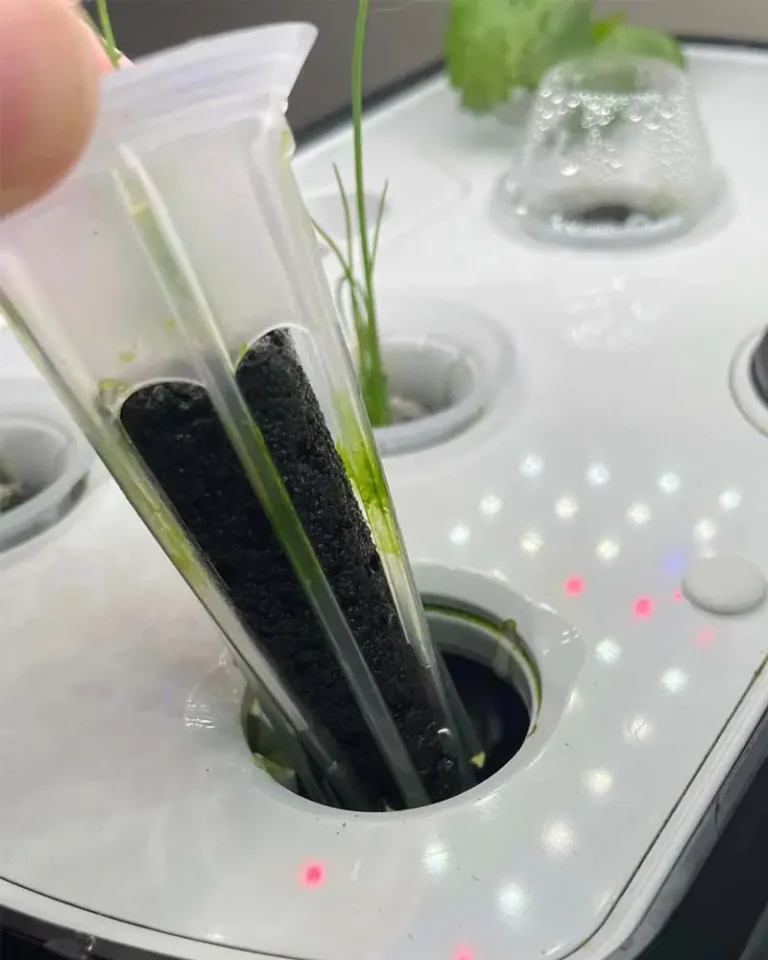
Lack of Proper Aeration
I naively believed that as long as roots were in water, they would be happy. However, in systems where roots are submerged, oxygen is the “secret” ingredient.
I had the most trouble with small, “all-in-one” systems like Aerogardens. Their small tanks and minimal water movement often led to stagnant conditions and root rot for more than half of my plants.
How I solved it:
- Beneficial Microbes: In larger setups like Kratky, I use beneficial fungi to protect the root zone from pathogens.
- Air Pumps: I equipped my systems with high-quality air stones and pumps set on a timer.
Read also: 6 Steps to Stop Root Rot in AeroGarden & iDOO
Poor Air Circulation
After moving my setup indoors, I noticed some leaves were covered in a fine, gray powder—a fungal disease. Fungi thrive in stagnant air where moisture evaporating from the leaves has nowhere to go. I lost my entire dill crop to this “gray mold.”
How I solved it:
- Active Airflow: I installed a fan that blows directly over the plants.
- Interval Timing: The fan runs for 15 minutes every hour.
- Ventilation: I ensure the grow room itself is constantly ventilated with fresh air.
Read also: 7 Common AeroGarden Problems
Wrong Tank Size
nitially, I used whatever containers I had—jars, small tubs, and buckets. I eventually noticed that the container size directly dictates the yield and the plant’s health. Small containers run dry too quickly, causing nutrient spikes and thirsty plants.
How I solved it:
- Heavy Feeders: For tomatoes and cucumbers, I use at least 5-gallon containers.
- Leafy Greens: I use at least 1–2 gallons per plant.
- Dwarf Varieties: I only use compact/desktop systems for dwarf vegetable varieties or herbs.
Read also: Why Your Desktop Hydroponic Lettuce is Stalling
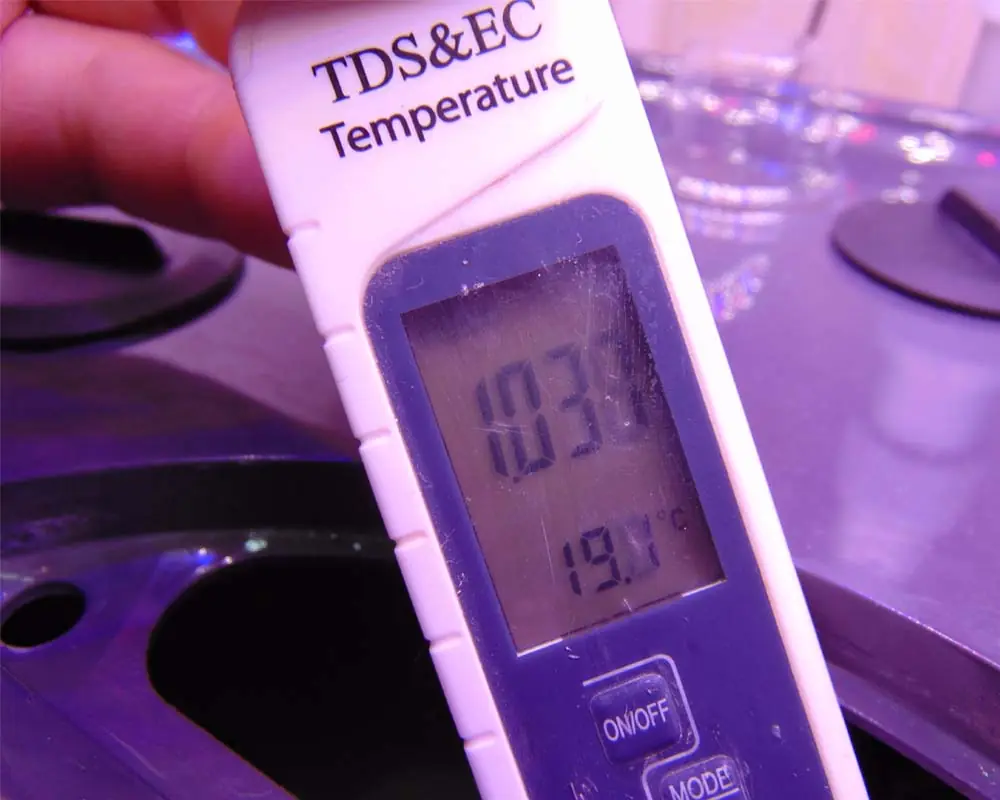
Not Monitoring EC/PPM

Many people mention setting the EC at the start, but few mention that it changes daily. Plants consume water and minerals at different rates; if they drink more water than they eat nutrients, the concentration (EC) can skyrocket and burn them. Conversely, if they eat more than they drink, the solution becomes depleted.
How I solved it:
- Daily Checks: I monitor the EC daily, keeping it between 1.2–2.5 mS/cm depending on the crop.
- Redundancy: I use two meters—a budget backup and a professional Aqua Master E60 Pro.
- The 2.0 Rule: If my EC reading is above 2.0, I refrain from adding more fertilizer and instead top off with fresh water.
Read also: Top Reasons Why Hydroponic Leaves Wilt and How to Fix Them
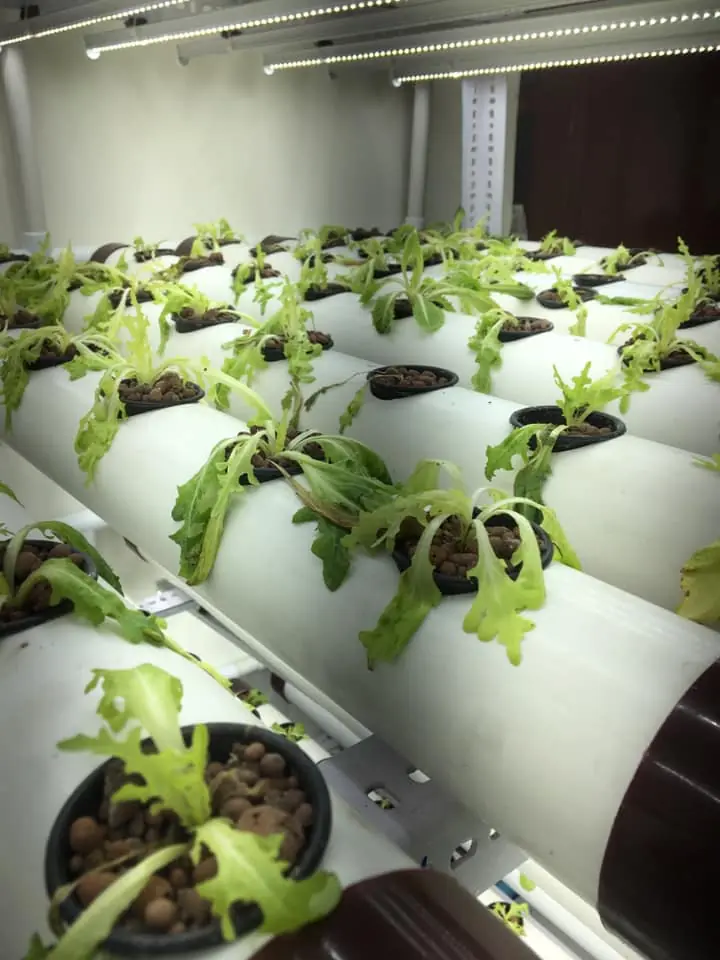
Starting with Difficult Crops
My first instinct was to grow strawberries, bell peppers, and broccoli. I failed spectacularly. Strawberries, in particular, are the “divas” of the hydroponic world—they require very specific nutrient balances and environmental controls.
How I solved it:
- Cost-Benefit Analysis: I still avoid certain crops because the complexity and electricity costs outweigh the reward of the harvest.
- The Progression Method: I now advise everyone to start with leafy greens and herbs.
- Experience First: Only after mastering greens did I move on to tomatoes and cucumbers.
Read also: Top 6 Fastest-Growing Hydroponic Plants for Instant Harvests
Share This Post