One day, I decided to take a gamble and grow large tomatoes in my AeroGarden Farm 12XL. At first, I was hesitant—Oregon Spring is a fairly substantial variety, and indoor hydroponic setups don’t have infinite space. However, I decided to push the limits anyway. Here is exactly how it turned out.
The Setup
Water
The first thing I did was fill the tank with regular tap water and let it sit for 24 hours to dissipate any chlorine. The next day, I calibrated my pH meter; the initial baseline read a high 7.8. I added 2 teaspoons of General Hydroponics pH Down to the tank, and after an hour, the pH dropped to a perfect 5.8.
Fertilizer
Next, I added 25 milliliters of General Hydroponics Flora Series fertilizer. I checked the electrical conductivity (EC) with my Aqua Master E60 Pro, which read 1.2 mS/cm at a water temperature of 66.2°F (19°C). At this stage, the water chemistry was spot on.
Seeds
I chose the Oregon Spring variety for a specific reason—it’s a incredibly popular cultivar known for producing great yields. I sourced the seeds online from a reputable marketplace, and they arrived fresh and high-quality.
I placed two seeds into a single grow sponge, set it into the center hole of the growing tray, and covered it with a clear plastic grow dome.
Light
To ensure the seedling received maximum light right out of the gate, I dropped the LED panel to its lowest position and set the timer to a 16-hour on, 8-hour off cycle. As the plant grew, I routinely adjusted the panel to maintain a steady 2-inch gap between the lights and the top leaves.
Aeration
To maximize root health, I added supplementary water aeration using a standard 4-watt aquarium air pump and dual air stones. I also positioned a small fan opposite the plant on a separate timer. This crucial step helped dissipate the moisture that naturally accumulates on the leaves due to transpiration, preventing mold and strengthening the main stem.
Read also: Hydroponic Mistakes That Cost Me My Harvest
The Vegetative Stage
Five days after planting, the first seedling sprouted, followed by the second two days later. To prevent root competition and ensure a single strong yield, I immediately culled the second seedling.
By week two, the plant was hungry. I added another 25 milliliters of fertilizer, bringing the EC up to 1.8 mS/cm. From that point on, vegetative growth exploded.
Over the next two weeks, the Oregon Spring grew aggressively. New fan leaves appeared daily, and the main stalk kept stretching upward. I monitored the pH and EC levels every single day, making micro-adjustments whenever the parameters drifted out of the ideal zone.
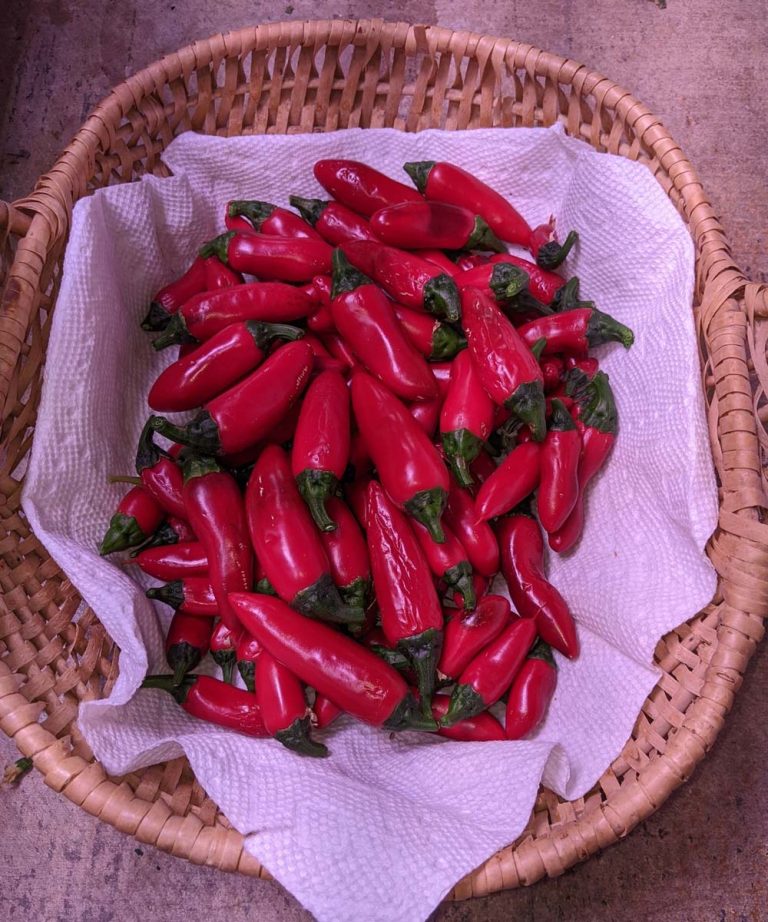
Read also: My Journey Growing Orange Sun Peppers with the Kratky Method
Pruning and Trellising
About a month into the grow, the plant reached the absolute maximum height of the Farm 12XL’s light bars. It was time to prune. Armed with sharp pruning shears, I carefully took off the top shoots that were making direct contact with the LEDs, establishing a safe 2-inch clearance.
Next, I cleaned up the bottom of the plant. I removed the lower yellowing leaves and pinched off the lower suckers (the non-fruiting shoots that grow in the V-shape intersections of the branches). This instantly opened up the lower canopy and drastically improved airflow.
Because the plant was getting top-heavy and leaning, I installed the Farm 12XL’s included trellis system roughly halfway up the unit’s frame. It’s a high-quality, incredibly convenient addition that kept the main structure perfectly upright.
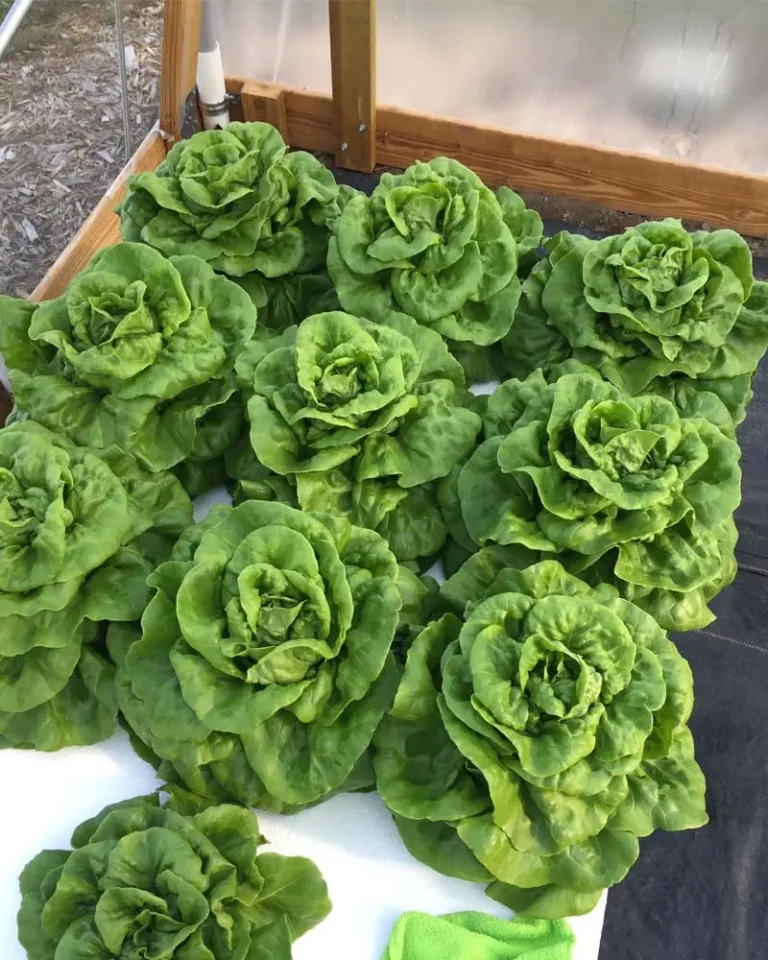
Read also: Growing Crisp Butterhead Lettuce with the Kratky Method
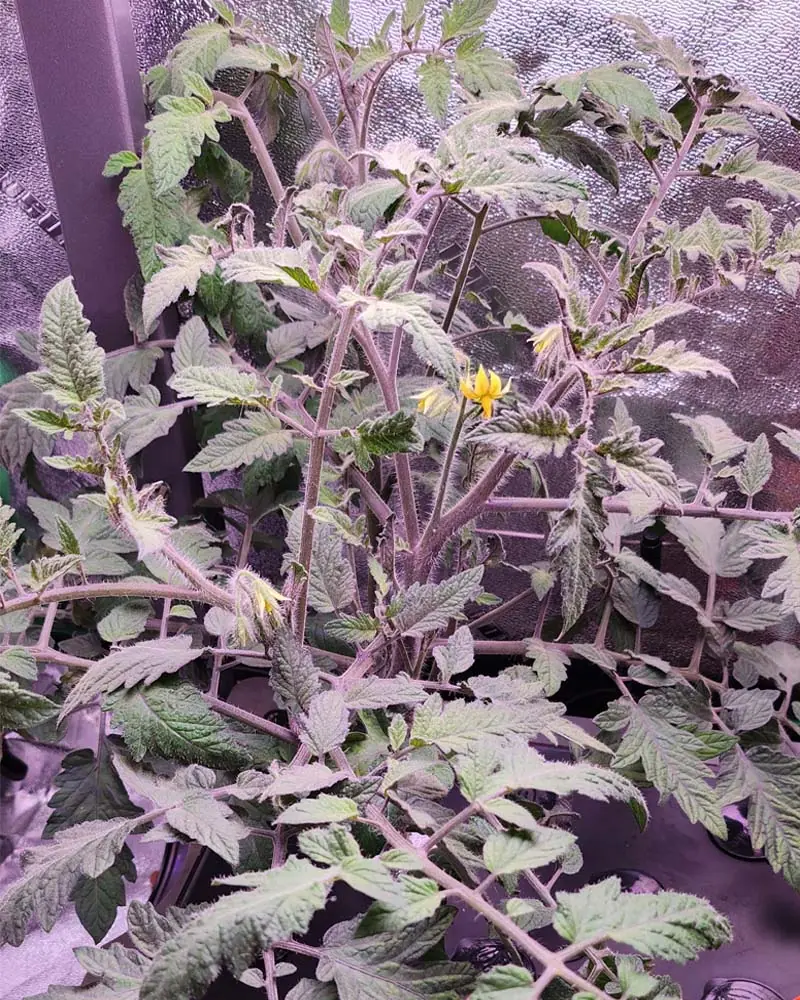
Pollination & Fruit Set
The first blossoms appeared on day 31. Because indoor setups lack natural pollinators, I used an artistic paintbrush to gently vibrate the inside of each flower to distribute the pollen. The oscillating fan also did a great job circulating the pollen through the air.
Throughout the flowering window, I repeated this hand-pollination process every few days. I also bumped up the nutrient dose, pushing the EC to its peak at 2.5 mS/cm. The plant responded beautifully, setting a massive wave of blossoms.
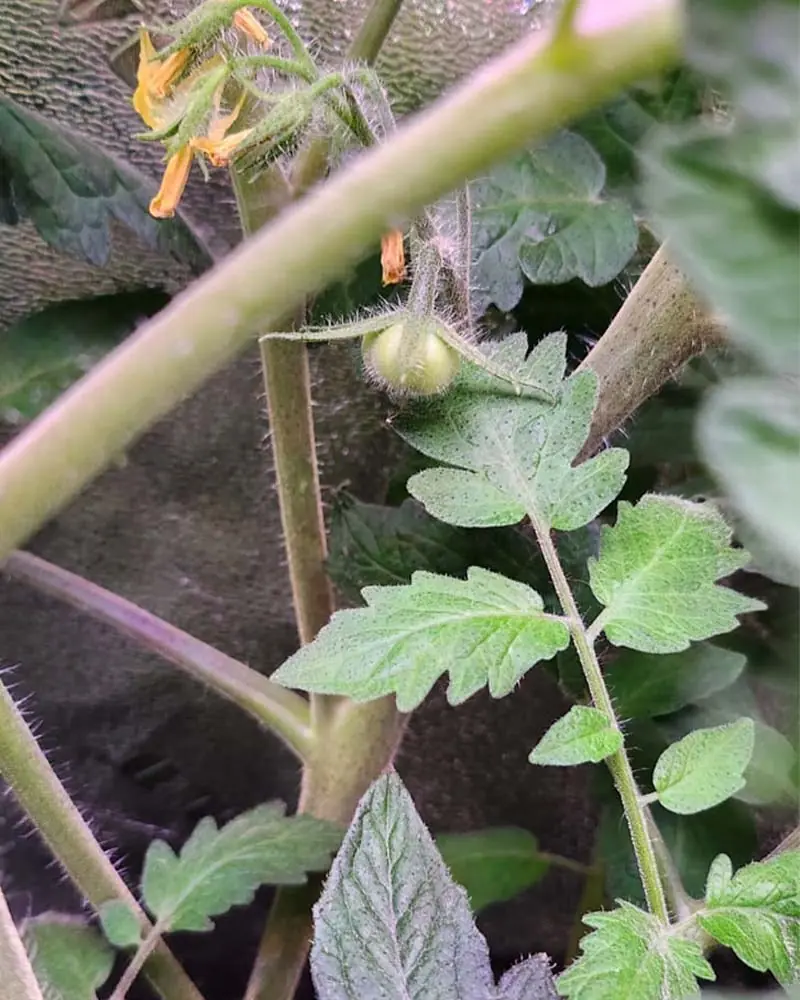
On day 36, I spotted the very first tiny green tomato.
Read also: A Guide to Growing Fairytale Eggplants in Your AeroGarden Farm 12XL
Ongoing Maintenance
By day 30, the Oregon Spring had become an absolute water hog. It was drinking so fast that I had to top off the reservoir almost daily. To make this easy, I kept a pre-treated bucket of pH-balanced water nearby. Whenever the reservoir dropped below the halfway mark, I filled it right back up to the brim.
Remarkably, I never performed a full reservoir change or system flush during the entire cycle. I managed to keep the water crystal clear and free of root rot entirely thanks to the heavy oxygenation from the air pump and a dose of beneficial bacteria added during week three.
Pro-Tip:To prevent blossom end rot (a common calcium-deficiency issue that causes the bottoms of ripening tomatoes to turn black), I proactively added a Cal-Mag supplement to my top-off water during the heavy fruiting phase.
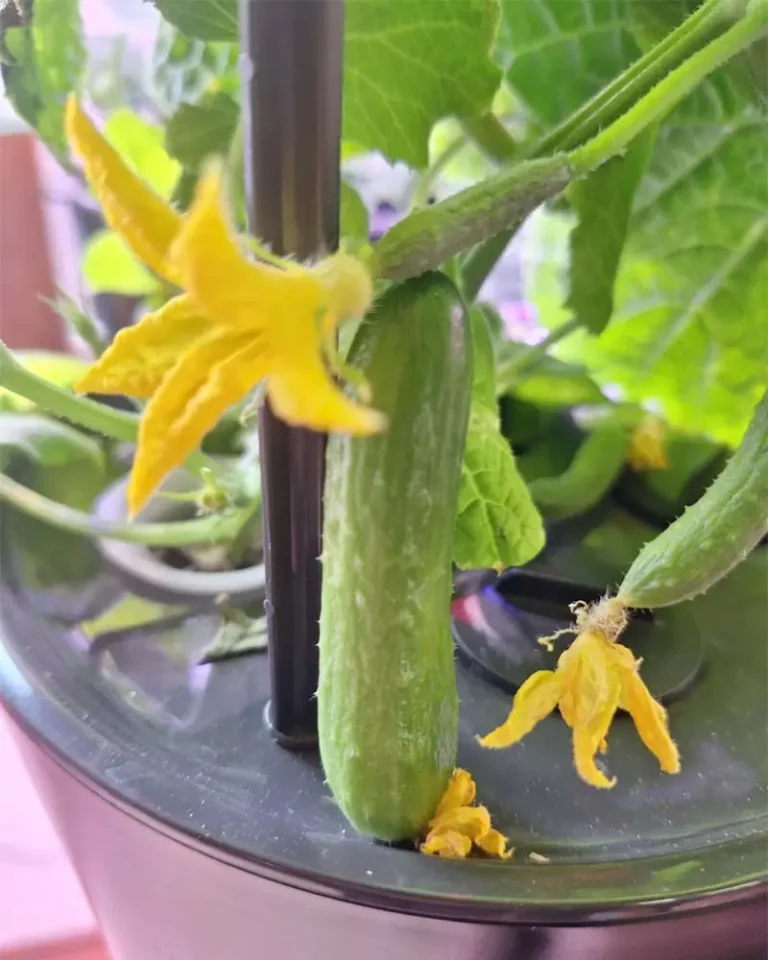
Read also: Growing Quick Snack Cucumbers in My AeroGarden Bounty
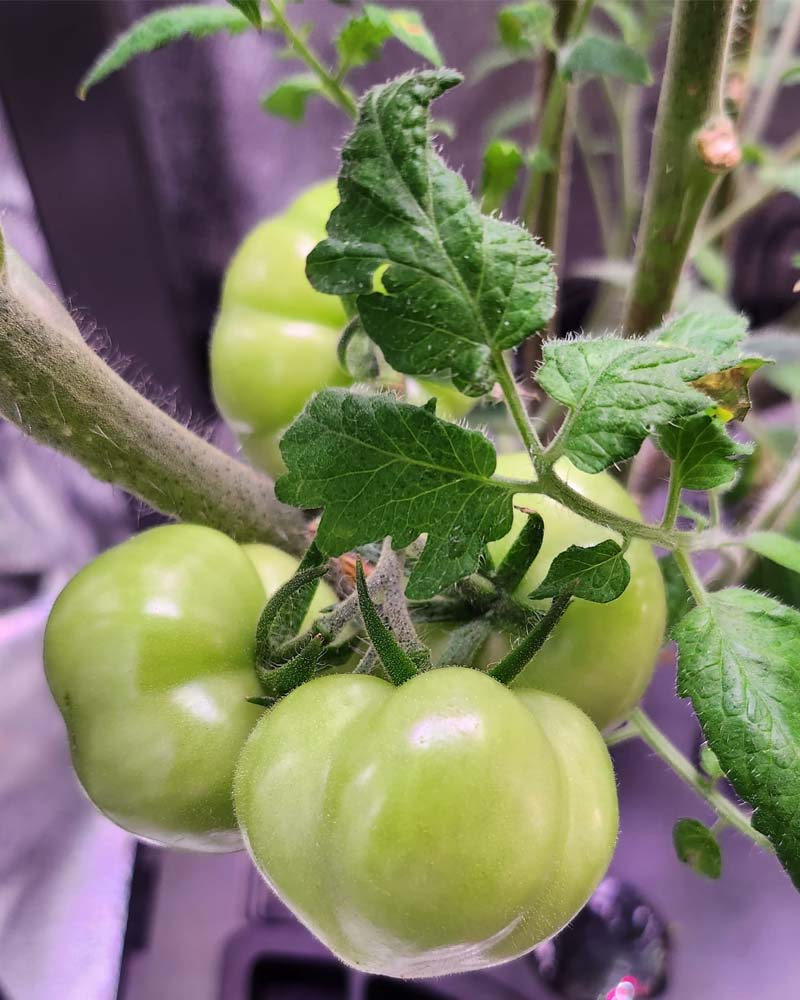
The Harvest
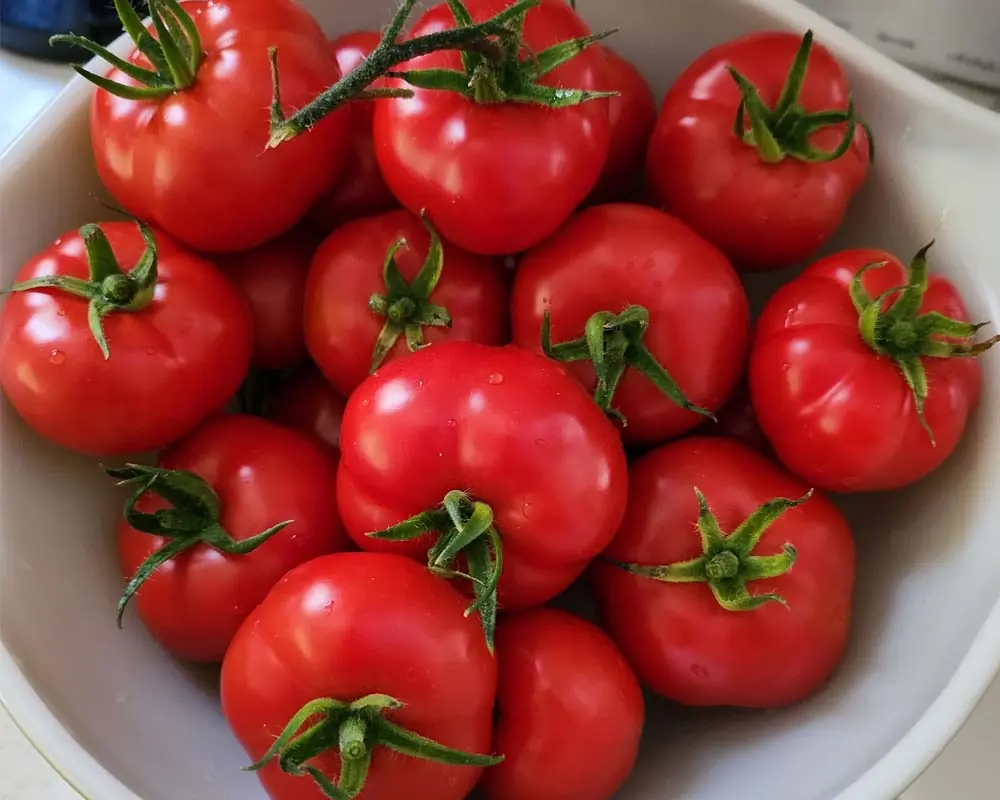
By day 64, the tomatoes had reached their maximum size and began blushing. By day 83, they were deeply red and ready for picking.
The largest individual tomato weighed 1.8 oz, with the average fruit coming in around 1.5 oz. In total, I harvested 33 fruits, bringing the single-cycle yield to a whopping 3 pounds of fresh tomatoes.
Costs vs. Results
|
Item |
Quantity |
Cost |
|---|---|---|
|
Electricity |
88 kWh |
$15.12 |
|
Grow Sponges |
1 Piece |
$0.20 |
|
Nutrients |
125 ml |
$1.25 |
|
Water, pH Down, etc. |
Misc. |
$0.50 |
|
Total Cost |
$17.00 |
Over the course of the growing season, my total investment came out to $17.00 for 3 pounds of homegrown produce. That brings the breakdown to roughly $5.66 per pound.
Do you think that’s expensive for fresh, homegrown, pesticide-free winter tomatoes, or is it a total bargain? Let me know your thoughts in the comments below!
Share This Post