I’ve been growing cucumbers in soil for many years, so I know firsthand that they are massive plants and incredibly heavy drinkers. That’s why I became curious to see if I could successfully cultivate a cucumber plant inside a compact indoor hydroponic setup. Here is exactly how my experiment went, along with the data, timelines, and adjustments I made along the way.
Setting Up
I chose the AeroGarden Bounty to see if it was possible to manage a cucumber vine in a relatively small reservoir. Even though the grow deck has 9 slots, I planted just one cucumber. Packing multiple heavy feeders into a system this size is a recipe for disaster; one plant is more than enough to fill the space.
I sourced my seeds from Park Seed Co., opting for the Quick Snack variety because it is specifically bred to be a compact, high-yielding “Kitchen Mini.”
To prepare the system:
- I filled the reservoir with tap water and let it sit for 24 hours to off-gas any chlorine.
- During this time, I calibrated my pH and EC meters to ensure accurate tracking.
- The next day, I adjusted the baseline pH to 5.7 using pH-Down.
- I dosed the tank with 12 milliliters of General Hydroponics Flora Series fertilizer, bringing my starting EC reading to 1.5 mS/cm.
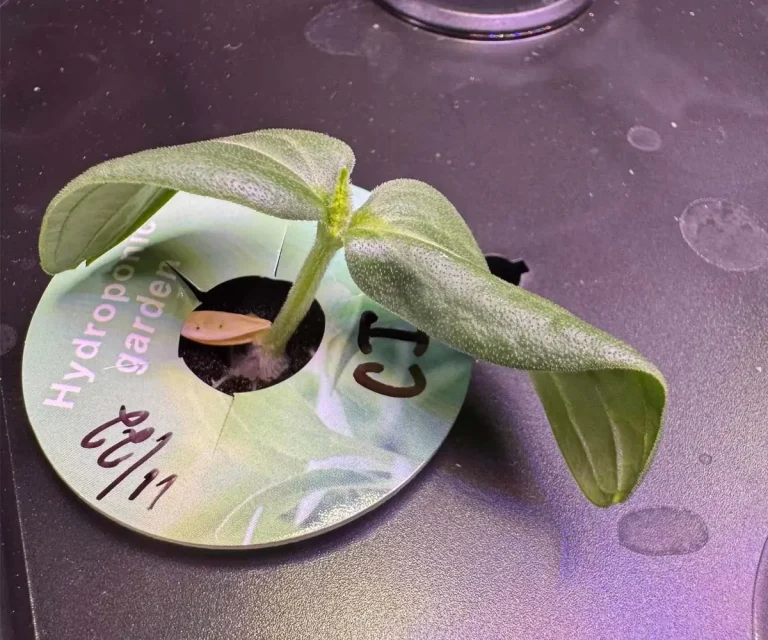
To be safe, I dropped one seed into a grow sponge and a backup seed into a second sponge, placing both in the center holes of the grow deck. I dropped the LED panel to its lowest position and set the timer to a 16-hours-on, 8-hours-off schedule.
Finally, because the AeroGarden Bounty relies on a standard water pump, I added an external aquarium air pump and an air stone to the reservoir to maximize dissolved oxygen levels.
Read also: Water Management In Small Indoor Hydroponics
The Growth & Maintenance Phase
Weeks 1–3: Early Growth & Trellising
Nothing happened for the first four days, but on Day 5, the first seed sprouted. The backup seed never germinated, so I removed that second sponge entirely to keep the deck clear.
The young cucumber grew aggressively. As the vegetative growth took off, I bumped up the nutrients to raise the EC to 1.8 mS/cm. Once the dense green leaves began covering the entire grow deck, I installed the AeroGarden trellis system. I spent a few minutes every few days training the vines upward and pruning back rogue shoots that were growing too far past the footprint of the machine or pushing too close to the LED panel.
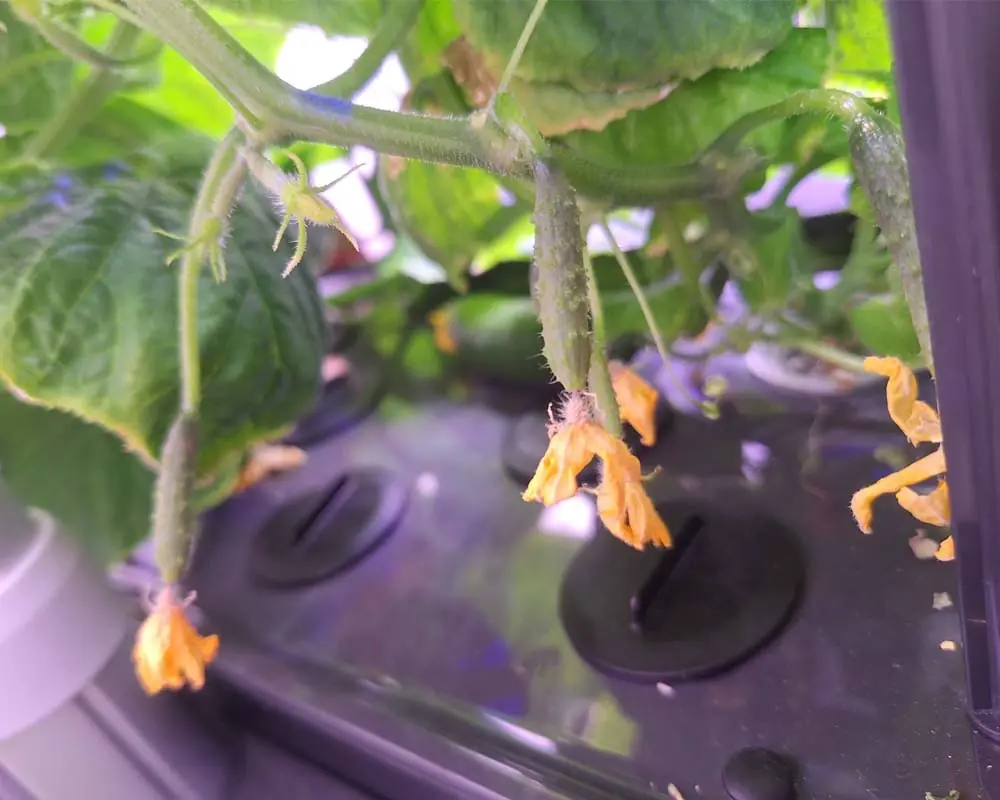
Weeks 4–5: Flowering & Heavy Drinking
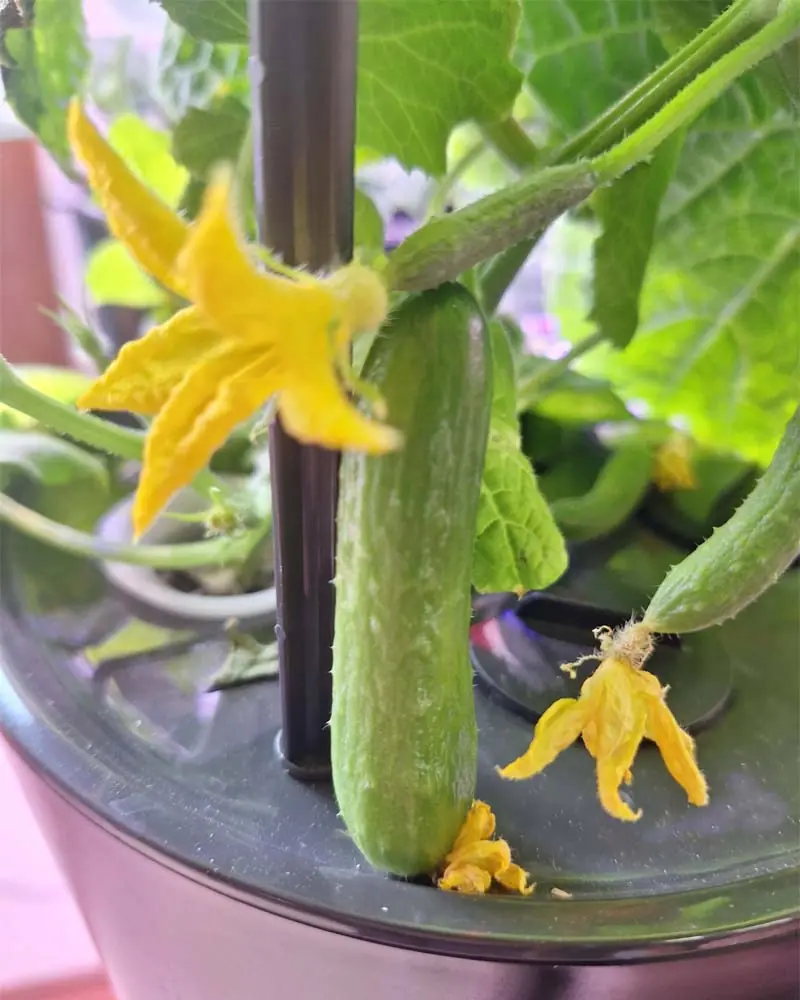
By Day 23, the plant erupted with bright yellow blossoms. While the Quick Snack variety is parthenocarpic (meaning it doesn’t require pollination to set fruit), I took a small paintbrush and gently brushed the inside of each flower just to be absolutely certain.
Around this time, the plant’s water consumption skyrocketed. Refilling the tank daily became a chore, so I prepared a 3-gallon bucket of nutrient-balanced water and kept it right next to the system for quick, stress-free top-offs.
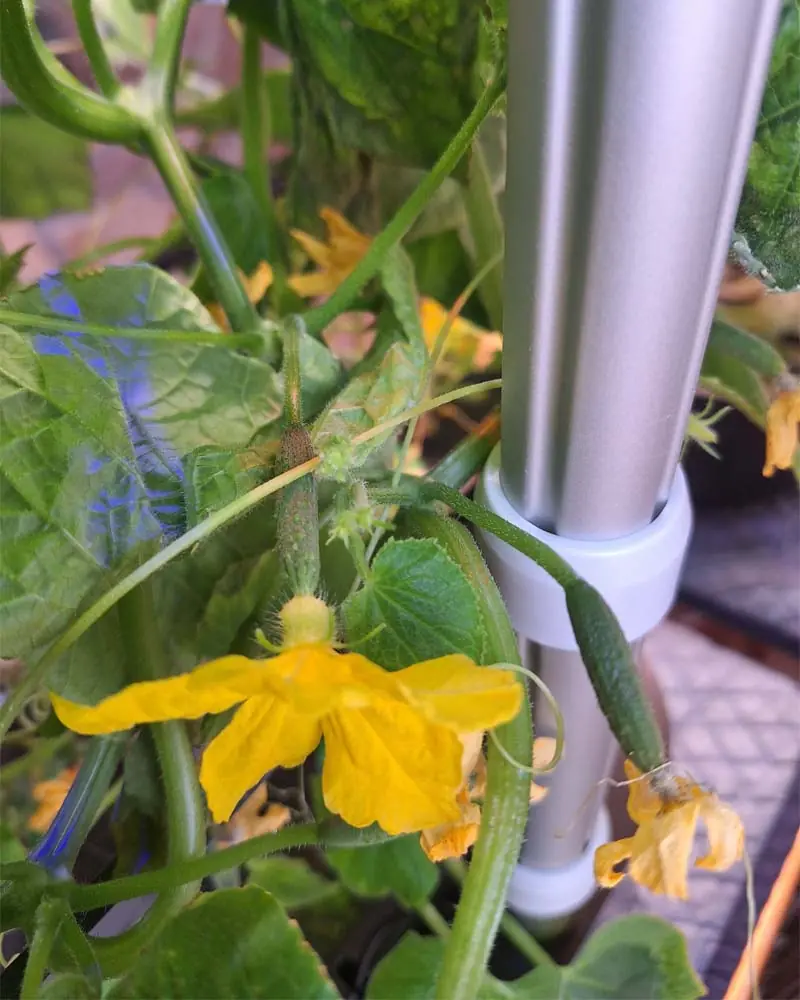
Week 6: Fruit Formation
On Day 30, I spotted the first two miniature cucumbers taking shape. Knowing that fruiting plants require a heavy dose of potassium and phosphorus, I added another robust feeding, pushing the EC up to its peak at 2.5 mS/cm.
Read also: Top 5 High-Margin Hydroponic Crops for 2026
Troubleshooting Common Issues
Growing a massive vine in a small footprint wasn’t completely seamless. I ran into three distinct challenges:
- Early Root Rot: Around week two, I noticed the roots were beginning to take on a slight brownish tinge. My additional air stone wasn’t providing enough protection on its own, so I introduced beneficial bacteria to the reservoir. The root zone cleared up immediately and stayed bright white for the rest of the grow.
- Tip Burn (Edema): Shortly after, the tips of the leaves began turning brown and crisp. Because the foliage was so dense, humid air was getting trapped under the canopy. I set up a small clip-on fan to constantly blow a gentle breeze across the plant, which solved the transpiration issue completely.
- Pump Clogging: Cucumber roots are incredibly aggressive. They quickly found their way into the water pump housing. I had to carefully trim back the root mass around the intake filter a few times to keep the water flowing freely. The plant didn’t mind the minor root pruning at all.
Read also: 6 Steps to Stop Root Rot in AeroGarden & iDOO
The Harvest
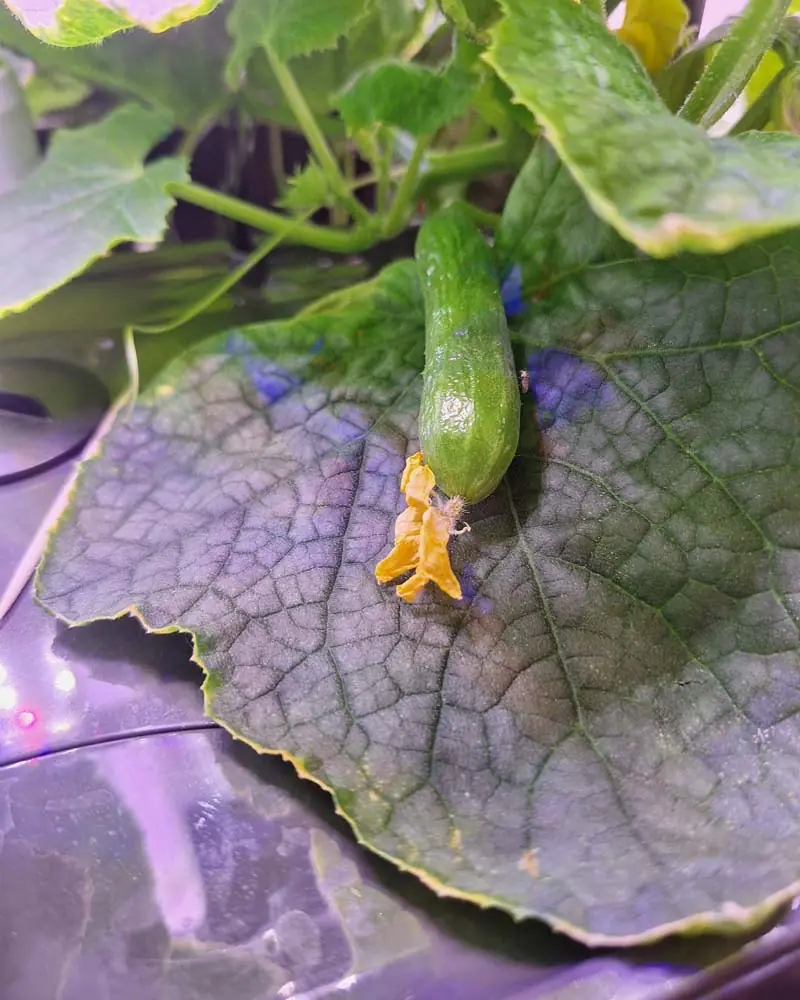
On Day 39, the first flight of cucumbers reached an ideal length of 2 inches. This variety tastes best when picked small; if you let them get too big, the skins coarsen and the crispness degrades.
My very first pick yielded 5 perfect, seedless cucumbers. Over the next two weeks, the plant continued to produce consistently. In total, the single Quick Snack plant yielded 30 cucumbers, bringing in a total harvest weight of 1.5 lbs.
Costs vs. Results
|
Item |
Quantity |
Cost |
|---|---|---|
|
Electricity |
30 kWh |
$5.10 |
|
Grow Sponges |
1 Piece |
$0.20 |
|
Nutrients |
36 ml |
$0.36 |
|
Water, pH Down, etc. |
Misc. |
$0.50 |
|
Total Cost |
$6.10 |
My total operating expenses for the entire lifecycle came out to $6.10.
Admittedly, I could walk down to my local grocery store and buy a pound and a half of conventional cucumbers for less money. However, grocery store minis can’t compete with the crisp texture of a cucumber picked seconds before eating—and they certainly don’t come with the satisfaction of knowing you grew them yourself on your kitchen counter.
What do you think? Is it worth the time and electricity to grow fresh cucumbers indoors? Let me know your thoughts in the comments below!
Share This Post