When I bought my AeroGarden Farm 24 XL, it came with seed pods containing sweet bell pepper seeds. Eager to see how a heavy-fruiting nightshade would perform in the new system, I decided to document the entire process.
Below is a detailed, day-by-day breakdown of the entire growing cycle from seed to a 6-pound harvest.
The Growth Timeline
Day 1 to Day 21: System Setup & Germination
I started the cycle by prepping the Farm 24 XL. The assembly and initial configuration were straightforward, allowing me to get the reservoirs filled and running in no time.
Water Preparation
I filled the reservoirs with standard tap water and let them sit for 24 hours to dissipate any residual chlorine. Because my local tap water has a naturally high baseline pH, I used General Hydroponics pH Down to balance it. Utilizing an Aqua Master P50 Pro, I carefully adjusted the reservoir until it hit a stable 5.7 pH, which is the ideal sweet spot for bell pepper nutrient uptake.
Nutrient Strategy
For fertilizer, I chose the General Hydroponics FloraSeries trio (Gro, Micro, and Bloom). For the initial vegetative mix, I added 4 milliliters from each of the three bottles per gallon of water. For the 2-gallon reservoir, this totaled 24 milliliters of nutrients. After mixing thoroughly, my Aqua Master E60 Pro read a starting EC of 1.5 mS/cm.
Planting the Seeds
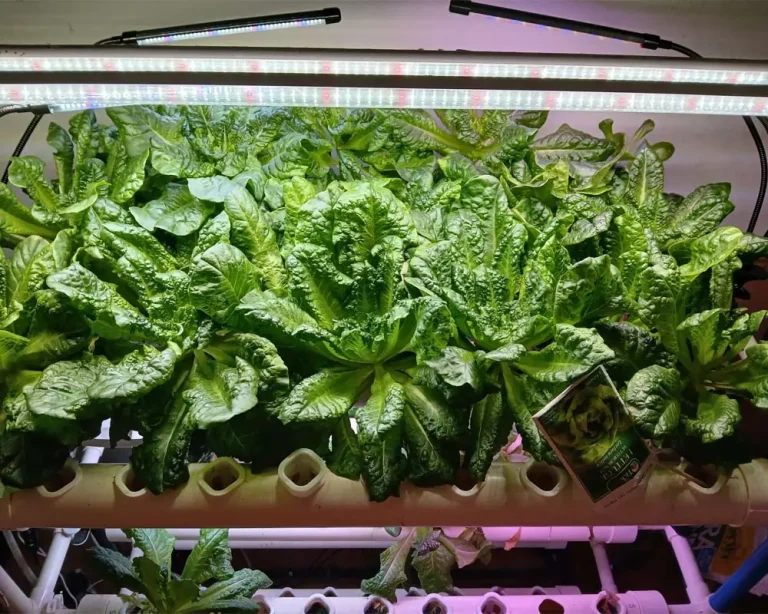
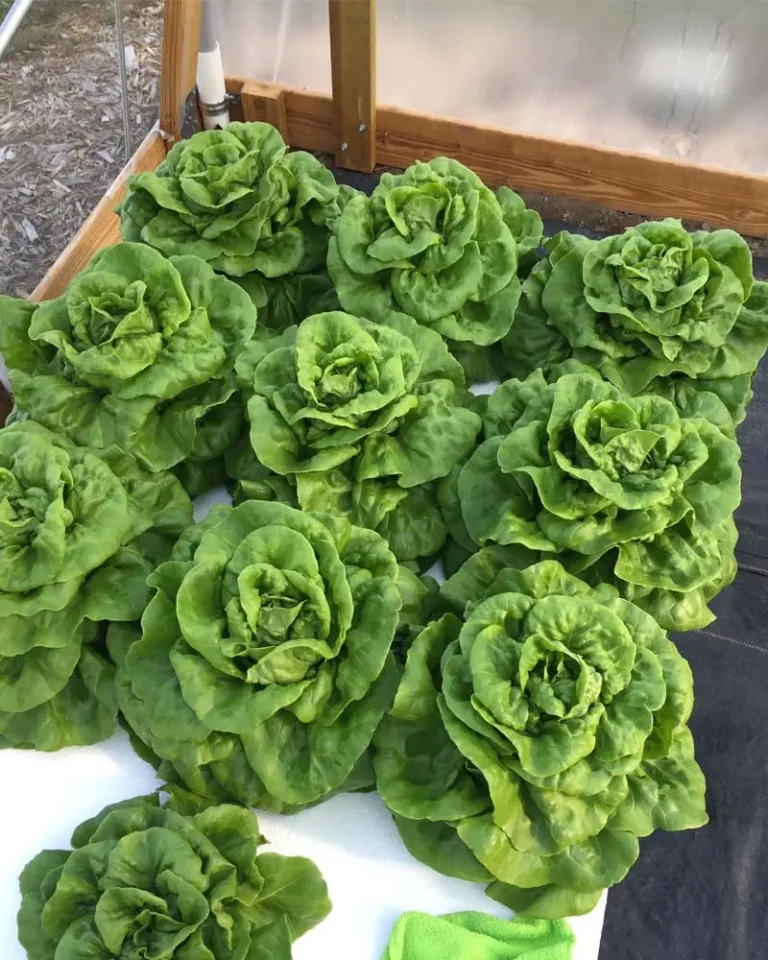
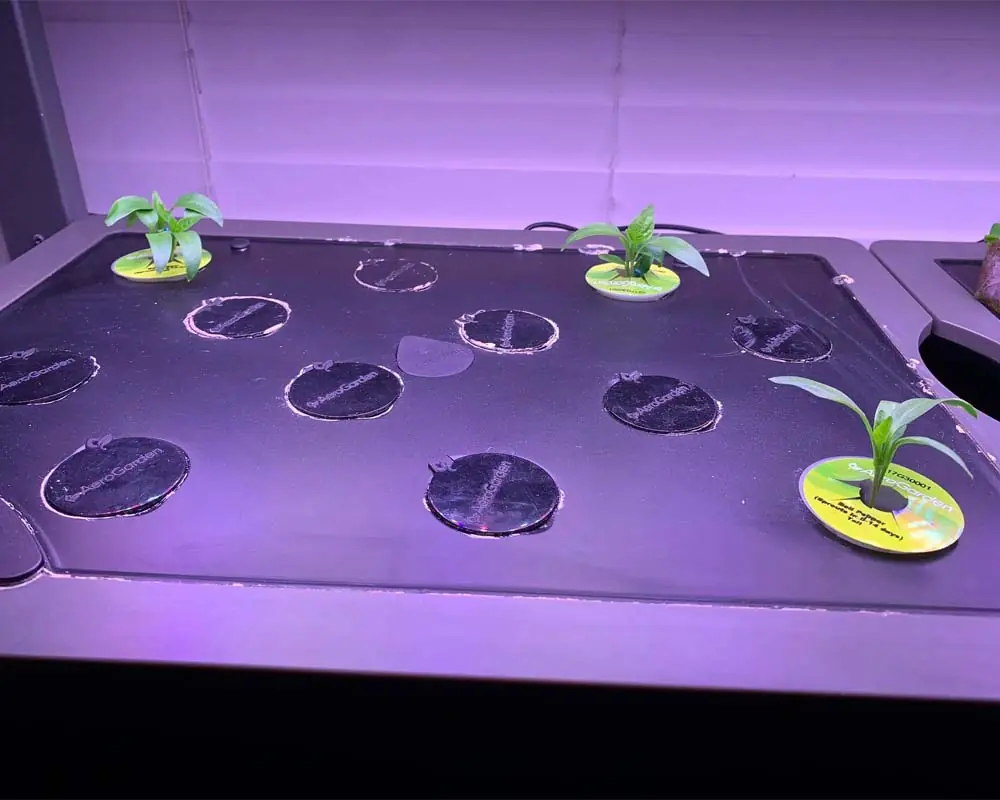
The AeroGarden pods were pre-sown with bell pepper seeds simply labeled “Sweet Bell Pepper.” To ensure the mature plants would have plenty of physical space and root room, I placed just three seed pods in opposite corners of the left deck, covering them with clear plastic grow domes. I left the remaining ports capped to prevent algae growth. (In the right-hand reservoir, I set up a separate run of leafy greens).
Light and Early Care
I lowered the motorized LED panels to their lowest position right above the decks and configured the timer to the maximum setting: 16 hours of light and 8 hours of darkness.
By Day 12, the pepper seeds sprouted, and I removed the plastic grow domes while raising the light panels slightly to accommodate the new growth. By Day 21, the seedlings developed their first true leaves. At this point, I administered a second scheduled dose of fertilizer, bringing the reservoir’s EC up to 2.0 mS/cm.
Read also: My Experience Growing Parsley in the AeroGarden Harvest
Day 40: Water & Nutrient Management
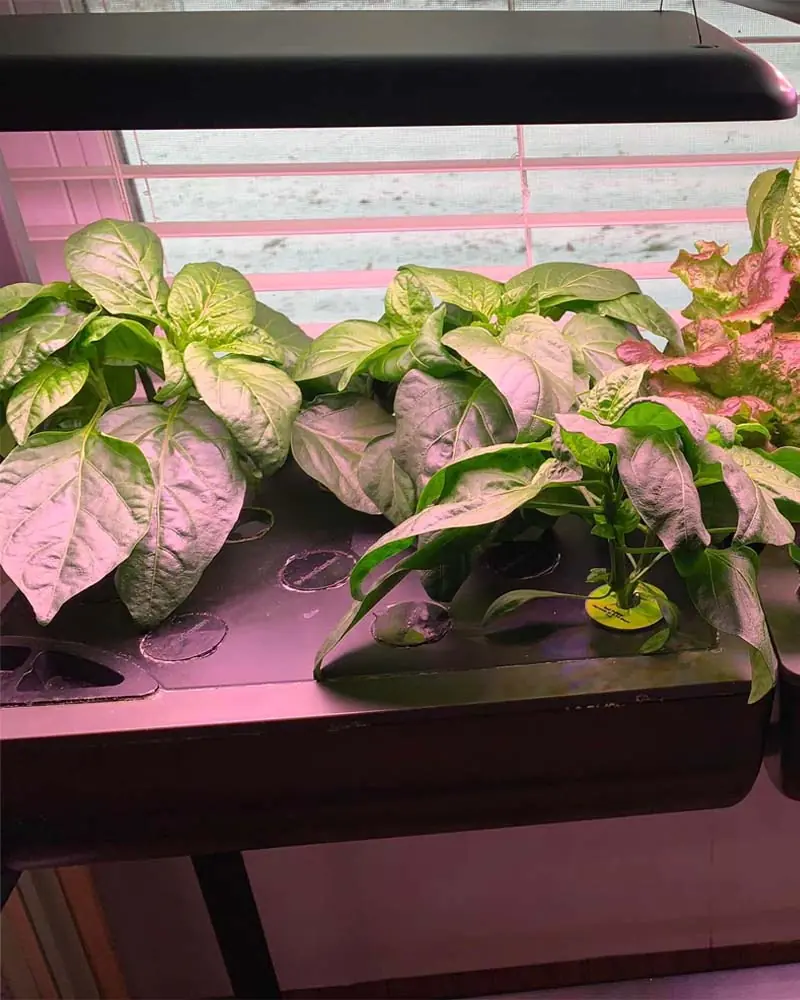
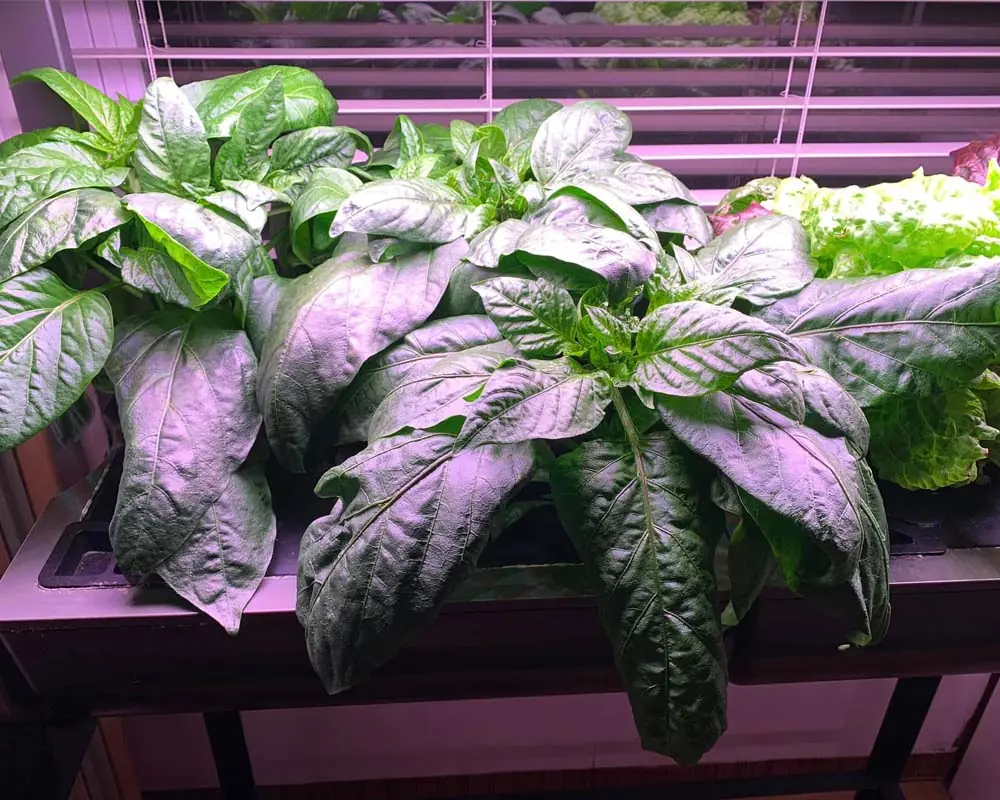
By the 40th day, the pepper plants had established significant foliage and were quickly taking on a mature, bushy structure. I administered a third dose of nutrients, raising the EC to 2.5 mS/cm to support the aggressive vegetative push.
Key Rule: Throughout this entire 152-day grow cycle, I never performed a full reservoir change. Instead, I relied strictly on top-offs with fresh, pH-adjusted water.
I monitored the pH and EC daily, correcting any deviations immediately. Because mature peppers are heavy drinkers, water levels dropped rapidly at this stage. To mitigate the risk of root rot without doing full water changes, I installed an external air pump connected to an additional air stone inside the reservoir. This constant, high aeration kept the root mass pristine, bright white, and healthy the entire time.
As the canopy expanded vertically, I adjusted the LED panels upward, maintaining a strict 2–3 inch gap between the lights and the top leaves to avoid light burn.
Read also: Water Management In Small Indoor Hydroponics
Day 51: Plant Training & Pruning
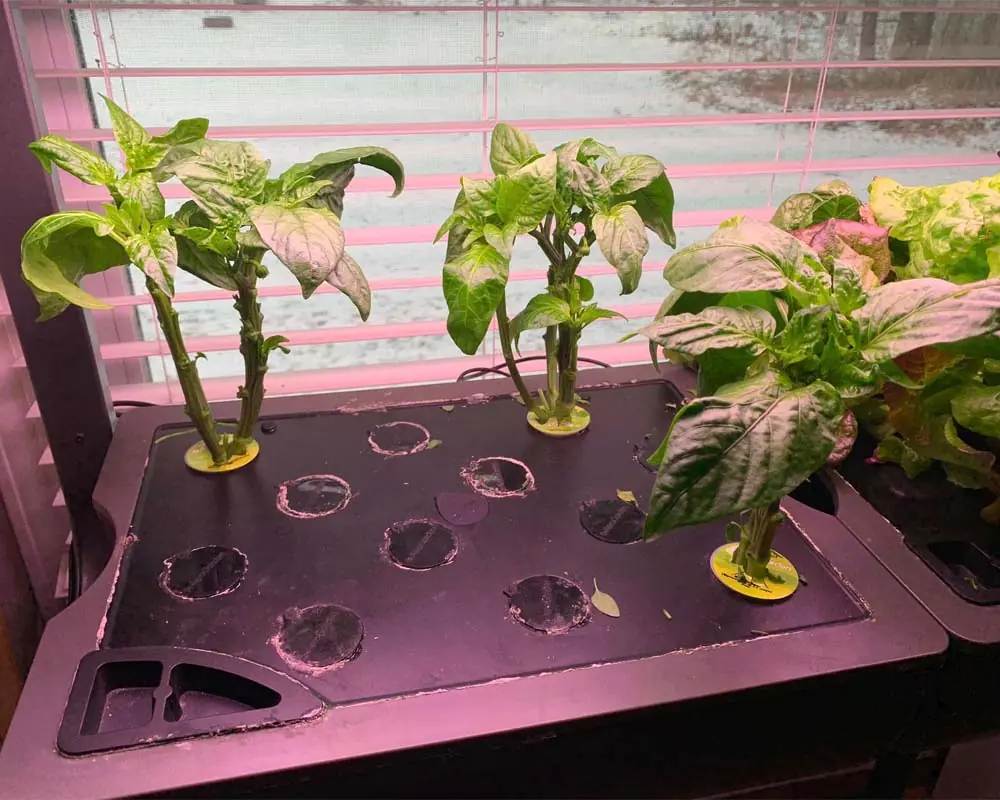
By the end of the second month, the three pepper plants had expanded dramatically, filling the entire footprint of the grow tray and beginning to shade one another out. To optimize light penetration, I stepped in with some strategic pruning.
Using disinfected scissors, I carefully cleared out the largest lower fan leaves, cutting as close to the main stem as possible. Removing this low-lying foliage opened up airflow under the main canopy—creating a clean “understory” where the fruits could eventually hang and develop without being trapped in stagnant, humid air.
Read also: Growing Thai Dragon Peppers in the AeroGarden Farm 24XL
Day 79: The Flowering & Pollination Stage
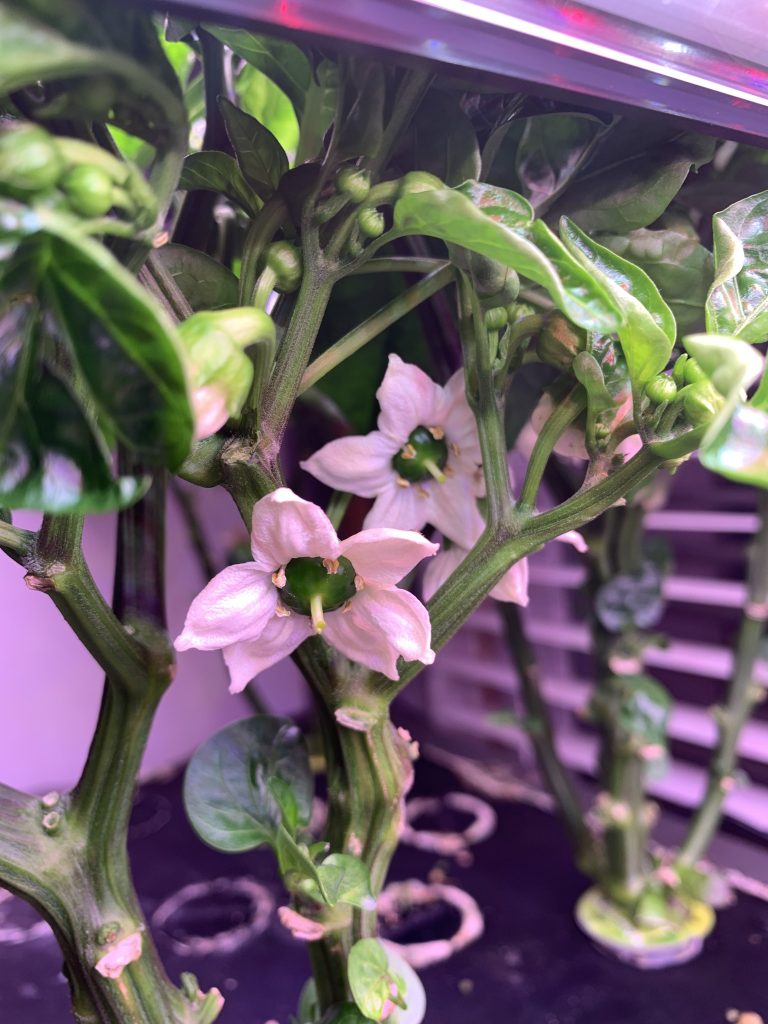
In the middle of the third month, the first flower buds emerged, quickly bursting into a heavy bloom. Because indoor hydroponic systems lack natural wind and insect vectors, active hand-pollination was required to set fruit.
Earlier in the cycle, I had positioned a small external fan facing the Farm 24 XL to keep air moving and prevent leaf edema. This constant airflow did a lot of the heavy lifting for pollination. However, to guarantee a 100% success rate, I used a small brush to gently agitate the inside of each blossom daily, ensuring thorough pollen transfer.
At this stage, I also introduced a CalMag supplement at 4 milliliters per gallon (8 milliliters total for the tank). Adding supplemental calcium and magnesium is a critical insurance policy against blossom-end rot and ensures thick, high-quality fruit walls.
Read also: Growing Basil in an AeroGarden Bounty
Day 119: Fruit Development
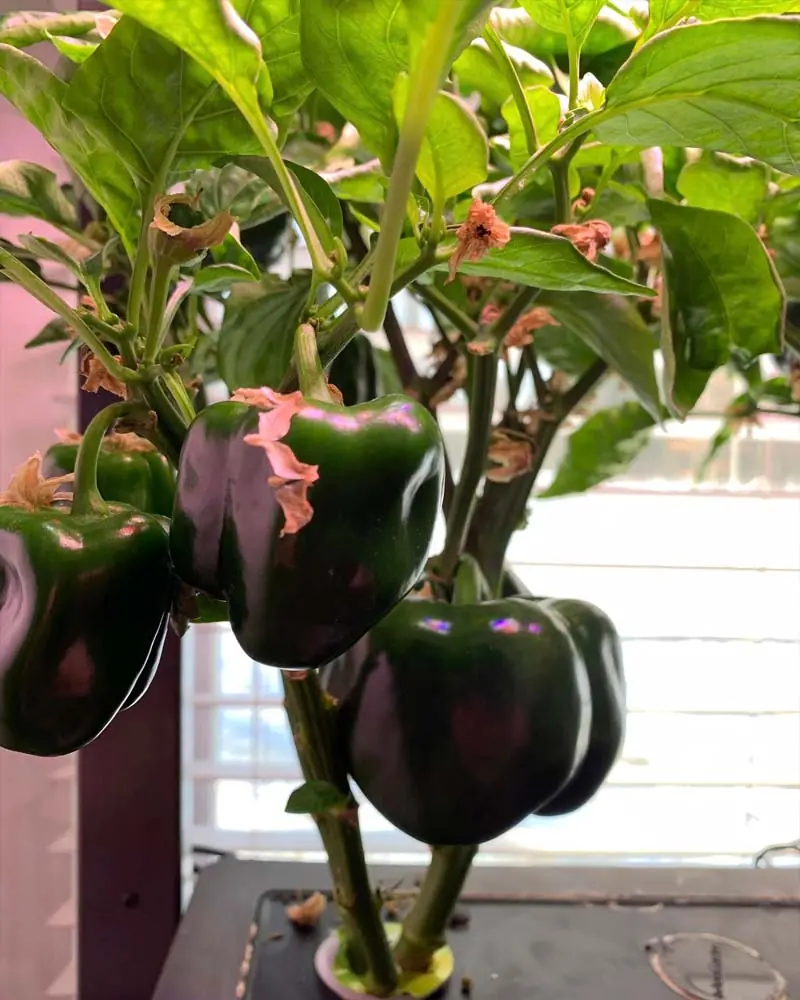
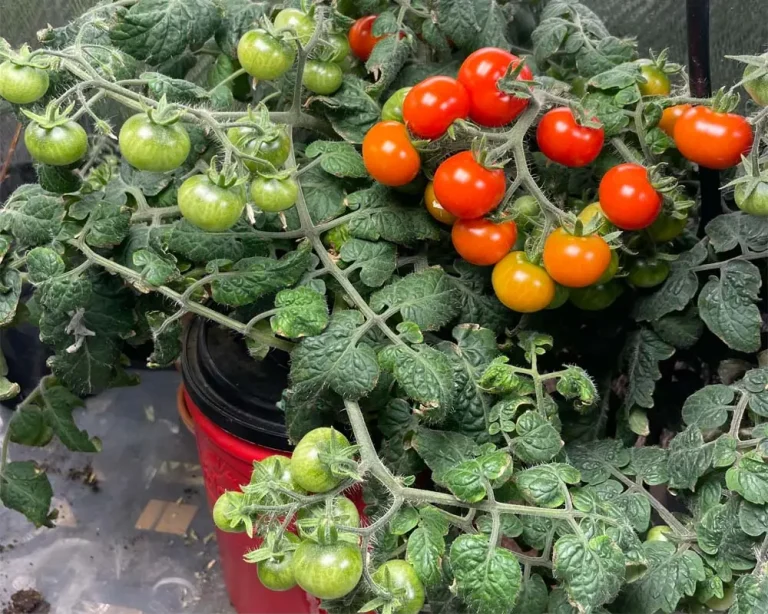
Once the blossoms dropped, the tiny green peppers emerged. While the plants continued to push out occasional new flowers for another three weeks, their main energy had clearly shifted to fruit production. I added a final structural nutrient dose, pushing the EC to its peak at 2.7 mS/cm.
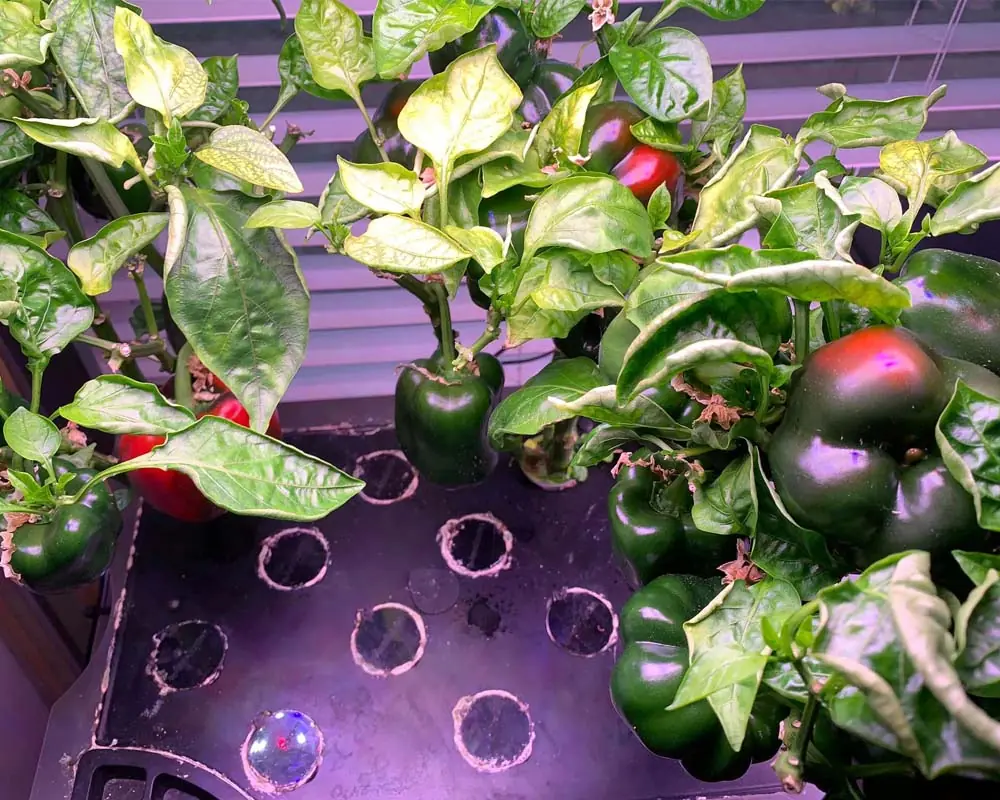
By Day 119, a massive load of full-sized bell peppers hung over the deck. At this point, the fruits had stopped expanding in size; they simply held on the vine, gradually transitioning from a deep glossy green to their final ripe color. My main job here was simply topping off the water and exercising patience.
Read also: Growing Oregon Spring Tomatoes in the AeroGarden Farm 12XL
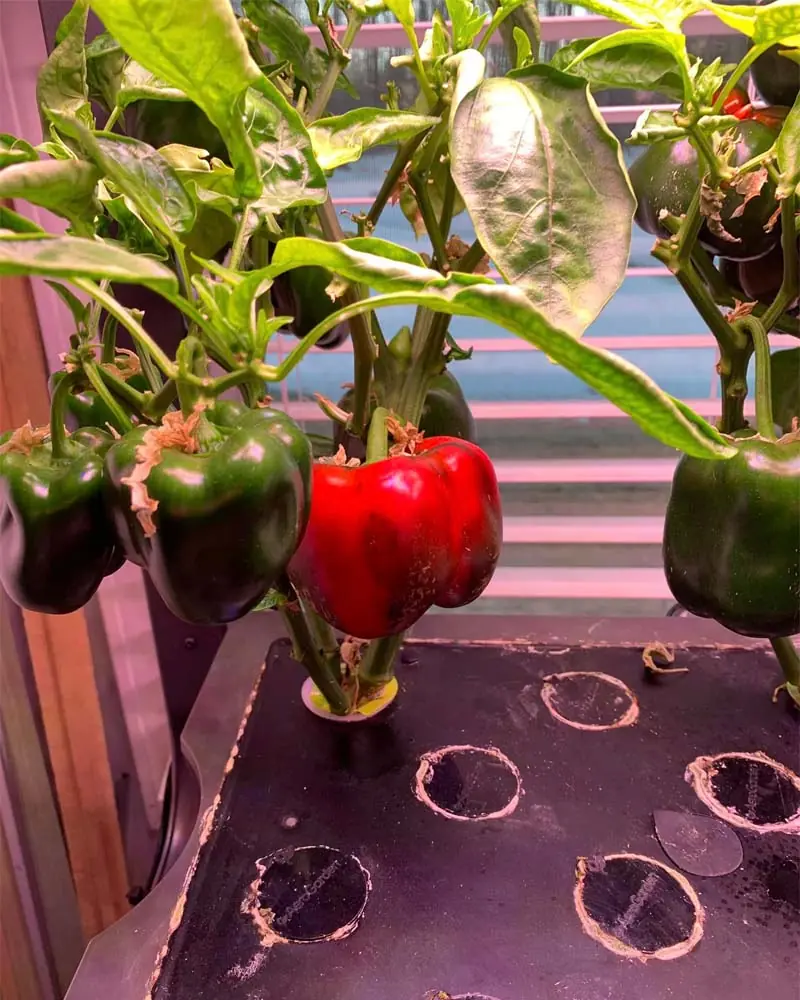
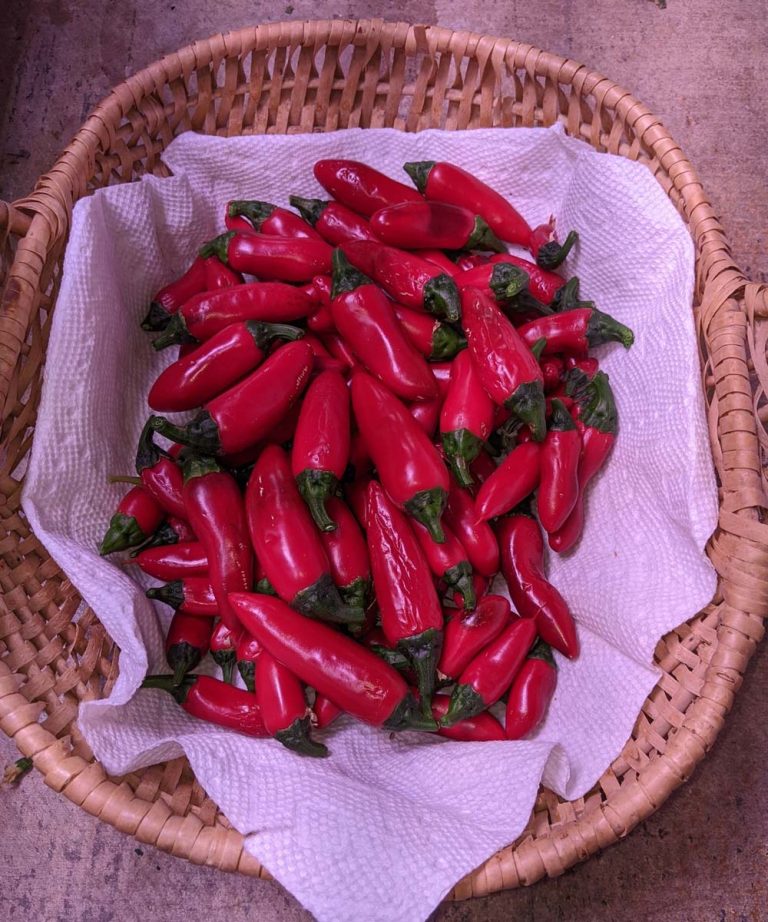
Day 152: The Harvest
On Day 152, the first wave of bell peppers turned a vibrant, deep red. I harvested the fully ripe ones and left the partial changers on the plant. This staggered harvest structure continued for an additional month as the remaining peppers caught up.
- Total Crop Yield: 6 pounds
- Total Peppers Harvested: 18
- Average Weight per Pepper: 5.3 oz
Costs vs. Results
To see if growing large-format nightshades indoors makes financial sense, I tracked my major input costs throughout the project:
|
Item |
Quantity |
Cost |
|---|---|---|
|
Electricity |
201.6 kWh (Lights, pumps, fans) |
$34.27 |
|
Nutrients |
264 mL total (GH FloraSeries + CalMag) |
$2.64 |
|
Water & Additives |
Tap water, pH-Down |
$2.50 |
|
Total Cost |
$39.41 |
My total investment of $39.41 yielded 6 pounds of pristine, homegrown sweet bell peppers. This brings the final cost of production to $6.57 per pound.
What do you think—is it worth the time and data tracking to grow your own heavy nightshades indoors, or would you stick to store-bought?
Share This Post