Hydroponics is becoming increasingly popular, but I’ve noticed the market is getting flooded with specialized, highly expensive products. Personally, I don’t think you need to spend a fortune to grow abundant, healthy food. Here is exactly what I do to keep my own hydroponic setup highly affordable without sacrificing my yields.
1. Reuse Plastic Containers
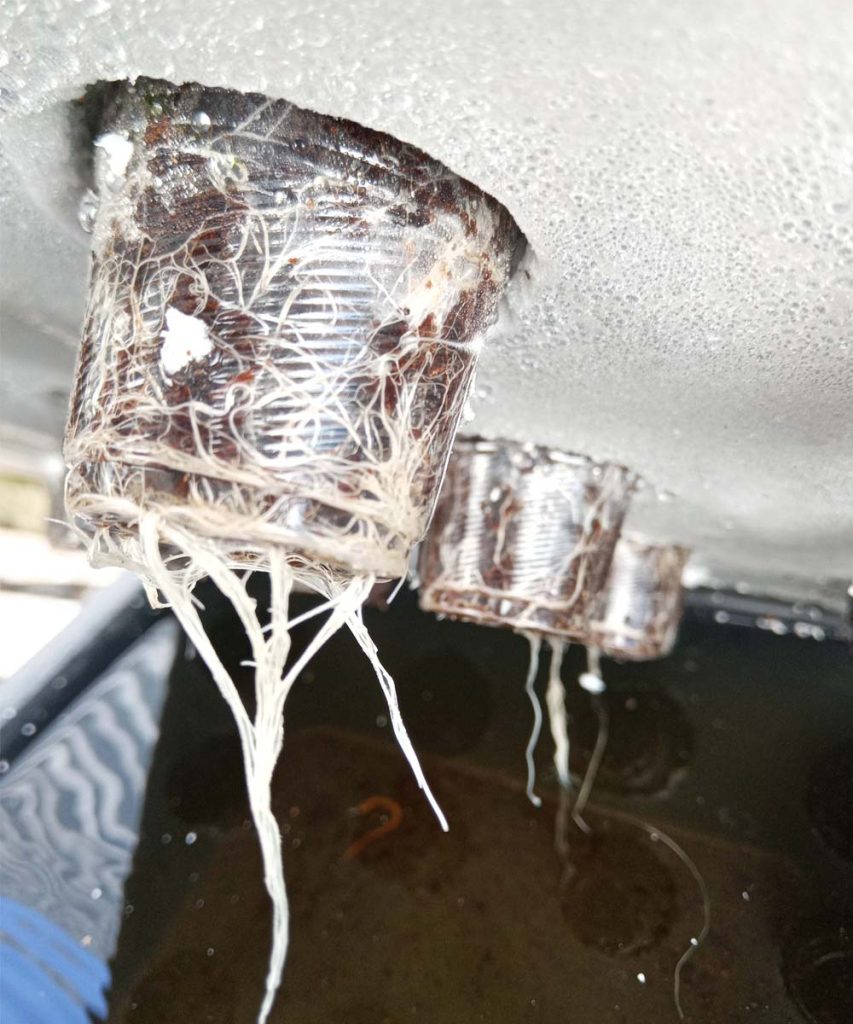
Instead of buying commercial hydroponic net pots, I reuse plastic cups, bottles, and almost anything else that can hold a plant. It makes growing my crops incredibly cheap.
Take a standard 2-inch net pot—it costs an average of 13 cents. That might not sound like much, but it adds up fast. By saving plastic cups after a get-together, I get a steady supply of fully functional pots for absolutely free.
I also love using plastic bottles. Instead of tossing them in the recycling bin, I turn them into hydroponic containers. I’ve even successfully grown carrots in them!
How I Make My DIY Pots:
- I take a piece of stiff steel wire and heat it over a flame until it’s red-hot.
- I use the hot wire to melt small drainage holes in the bottom of the cup, usually 0.1 to 0.2 inches in diameter depending on what I’m growing.
- I melt 3 to 4 vertical holes in the sides of the cup, about a quarter of the way up from the bottom, so the roots have a way to grow out into the nutrient solution.
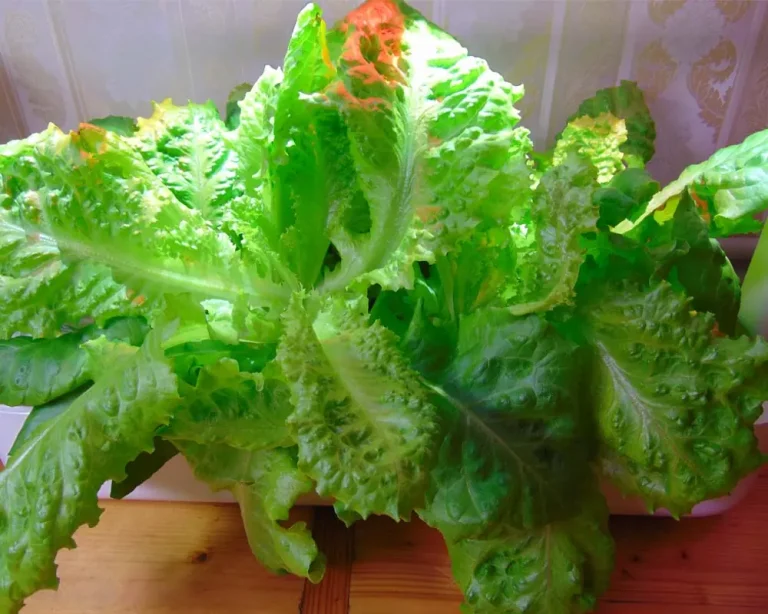
These DIY pots cost me next to nothing, they work just as well as store-bought ones, and they keep single-use plastics out of landfills. I use them to grow everything from leafy lettuce to cherry tomatoes.
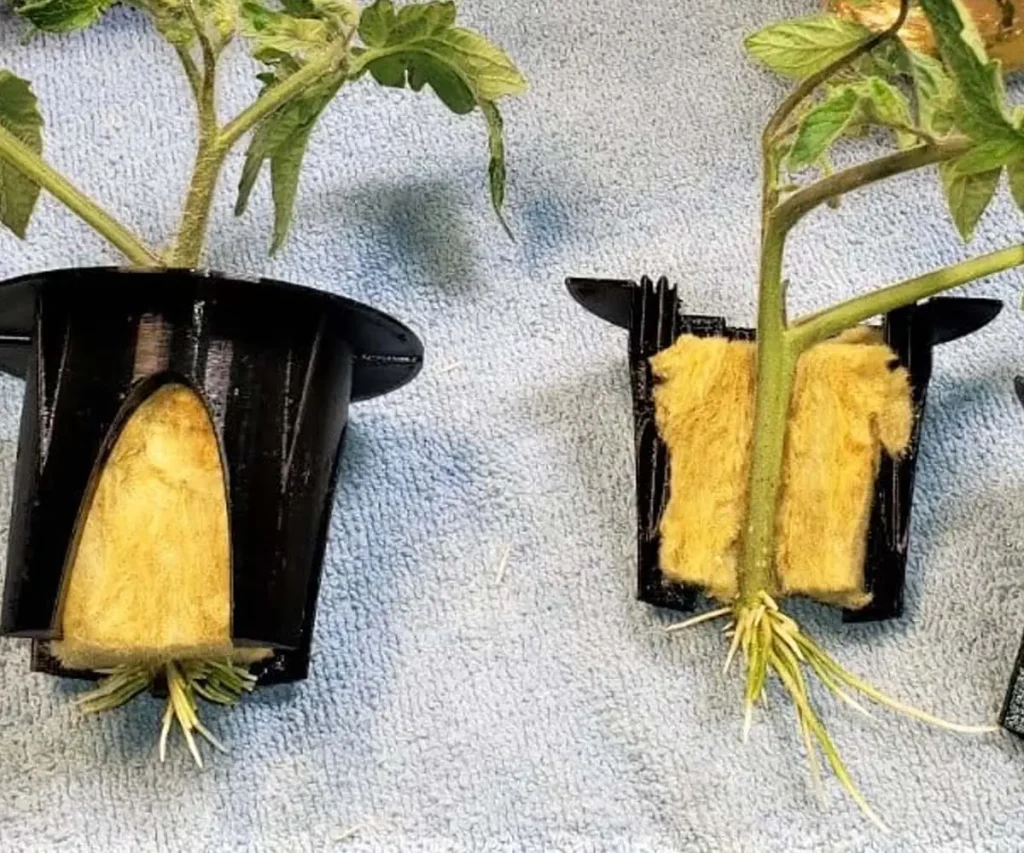
My Planting Method: I start my seeds in a tiny bit of coconut coir or rockwool. Once the plant develops a decent root system, I transplant the whole starter block into my homemade plastic cup and place it in my system.
I’ve also experimented with going entirely substrate-free. I simply took bare-root seedlings from my mini-nursery, dropped them straight into the DIY cups without any growing medium at all, and they took root beautifully right through the melted side holes.
2. Save and Use Your Own Seeds
Buying new seed packets for every grow can quietly drain your budget. To bring my seed costs down to almost zero, I harvest seeds directly from the vegetables I buy at the grocery store. I extract the seeds, dry them thoroughly, and store them until I’m ready to plant. In my experience, these saved seeds remain highly viable for at least a year.
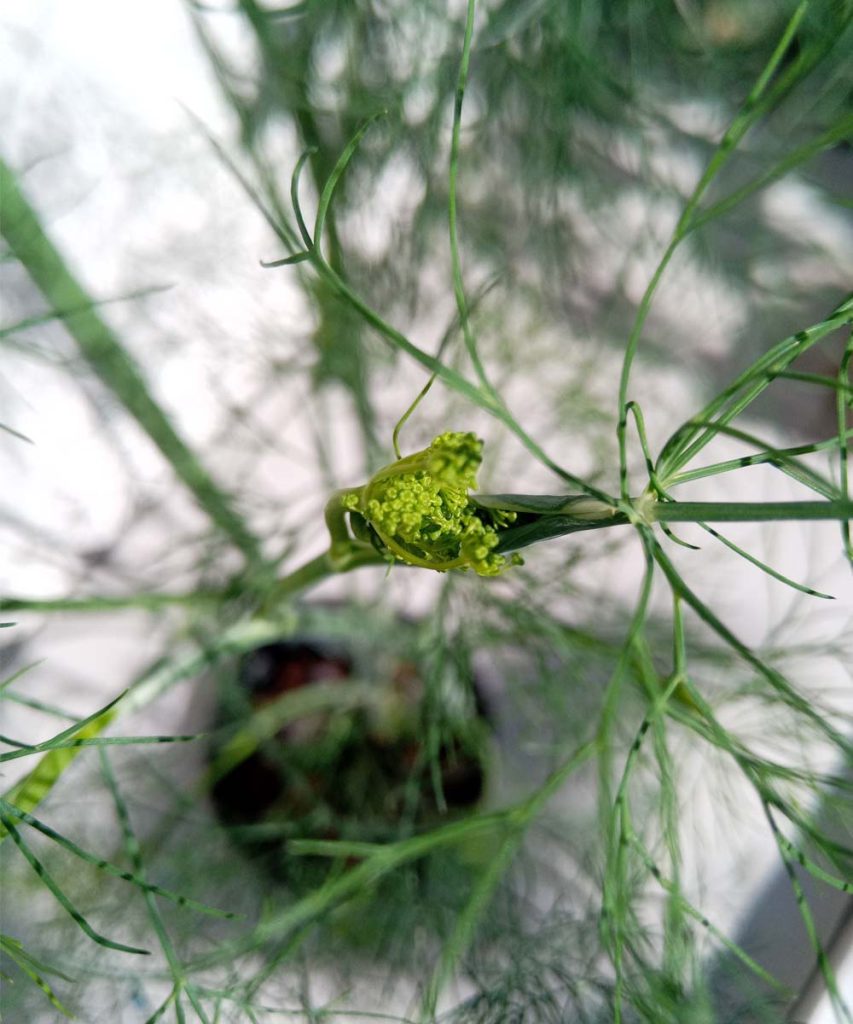
Once my hydroponic plants are mature, I let a few of them go to seed to create a self-sustaining, endless cycle. Dill and basil are my favorite candidates for this because they flower quickly and produce seeds easily.
A Quick Note on Hybrids: Keep in mind that seeds collected from hybrid (F1) vegetables bought at the store won’t grow “true-to-type.” The resulting plants may have different shapes, tastes, or yields than the parent plant. For reliable results with saved seeds, stick to heirloom or open-pollinated varieties.
3. Use Polyethylene Foam

Purchasing growing substrates like clay pebbles, rockwool, or coco coir for every single plant is a recurring expense I wanted to eliminate. My solution? Inexpensive polyethylene foam.
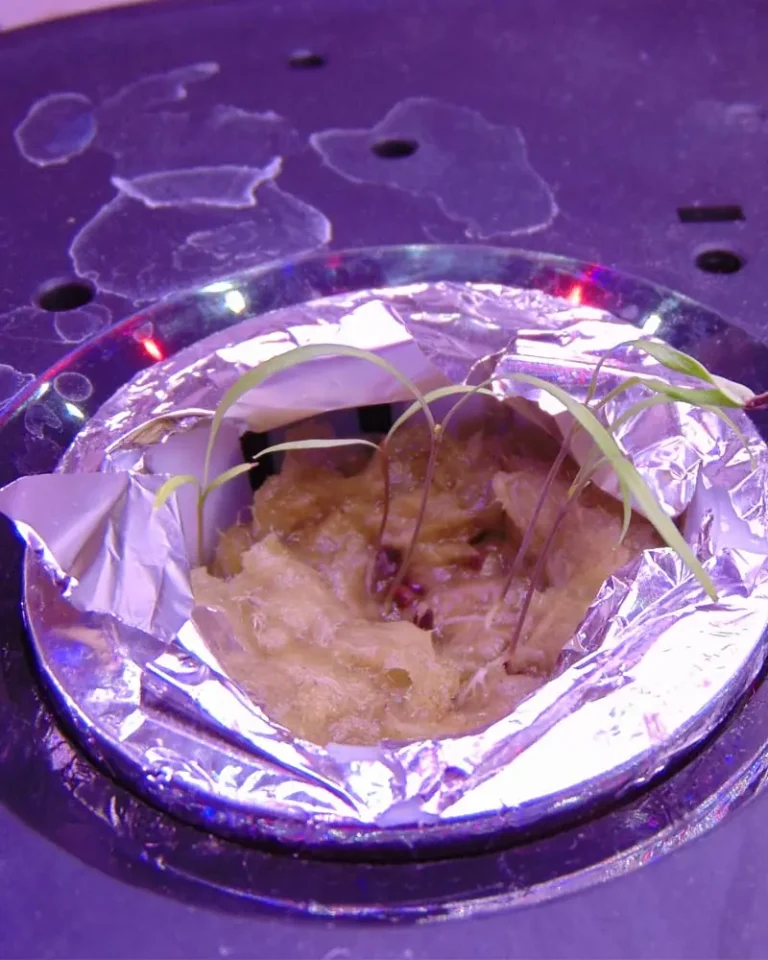
First, I sow my seeds in a tiny bit of coco coir in a mini seedling tray. Once the seedlings reach 2 to 3 inches tall, I gently shake the coir off the roots.
Then, I cut a small piece of polyethylene foam (or even a slice of a cheap foam pool noodle), wrap it gently around the stem—leaving just enough room for it to grow—and secure it directly in my reservoir lid.
The foam holds the plant perfectly in place without any pot or substrate at all, giving me a double saving. You can buy rolls of this foam online or at hardware stores for next to nothing, and a single pool noodle can be cut into dozens of plant collars.
I find this material works brilliantly for leafy greens and herbs like lettuce and parsley.
4. Mix Your Own Dry Nutrients
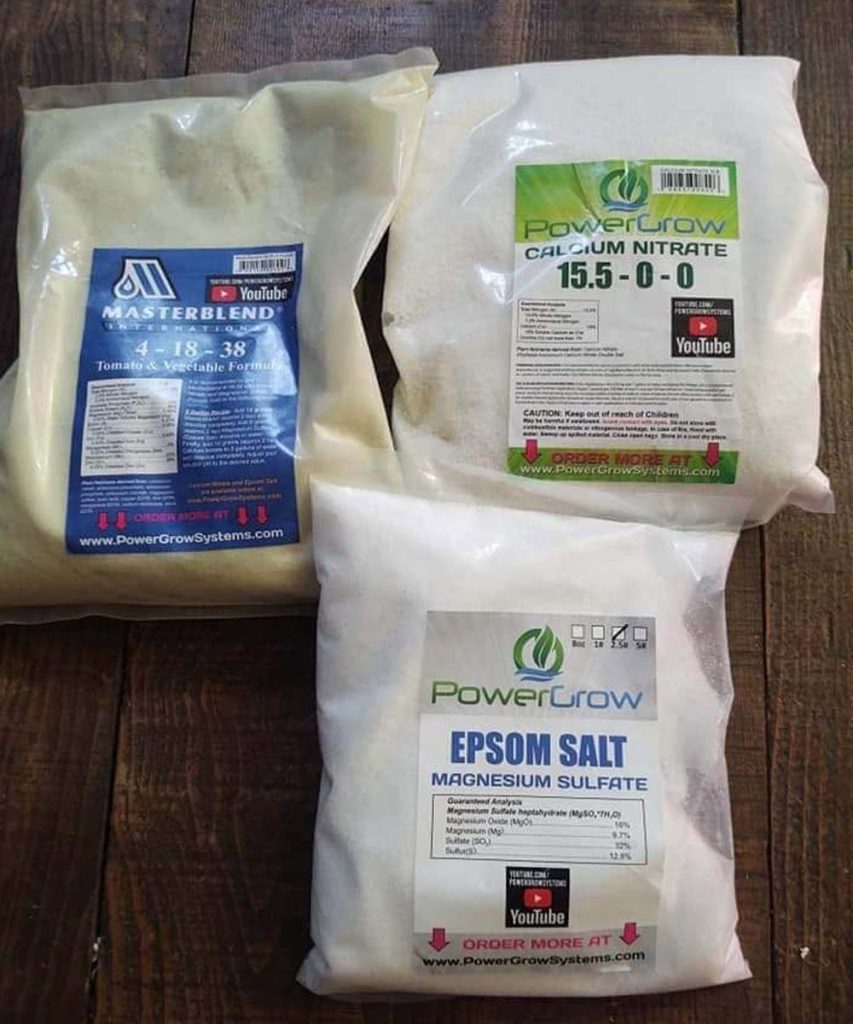
Fertilizer is one area where I manage to save a massive amount of money. I used to buy pre-mixed liquid nutrients, but I quickly realized I was paying premium prices to ship water. Swapping to dry concentrated fertilizers was a game-changer.
Here is a quick look at the math that convinced me to switch, comparing two highly popular options I’ve looked at:
| Nutrient Brand | Retail Price (Approx.) | Yield / Cost per Gallon of Working Solution |
| Masterblend 25 lb Kit (Dry) | $59.95 | ~2.6 cents per gallon |
| General Hydroponics Flora Series (Liquid, 3 x 1 Gallon) | $85.00 | ~14.0 cents per gallon |
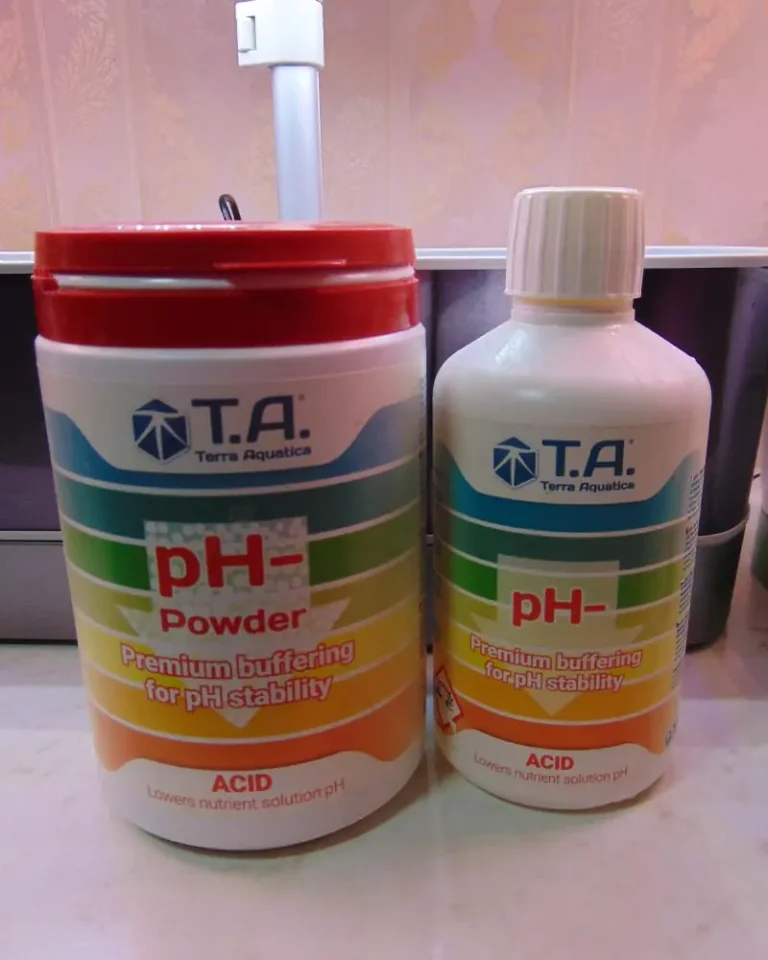
(Note: In some regions, the GH Flora Series is sold under the brand name Terra Aquatica TriPart, consisting of Grow, Micro, and Bloom.)
By switching to the Masterblend 25-pound kit (which I mix myself using Masterblend, calcium nitrate, and Epsom salt), I save more than five times on my nutrient costs. For me, this is a massive financial win, especially when growing high-margin crops.

5. Opt for Tap Water Over Distilled

Water is the literal foundation of hydroponics, and I refuse to pay for expensive jugs of distilled water.
I also choose to avoid reverse osmosis (RO) systems. While popular, RO systems are incredibly wasteful—a typical household setup wastes about 3 to 4 gallons of water for every 1 gallon of purified water it produces. When I factor in the cost of the system itself, replacement filters, and wastewater, tap water is easily five times cheaper.
Preparing tap water for my systems is incredibly simple:
- I let it sit out in an open bucket to allow any chlorine to off-gas.
- I carefully adjust the pH level after adding my nutrients to ensure my plants can absorb the food properly and to keep the leaves from turning yellow.
What about rainwater? I’ve considered rainwater as a free alternative, but it requires physical filtration to get rid of organic debris before I can use it. I prefer to avoid that extra hassle, so I stick to my treated tap water.
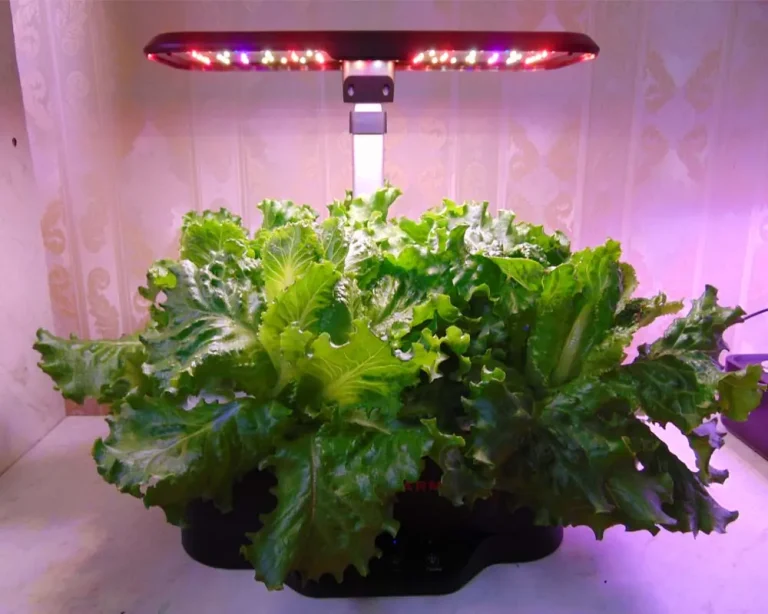
6. Harness Natural Sunlight
For my indoor setup, using natural sunlight is less about saving pennies and more about boosting my overall yields and saving on my power bill.
I’ve noticed that when I place my indoor hydroponic systems closer to a window, the plants grow noticeably larger and mature much faster, which directly reduces the run-time of my grow lights.
The trick is placement. To prevent algae blooms and stop my nutrient reservoirs from overheating, I make sure not to place the setup directly in the window sill. Instead, I position it slightly to the side or just below the window. This allows the plant canopy to catch the free sun rays while keeping the water tank safely shaded and cool.
7. Propagate with Cuttings (Cloning)
Taking cuttings (cloning) is one of my favorite ways to bypass the seedling stage entirely. Not only do I save money on seeds, but I also save significantly on water, nutrients, and electricity.
Here is why cloning is so much faster in my experience:
- From Seed: In two weeks, a seed will grow into a tiny, fragile sprout no more than 2 to 3 inches tall. It takes at least a month of running lights and pumps to get it to a decent size.
- From Cutting: In those same two weeks, I can root a healthy, 8-to-10-inch branch taken from a mature plant.
By cloning, I effectively skip a full month of slow growth, saving 14 to 30 days of utility and nutrient costs. I’ve found that tomatoes, peppers, and basil root incredibly fast in plain water, and I now grow these plants almost exclusively without germinating seeds.
8. Leverage Off-Peak Electricity Rates
By “cheap electricity,” I mean taking advantage of lower utility rates during off-peak hours. I installed a smart meter to track my electricity usage and shifted the light cycles of my indoor setup to run overnight. My grow lights stay on during the night and remain off during the day, which has sliced a huge chunk off my monthly power bill.
To take my energy independence a step further, I plan to install solar panels and a battery storage system. For now, to keep my hydroponics running smoothly during unexpected blackouts, I use a lithium iron phosphate (LiFePO4) battery paired with a DC/AC inverter. It keeps my pumps running and protects my plants without the need for an expensive generator.
Share This Post