When I bought my first AeroGarden Farm 24XL, I knew I wanted to grow something with a kick, so I chose a fantastic hot pepper variety: Thai Dragon. Below, I’ll walk you through my entire growing process from seed to harvest in precise detail.
Preparation and Planting (Days 1–14)
After assembling the system, I filled the tank with standard tap water and let it settle. The next day, I began preparing the reservoir.
First, I calibrated my Aqua Master Tools P50 Pro pH meter. The initial water pH was 7.8—a typical baseline for my local tap water. Using General Hydroponics pH-Down, I lowered the pH to a stable 5.7. To maximize root oxygenation, I also equipped the tank with an external air stone connected to an aquarium air pump.
Next came the nutrients. I chose the General Hydroponics FloraSeries base nutrients, adding 3 milliliters of each part (Glow, Micro, Bloom) per gallon of water, totaling 7 milliliters from each bottle for the initial fill. After mixing, my Aqua Master E60 Pro read an EC of 1.2 mS/cm—a perfect starting point.
Note: I dedicated one half of my AeroGarden Farm 24XL to the Thai Dragon pepper, leaving the other side available for different plants.
For seeds, I opted for Lake Valley Seeds due to their excellent germination rates. I placed two seeds into a single growing sponge inside a mesh pot, positioned the pot in the center of the growing deck, and covered it with a clear humidity dome.
I lowered the LED panel to its lowest position to maximize light intensity for the upcoming seedlings, leaving a gap of just a few inches. The light timer was set to 16 hours on and 8 hours off.
By the ninth day, the seeds sprouted and the first stems emerged. Two days later, I removed the humidity dome, thinned out the weaker sprout to leave the strongest single seedling, and slightly raised the light panel.
Read also: Growing Basil in an AeroGarden Bounty: A Deep-Dive Case Study
The Vegetative Stage (Weeks 3–6)
During this phase, the Thai Dragon grew rapidly, pushing out larger leaves daily. As the plant stretched, I continuously adjusted the LED panel, maintaining a minimum 2-inch gap between the lights and the top leaves to avoid light burn.
In the third week, I administered a second dose of fertilizer (21 milliliters total of the FloraSeries). I also supplemented with 5 milliliters of General Hydroponics Cal-Mag. Peppers are heavy calcium and magnesium feeders; this addition prevents nutrient deficiencies and ensures healthy fruit development later on. Following this feed, the EC rose to 2.0 mS/cm.
I decided not to prune or top the Thai Dragon, choosing instead to let it grow naturally. The plant responded well, exploding with vegetative mass after the second feeding. Throughout this period, I checked the pH and EC daily, only topping off the reservoir with fresh water that had been pre-adjusted for pH.
Read also: Growing Oregon Spring Tomatoes in the AeroGarden Farm 12XL
Flowering and Pollination (Weeks 7–10)
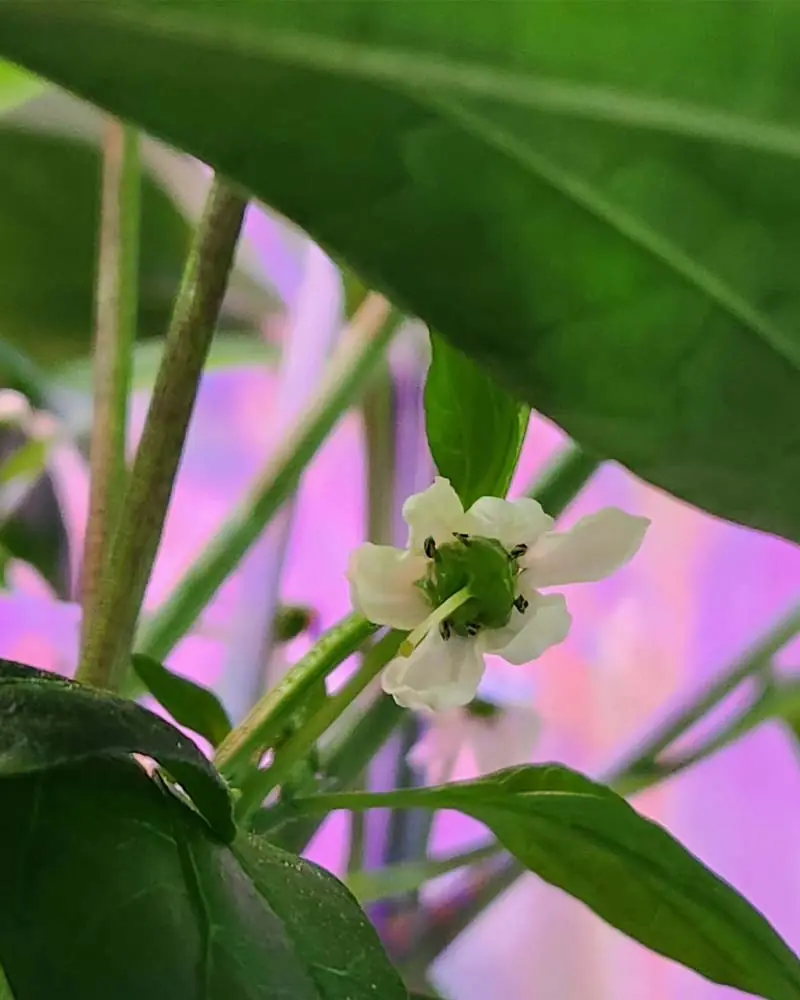
Toward the end of the second month, the first flower clusters began to form, opening into crisp white blossoms a few days later. This was my cue to start pollination.
While I had a small fan running in front of the Farm 24XL to provide steady airflow and strengthen the stems, I preferred to ensure a high fruit set manually. I took a cotton swab and gently ran it inside each open flower, repeating the process over several days as new blooms appeared.
A small percentage of the blossoms wilted and dropped, which is completely normal. The sheer volume of remaining flowers meant a massive yield was still on the way.
By week 10, the EC dropped to 1.8 mS/cm as the plant heavily consumed nutrients. I replenished the reservoir, but this time I omitted the Grow bottle and only used FloraMicro and FloraBloom to support flowering. This brought the EC up to 2.5 mS/cm.
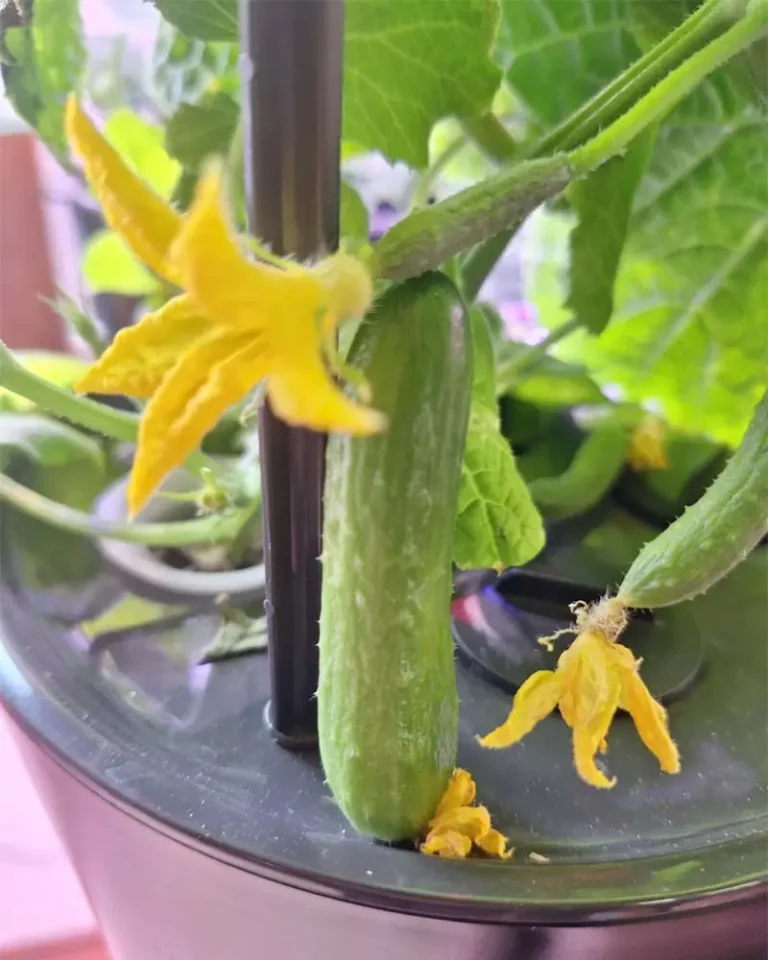
Read also: Growing Quick Snack Cucumbers in My AeroGarden Bounty
Fruiting (Weeks 11–15)
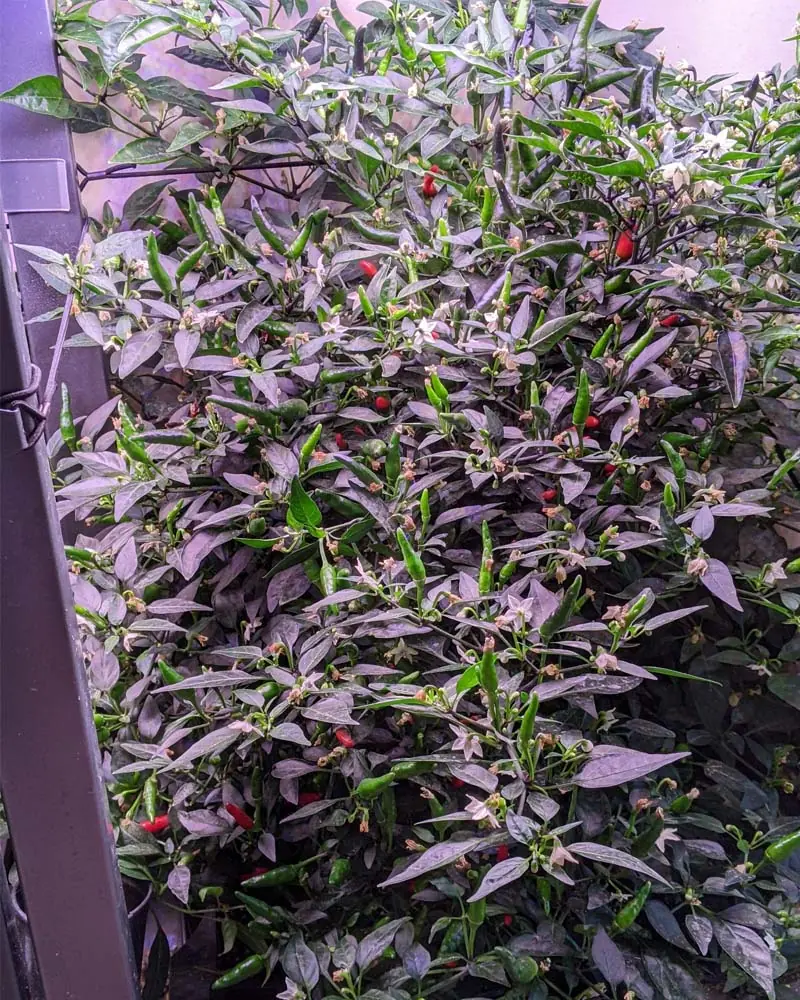
Once the flowers dropped their petals, tiny green pepper pods quickly formed in their place. Because the Thai Dragon is an indeterminate grower, it continued to flower even while producing fruit—creating a continuous conveyor belt of blossoms and peppers.
The pods filled out steadily, reaching their full size by the end of the third month. To support this massive fruit load and ensure proper ripening, I maintained a high nutrient concentration, keeping the EC stable at 2.5 mS/cm to match the plant’s high transpiration and feeding rates.
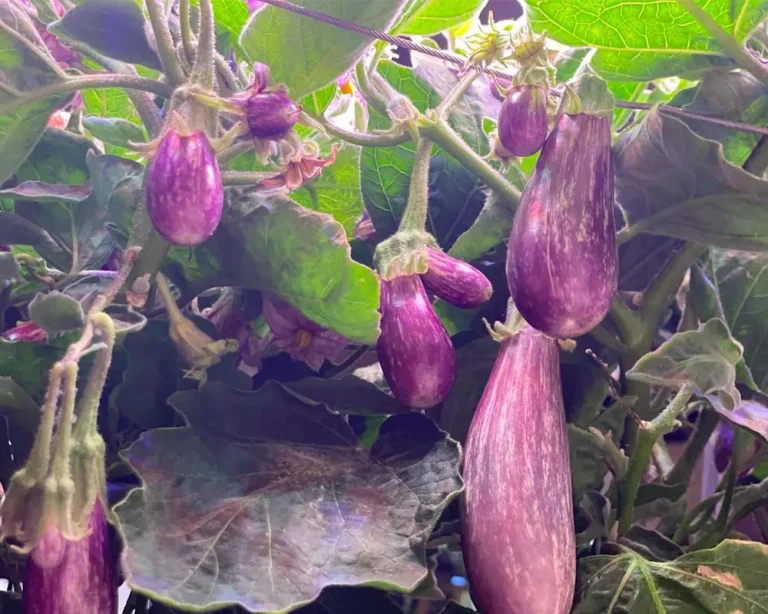
Read also: A Guide to Growing Fairytale Eggplants in Your AeroGarden Farm 12XL
The Harvest (Weeks 16+)
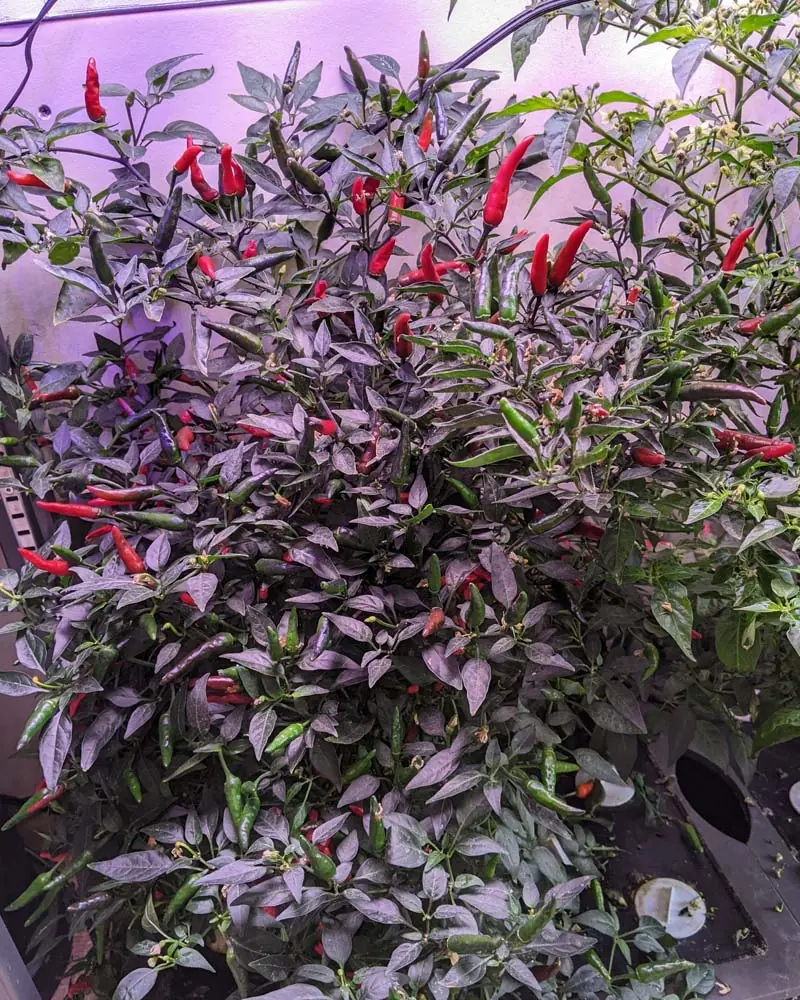
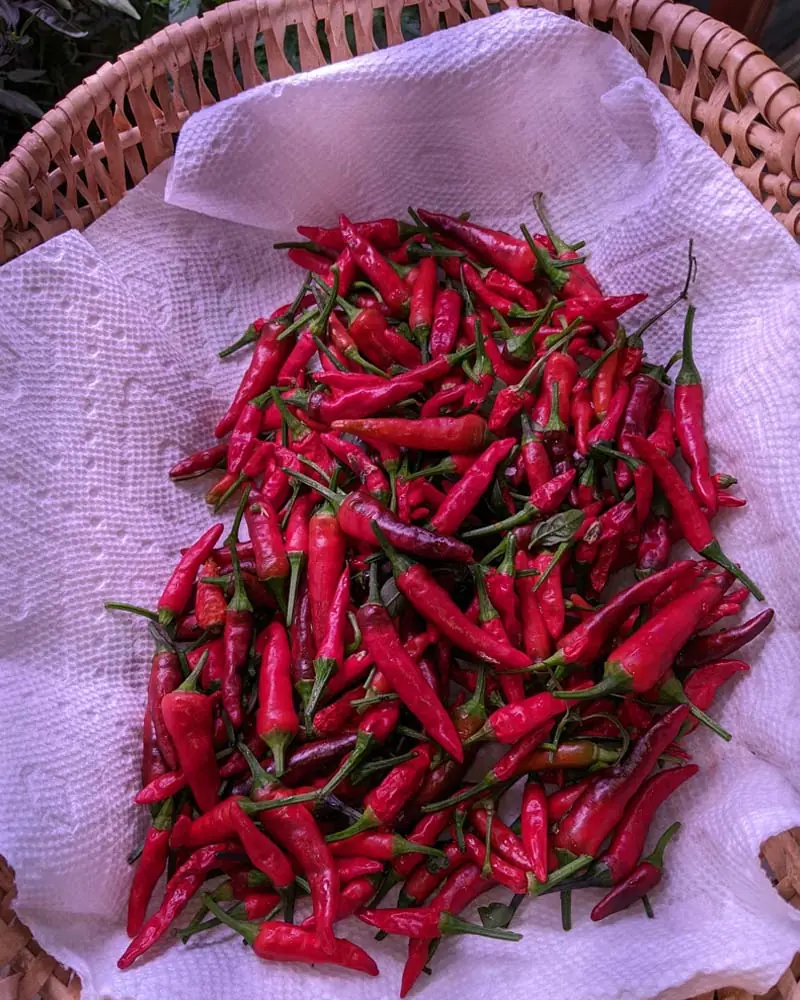
By the fourth month, a large majority of the peppers had turned a vibrant, glossy red. My first major harvest yielded 10 ounces of fresh peppers.
Because the plant still carried dozens of green fruits at various stages of growth, the harvest continued for well over another month. Over the entire lifespan of this single plant, the total yield reached 1.2 pounds (approx. 544 grams) of Thai Dragon peppers.
Costs vs. Results
|
Item |
Quantity |
Cost |
|---|---|---|
|
Electricity |
168 kWh |
$28.50 |
|
Substrates |
1 Sponge |
$0.50 |
|
Nutrients |
180 mL total (FloraSeries) |
$1.80 |
|
Water & Additives |
Tap water, pH-Down, Cal-Mag |
$1.50 |
|
Total Cost |
$32.30 |
In the end, I produced 1.2 pounds of premium hot peppers for a total operational cost of $32.30. That breaks down to roughly $26.92 per pound.
What do you think about these numbers? Is the cost of indoor hydroponic peppers worth the freshness and yield? Let me know your thoughts in the comments below!
Share This Post