A few years ago, I bought an iDOO 12 and immediately put it to the test. Today, I can confidently say it is one of the most affordable and effective hydroponic systems for growing lettuce. Over time, I’ve identified a few shortcomings and found ways to fix them. In this guide, I’ll show you exactly how to achieve a bountiful lettuce harvest.
Week 1: Getting Started
💧Water Quality
I use regular tap water because it’s cost-effective and treated to prevent bacteria and algae. However, its pH is often a hurdle. My tap water sits at 7.8, which is too alkaline for lettuce. I use a pH-down agent to bring it into the ideal 5.5–6.6 range. If you want a generous harvest, never skip adjusting your pH.
Read also: Water Management In Small Indoor Hydroponics
🧪Plant Food
The standard iDOO plant food isn’t ideal for lettuce; I noticed slow growth and yellowing leaves. I switched to General Hydroponics Flora Series (a 3-part liquid fertilizer). Adding just 1 ml of each component per gallon of water works wonders. I highly recommend stocking up on high-quality nutrients from day one.
💡Lighting & Setup
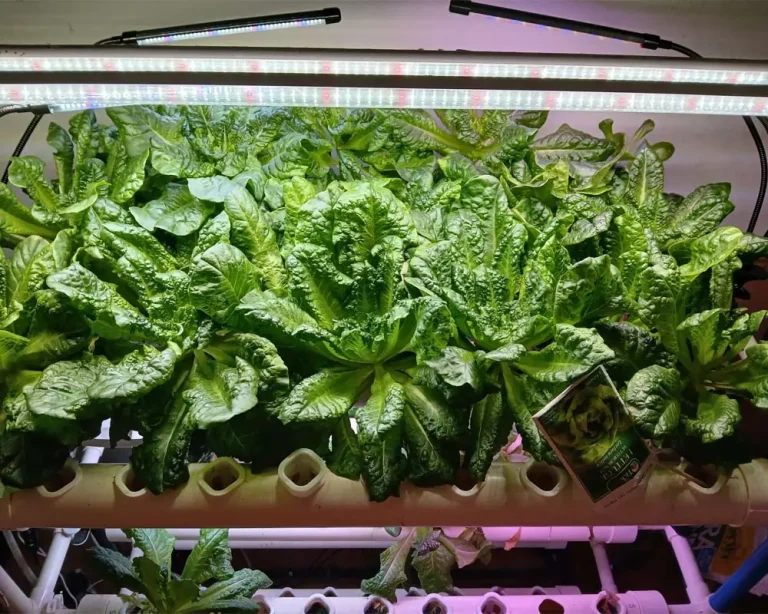
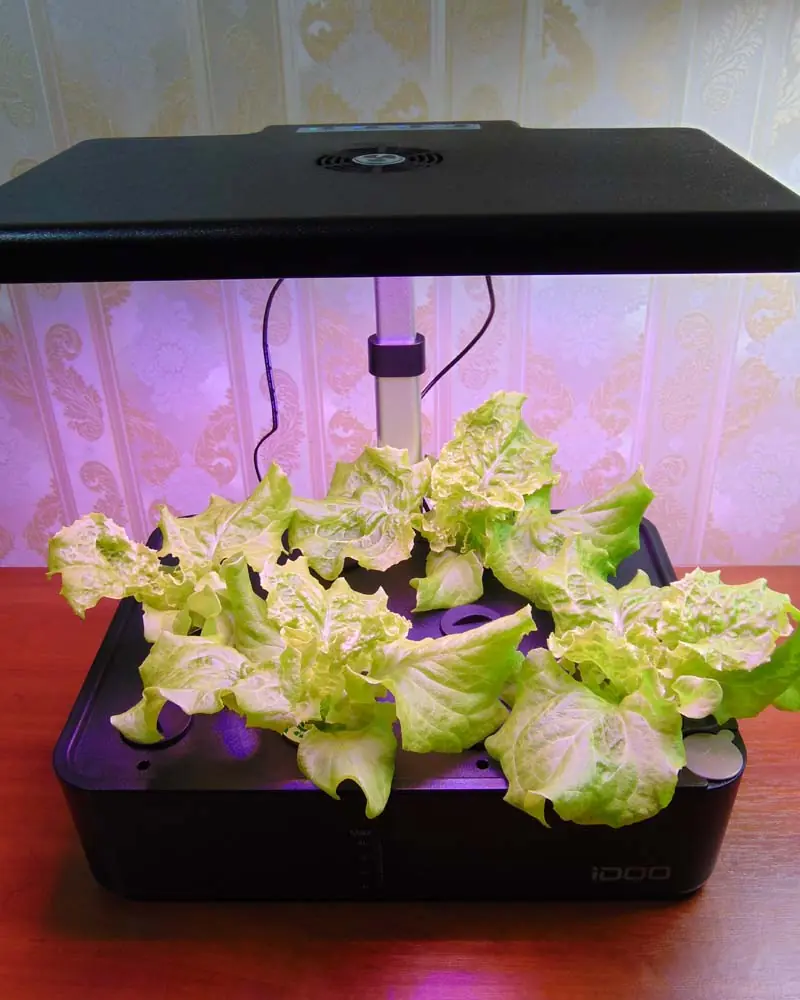
The iDOO 12 LEDs run for 16 hours a day. While it has 12 pods, I only grow four lettuce plants at a time. Any more, and they’ll fight for space and light.
Pro Tip: I cover the growing deck with aluminum foil. It reflects light back onto the leaves and covers unused holes, preventing algae growth without needing extra lids.
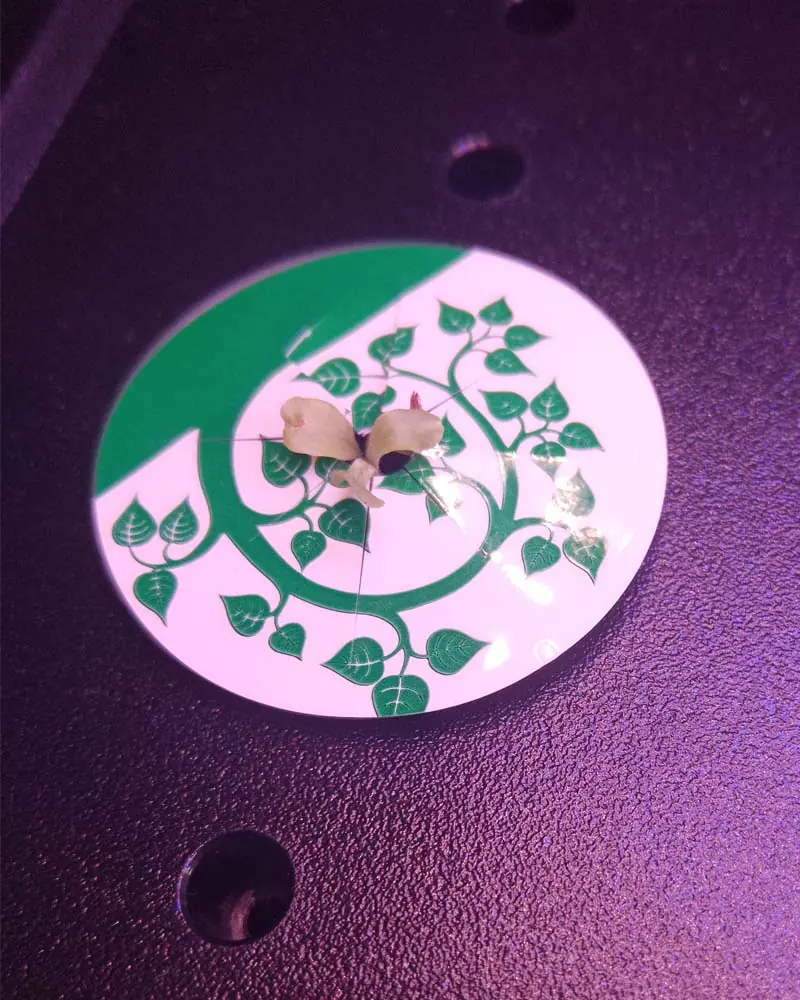
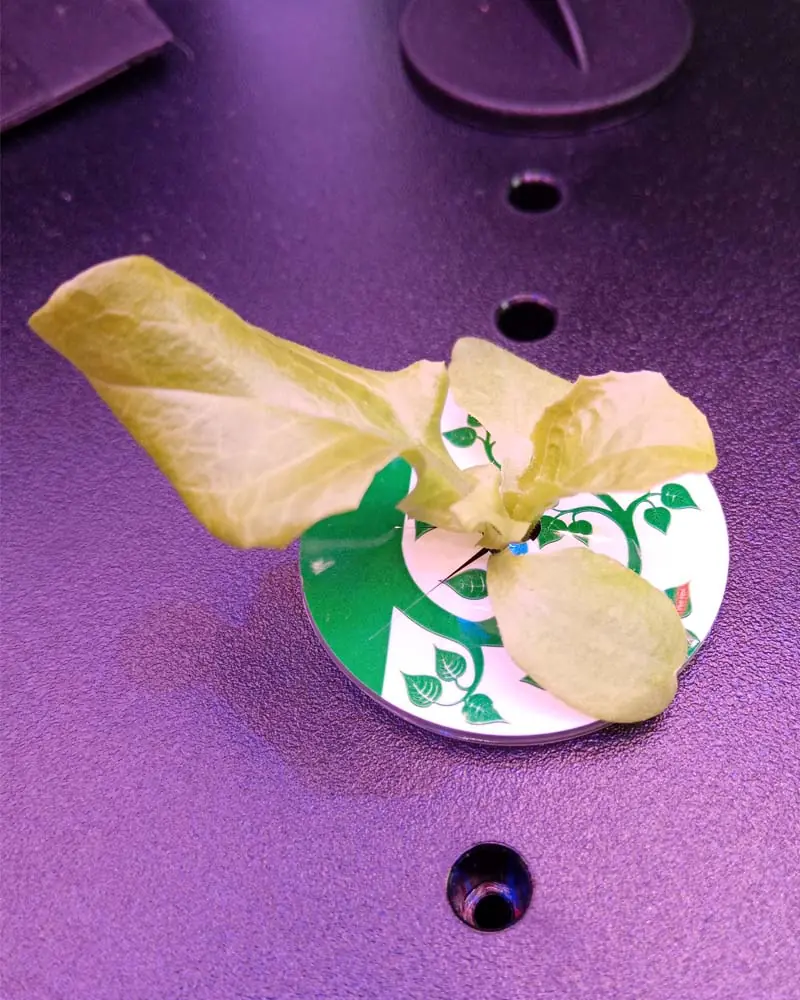
🌱Seeds & Germination
I prefer the Grand Rapids variety—it’s vigorous and fits the compact iDOO perfectly. I use both sponges and rock wool (the latter is cheaper in bulk).
- Place 2–3 seeds per pod to ensure 100% germination.
- Space them out as much as possible on the deck.
- Moisten the seeds with a dropper and cover them with the transparent humidity domes to speed up sprouting.
Read also: The Definitive Guide to pH Management in Hydroponics
Weeks 2-3: The Growth Phase
🔄Water Management
Lettuce thrives when the water is fresh. Never let the tank fall below the halfway mark. I perform a full water change every two weeks to prevent bacteria buildup and salt accumulation.
🌬️Air Circulation
The iDOO 12 features a built-in fan in the light hood—a unique feature that helps prevent moisture buildup on leaves. Since I run multiple systems close together, I also use a larger room fan to ensure consistent air movement, which keeps the plants healthy and strong.
Read also: 5 Steps to Diagnose and Fix Yellowing Hydroponic Leaves
Troubleshooting Common Issues
- Tip Burn: If you see browning leaf edges, it’s likely a calcium deficiency. I fix this by adding a Cal-Mag supplement (3 ml per gallon).
- Bolting (Bitterness): If your room exceeds 75°F (24°C), lettuce can turn bitter or start to flower (bolt). Keep it cool!
- Root Rot: To avoid this, I disinfect the system with 3% hydrogen peroxide during water changes. For the best results, use an external air pump with air stones to maximize oxygen levels.
Read also: 6 Steps to Stop Root Rot in AeroGarden & iDOO
Week 4: Harvest Time
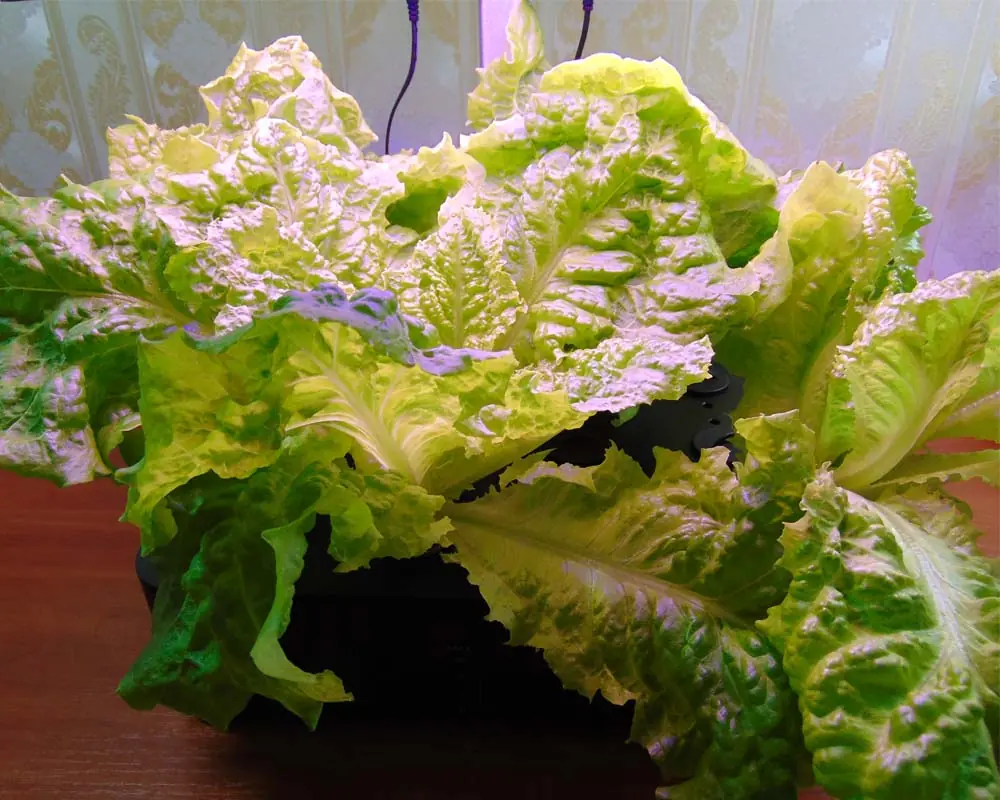
By the end of the fourth week, it’s time to eat! I use the “cut and come again” method, harvesting 2–3 of the largest outer leaves from each plant. This allowed me to enjoy fresh greens every day for about two weeks while the plants continued to produce.
Costs vs. Results
Here is the breakdown of my expenses (excluding the initial cost of the system):
| Item | Quantity | Cost |
| Electricity | 16 kWh | $2.88 |
| Grow Sponges | 4 Pcs | $0.60 |
| Plant Food | 70 ml | $0.70 |
| Total Cost | $4.18 |
The Result: I harvested the equivalent of 6 full store-bought heads of lettuce.
- My Cost: ~$0.69 per plant.
- Store Price: ~$2.50 per plant.
The Verdict: Growing lettuce in the iDOO 12 is absolutely worth it! Beyond the savings, the process is incredibly relaxing and provides a great energy boost.
Read also: 6 Proven Growth Tips to Maximize Hydroponic Yields
Share This Post