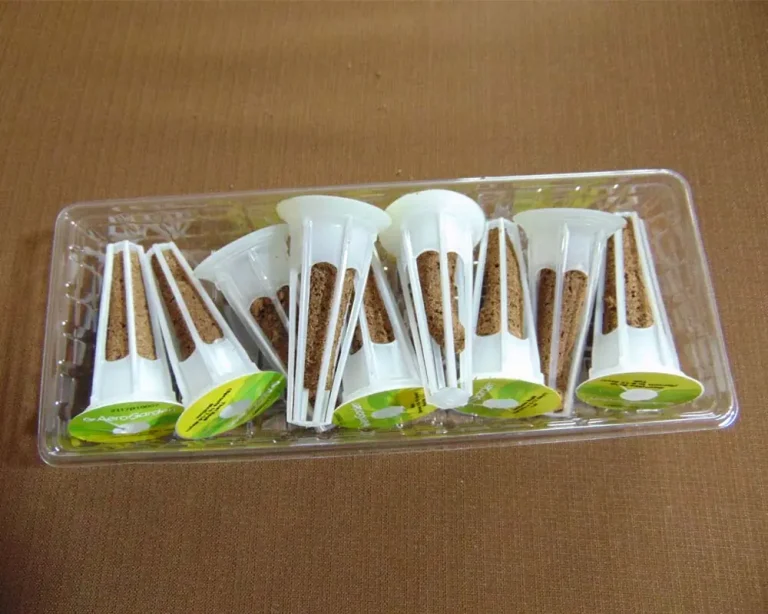
When I first bought the Smart Garden 9, I was impressed by its sleek aesthetics and beautiful design. However, within just a month, I was completely disappointed. Despite the marketing, it’s not a true hydroponic system; it’s a passive wick-growing system with very small pods. This setup often results in low yields and frequent plant diseases.
I decided to fix these flaws by converting the Smart Garden 9 into a Deep Water Culture (DWC) hydroponic system. Here is exactly how I did it and the results I achieved.
The Mod List
- Uniclife Aquarium Air Pump Kit (Includes air stones, tubing, and connectors)
- 2-inch net pots
- Sealant and riser feet for the tank
- Outlet Timer
Total investments : $26.5
Read also: Building Your Own DIY NFT Hydroponic Tower
Step-by-Step Conversion Guide
Step 1: Aeration
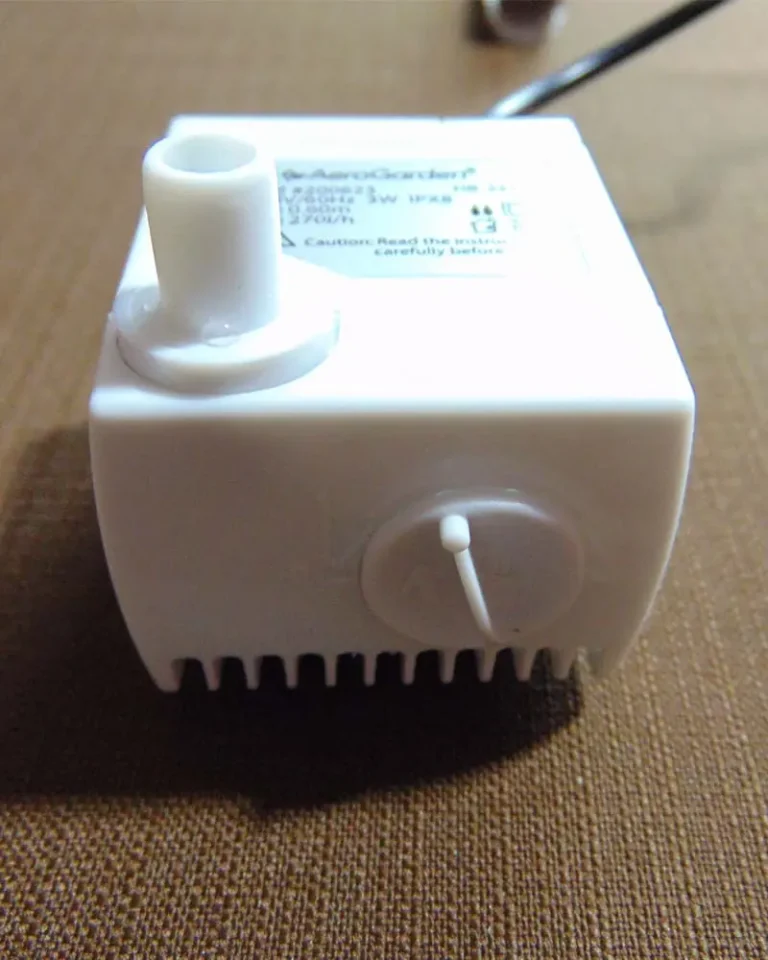
The first step was installing two air stones in the tank and connecting them to the air pump. I used a Uniclife Aquarium Air Pump (4W, 64 GPH) running on a timer. Active aeration is critical for the Smart Garden 9 because it prevents root rot while significantly increasing the growth rate and total yield.
Step 2: Tank Prep
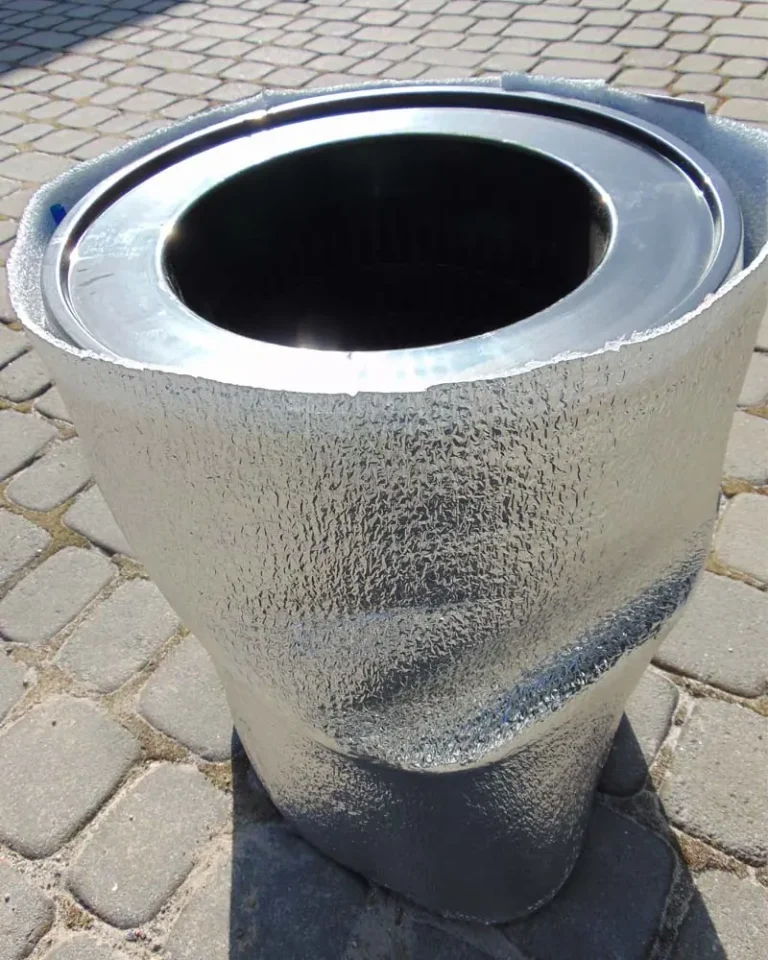
The Smart Garden 9 has one major design flaw: a side cable opening that runs from the top all the way to the bottom. If you need to move the system, water often leaks out. I used a waterproof sealant to plug this gap. I also glued four plastic caps to the bottom to act as “feet.” This elevates the system, allowing any accidental spills to dry out rather than sitting trapped under the tank.
Step 3: The Swap
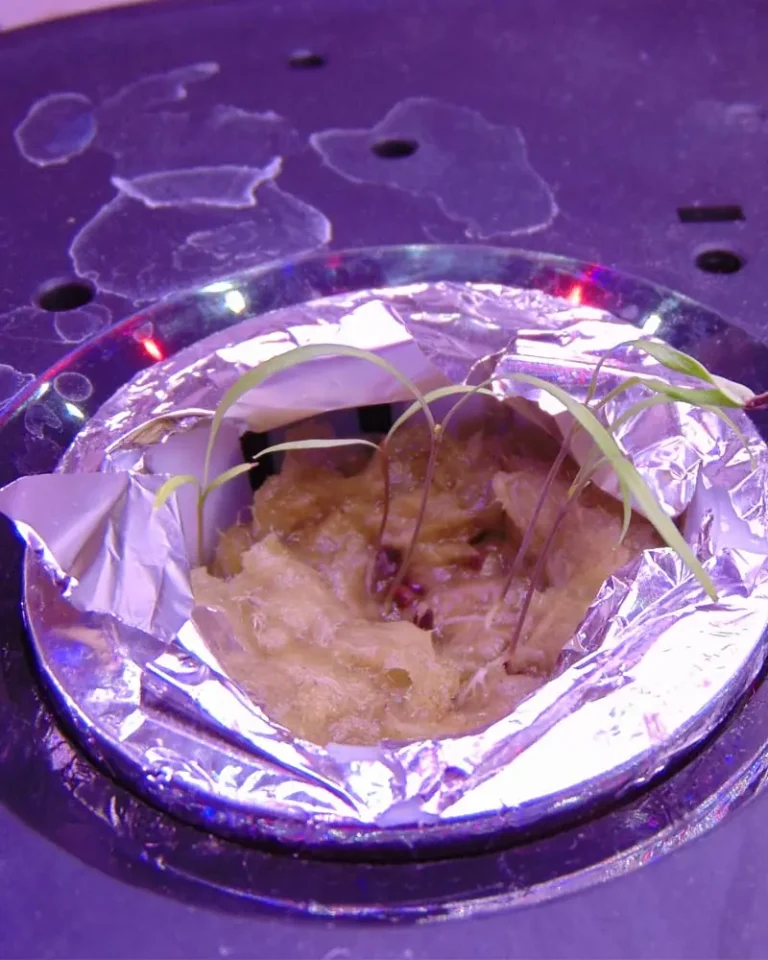
The original Click & Grow wick pots are far too small for healthy root development. I replaced them with standard 2-inch hydroponic net pots, which fit almost perfectly into the openings of the growing deck. This allows the roots to penetrate directly into the reservoir, where they have plenty of space to thrive.
Step 4: Growing Media
I ditched the original proprietary sponges—they are overpriced and not ideal for DWC. Instead, I used Rockwool. I cut the rockwool into 1.5-inch cubes and placed them directly into the net pots.
Read also: Finding the Best Hydroponic Grow Media for Your System
Growing Lettuce
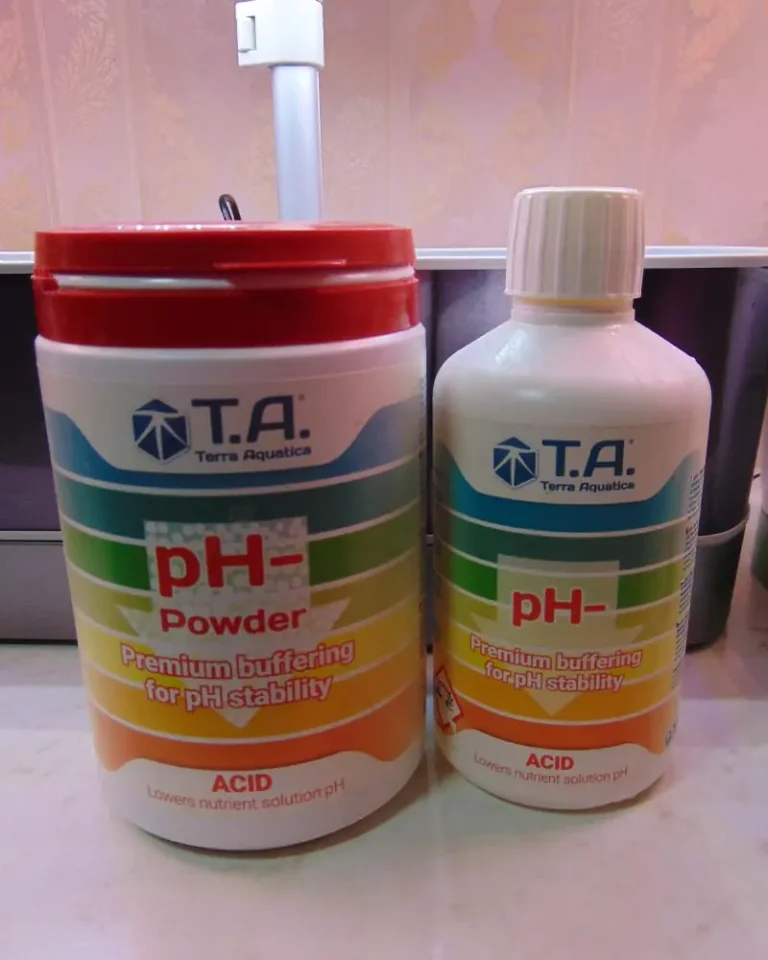
I used regular tap water, but since the pH was quite high, I adjusted it using General Hydroponics (GH) pH Down. I monitored the levels using an Aqua Master P50 Pro.
I started with four pots. Initially, I placed them in a row, but I eventually moved the two end pots closer to the center because the Smart Garden’s light distribution is strongest in the middle. I chose to grow only four plants because the stock lighting is relatively weak; planting more would have caused the lettuce to become “leggy” as they fought for light.
Nutrients
For the first three days, I used plain water. Once they sprouted, I added the GH FloraSeries (3-part fertilizer) at 3 ml per gallon of each component, bringing my EC to 1.2.
Maintenance
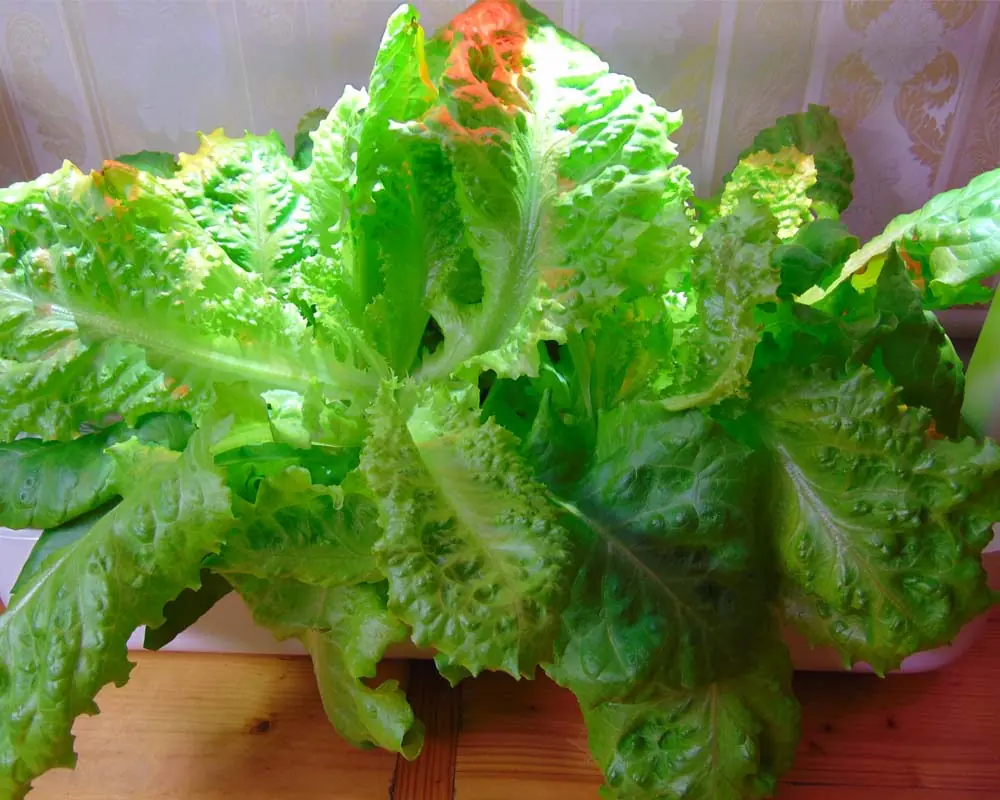
I checked pH and EC levels daily, adjusting as needed. The plants stayed perfectly healthy throughout—white roots and vibrant green leaves. I never had to perform a full water change.
The Harvest
After 33 days, the lettuce reached its peak. I harvested the largest side leaves and tops, leaving about 30–40% of the plant intact. This allowed the lettuce to continue growing, providing a continuous harvest for another month. In total, I harvested the equivalent of 6 full heads of lettuce.
Costs vs. Results
| Item | Quantity | Cost |
| Electricity | 9 kWh | $1.53 |
| Rockwool | 4 Pieces | $0.20 |
| Nutrients | 40 ml | $0.40 |
| Total Cost | $2.13 |
The Result: For a running cost of just $2.13, I produced the equivalent of 6 heads of lettuce. That’s only $0.35 per head!
Read also: The Definitive Guide to pH Management in Hydroponics
Future Enhancements
This experiment proved that the Smart Garden 9 has great potential if you’re willing to mod it. My next steps?
- Installing a small water pump to further improve circulation.
- Adding auxiliary LED lighting to prevent legginess and allow for a full 9-pot grow.
What do you think? Is it worth adding the extra lights, or should I keep it simple? Let me know in the comments!
Read also: Hydroponic Mistakes That Cost Me My Harvest
Share This Post